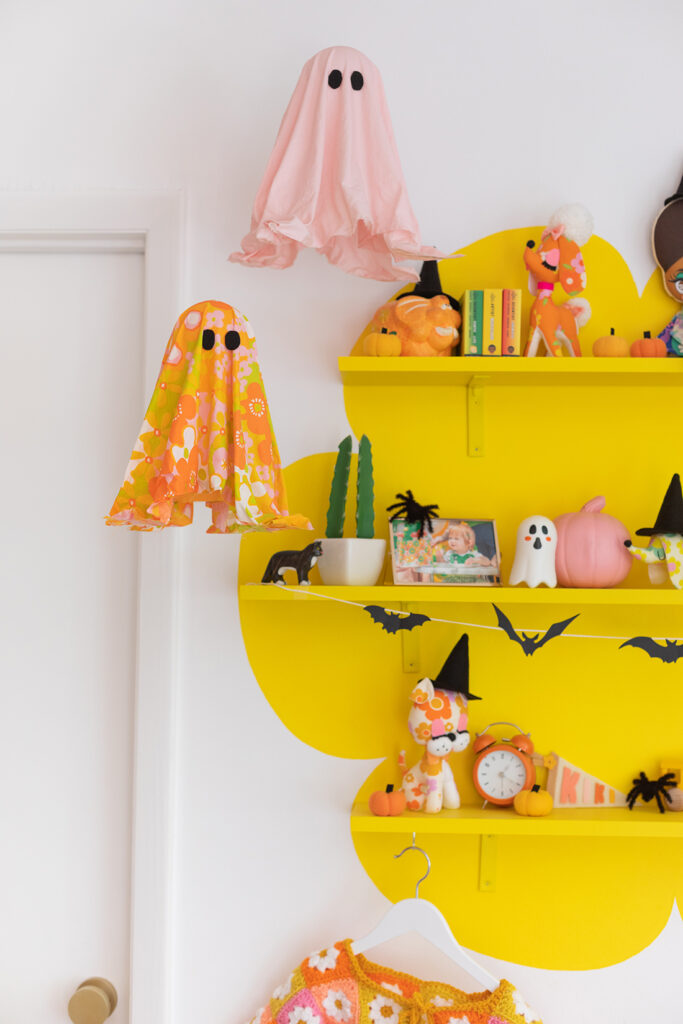
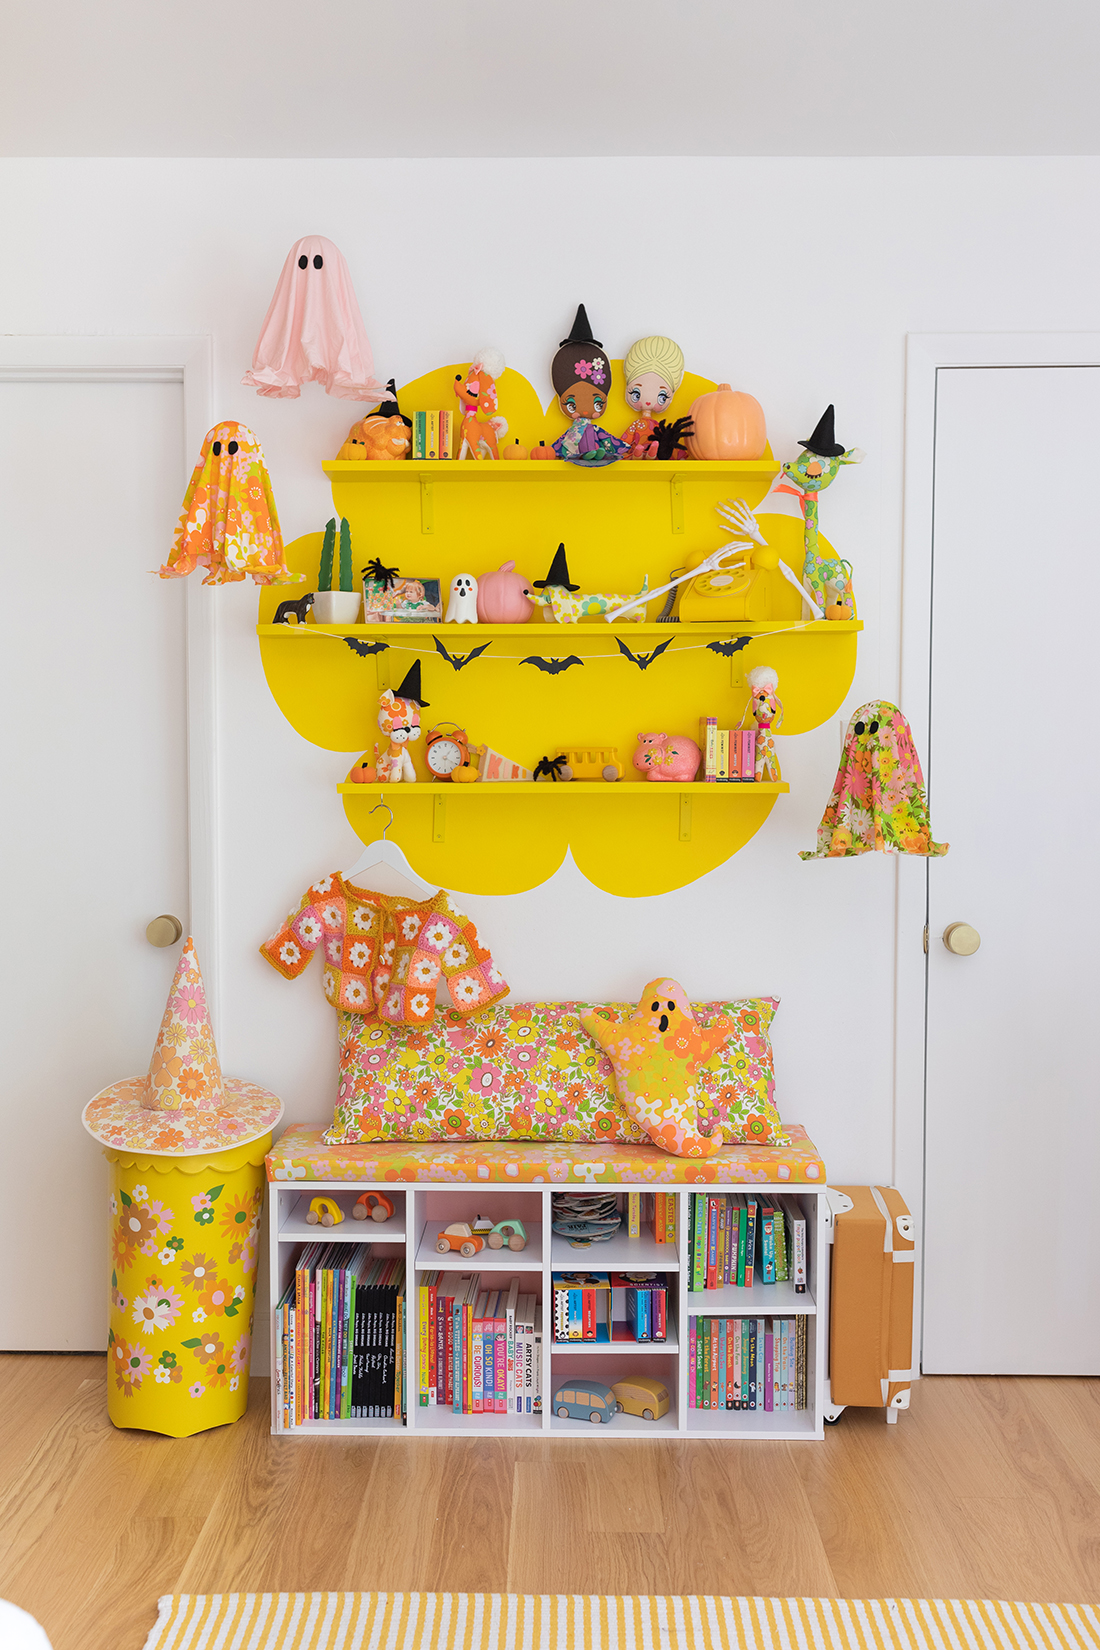
I’ve been seeing that cheesecloth ghost trend going around this year again and I wanted to see if I could figure out how to do the same thing with colorful cotton fabric, so today I’m bringing you some retro hanging ghosts that are perfect to add to your Halloween decor!
Supplies
1 Yard of Fabric (I used vintage sheets)
5″ Balloon
Tall Can or Bottle
Parchment Paper
Tape
Large Bowl (one that you don’t use for food)
Black Felt
Hot Glue Gun
Fishing Line
Sewing Needle
How-To
You can watch my step-by-step video here.
1. Cut your piece of fabric into a perfect square. Mine was cut to 22″ x 22″ but you can do any size smaller or larger depending on the size ghost you want to make.
2. Inflate a 5″ balloon and attach it to the top of a can or bottle with tape.
3. Put a piece of parchment paper down on your work surface. We’ll be draping the fabric onto the work surface so you want to make sure you put the fabric onto parchment paper so it doesn’t get stuck when it dries.
4. Pour a generous amount of the fabric stiffener into a bowl. Submerge your fabric making sure all areas are saturated enough with fabric stiffener. Squeeze out some of the excess and drape the fabric over the balloon and the can.
5. Wait around 24 hours for it to dry completely. Once it has dried completely, carefully remove the ghost from the can and the balloon.
6. Cut eyes out of black felt and hot glue them onto the front of the ghost.
7. Knotting one end of fishing line, string the fishing line through the top of the ghost using a sewing needle and hang it up where you want it!
I’m absolutely going to make more of these for our living room, Kiki has been obsessed with them. They were so easy to make and I feel like this would be a great activity to do with kids too! Can’t wait to see all of your hanging sheet ghosts!!!


