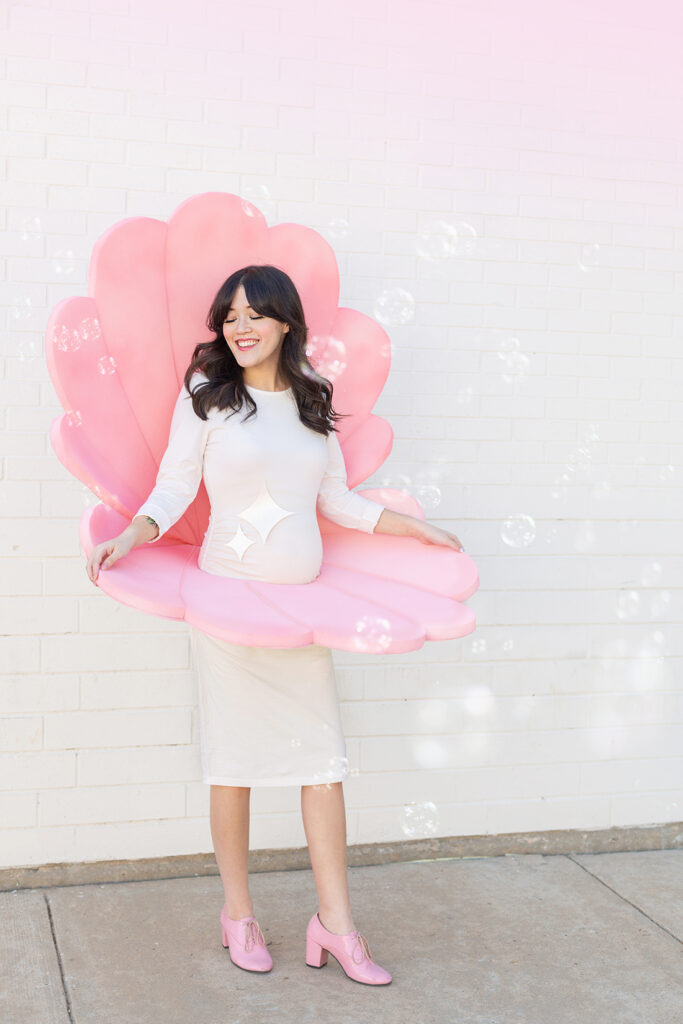
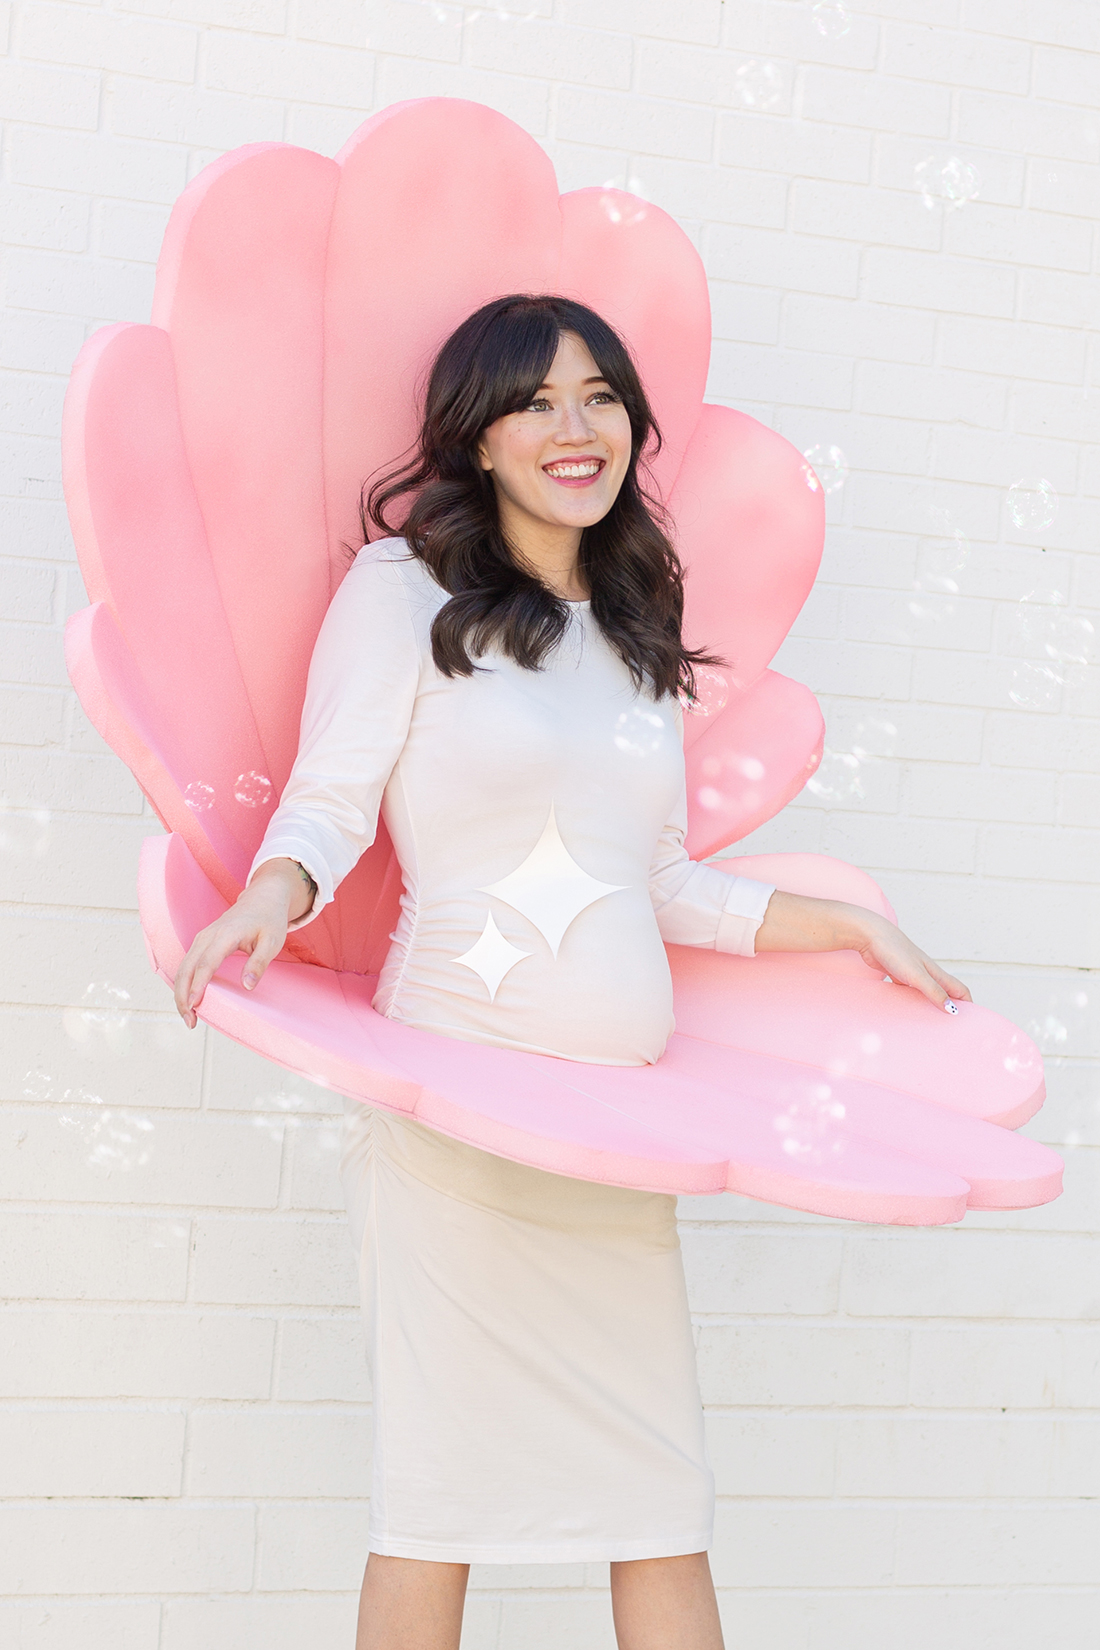
 Following right behind my jack o’lantern costume, here comes something just as fun, with a little bit of added whimsy to maternity costumes. I’ve been dreaming up this costume for months and I’m so excited to share it with all of you! Guess you can say I’m a mother-of-pearl now haha! I also want to add that this costume can totally be for anyone who just wants to be a giant shell, be it clam or oyster! The color of the shell is up to your imagination, and you could even do it in an ombre or rainbow color scheme. If any of you play Animal Crossing, this costume reminds me so much of the shell furniture and an iridescent shell would be so cool!

2 1 inch upholstery foam rolls (we got ours at Joann Fabrics)
2 40″ x 60″ foamboards
1″ elatic
Ivory outfit for the pearl
2-3 cans of spray paint (we dyed ours with Rit dye, but spray paint works just as well)
Pearlized cardstock
Scissors
Hot glue gun
Spray adhesive
Utility knife

*How-To photos coming soon
1. To begin, cut some sparkles out of pearlized cardstock and hot glue them to your outfit for the “pearl”!
2. Next we move on to the shell. Draw a shell shape onto one sheet of foam board that is approximately 36″ in diameter. Repeat this step so that you have two identical foam board shells.
3. Using a utility knife, score the exterior 6 segment lines of your shell (this will give us the shape of the shell so that it isn’t flat). Using a hot glue gun, bend your scored segment lines and fill with hot glue, allowing each line to dry fully to guarantee it stay bent and looks 3D. Set aside
4. On your upholstery foam, trace the individual 6 segments of your shell. We are going to do this twice, once for the bottom shell and once for the top. Cut out the segments with a utility knife or an electric knife.
5. Spray each of the segments with spray adhesive and adhere them to the foam board shells you made in step 2. You should now have two identical shells, each with a foam board base and upholstery foam on top.
6. Measure your waist and cut a hole in one of the shells with your utility knife where you want the shell to sit on your body. This is where you will be inside the costume.
7. It’s also time to color your foam to match your dress, so grab your spray paint or if you want, fabric dye, and finish coloring before moving onto the next step.
8. Cut a small 4″ x 6″ rectangle out of your leftover foam board and score the center with 1-3 lines. This will be a support for the costume.
9. Hot glue the bottom shell onto the bottom flap of your support and allow to dry, then place the top shell in place, and with a friend’s help glue around the base of the top shell onto the bottom, forming an open clam shell. Finally, hot glue the top flap onto the back of the top shell and allow to dry.
10. Attach elastic straps going from the front of the bottom shell to the part of the shell that sits on your back
11. Once the two pieces of shell are stuck together well, put on that costume because shell yeah, you’re done!
 Are you still with me? I knew you would be, and now you’ve learned a pearl of wisdom or two when it comes to making shell costumes! Haha! I hope you’re enjoying our costumes this year, they may not be as intricate as a bowl of ramen or as iconic as our campfire and s’mores costumes, but we’re super proud of this year’s bunch!


