

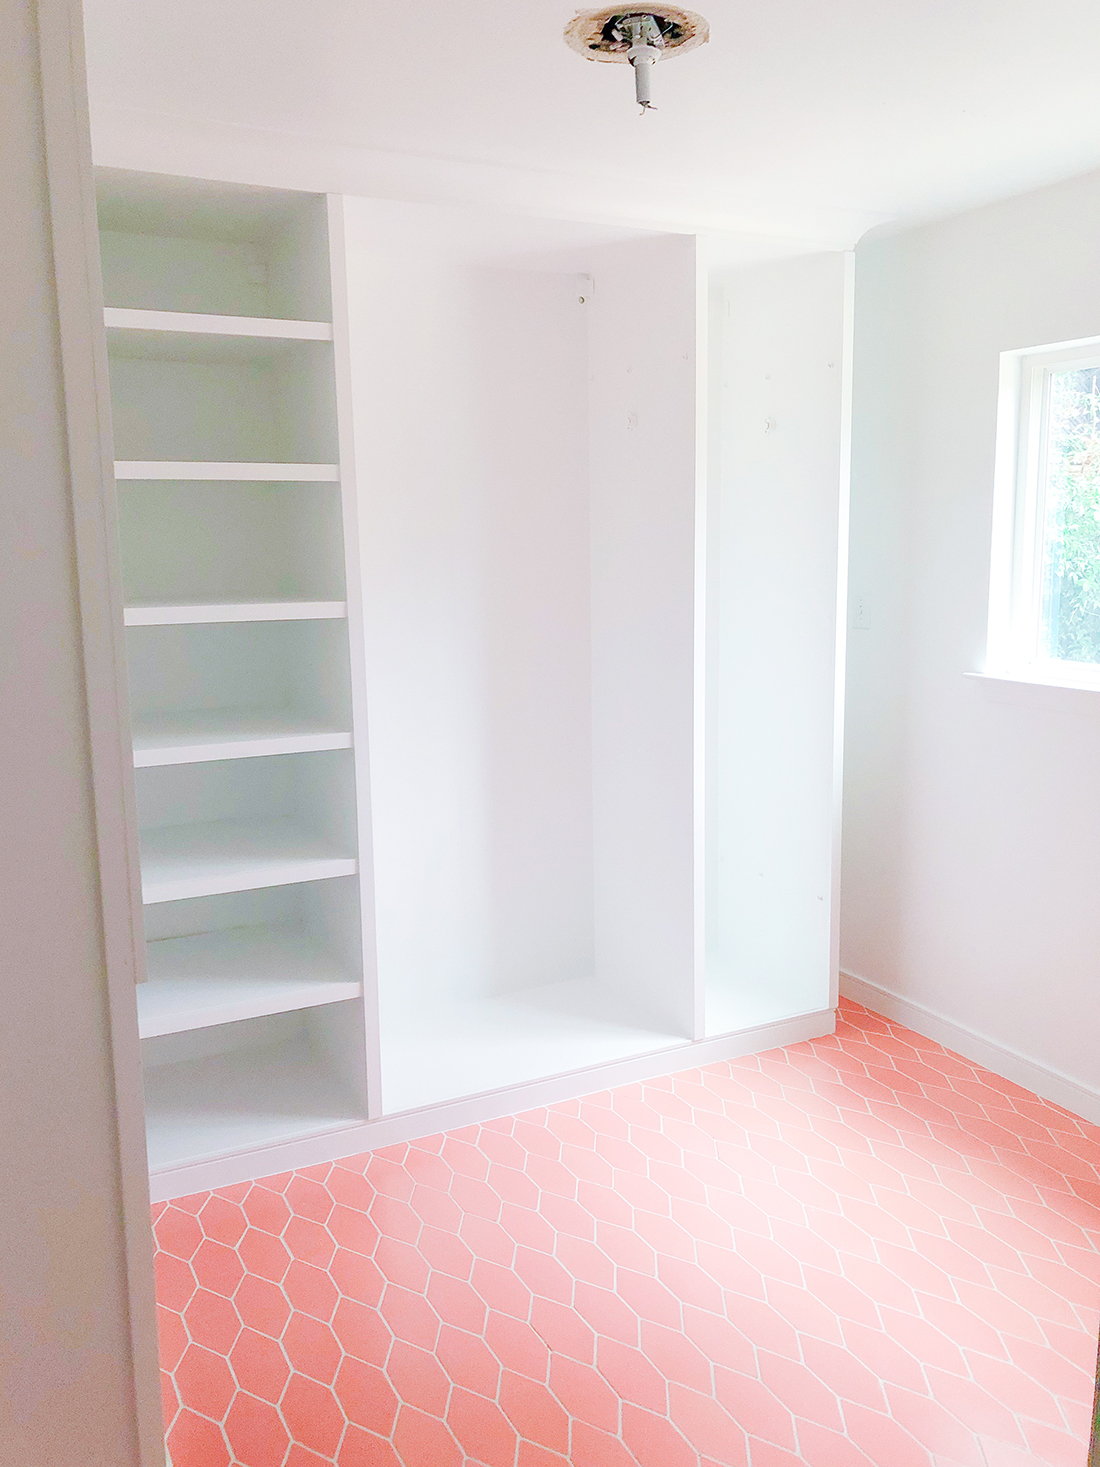
If you’ve been wondering how we managed to change our closet from an empty room to vintage built-in, then this is the blog post for you! We’ve been meaning to talk about our process since the post came out but the holidays got the better of us. Now that we have a little bit of spare time, we are going to walk all of you through the process of turning a bare room into a vintage walk-in closet with a completely built-in look.

If I told you this entire closet was actually a PAX wardrobe system from IKEA would you believe me? I know I wouldn’t, but it’s the truth. When we were planning out the closet we had a very clear idea of what we wanted it to look like in our head, but almost no idea of how to achieve that.
When we lived in our apartment, we had the same PAX wardrobe system, and really loved how well it worked for us. When we were looking at how to best utilize the space in the closet, we quickly realized that the same system would work for our new home. The main problem was making it look a little less like an IKEA wardrobe and a little more like a giant built-in closet to showcase all of our favorite vintage pieces.
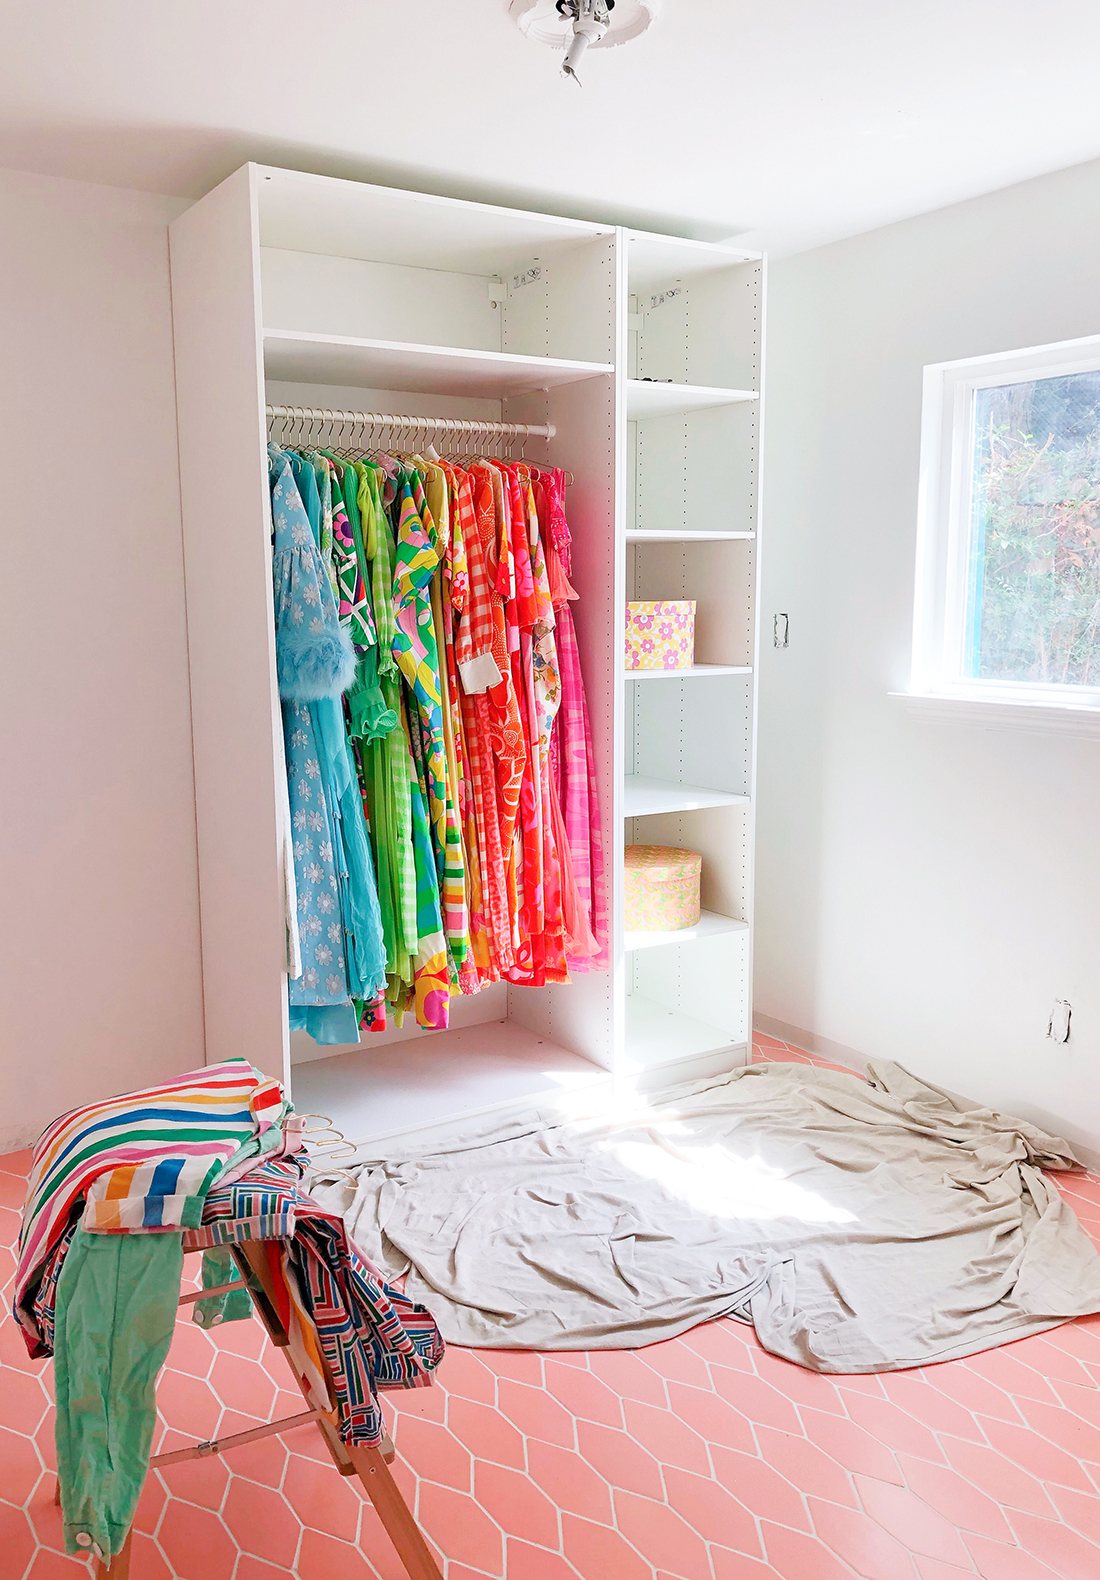
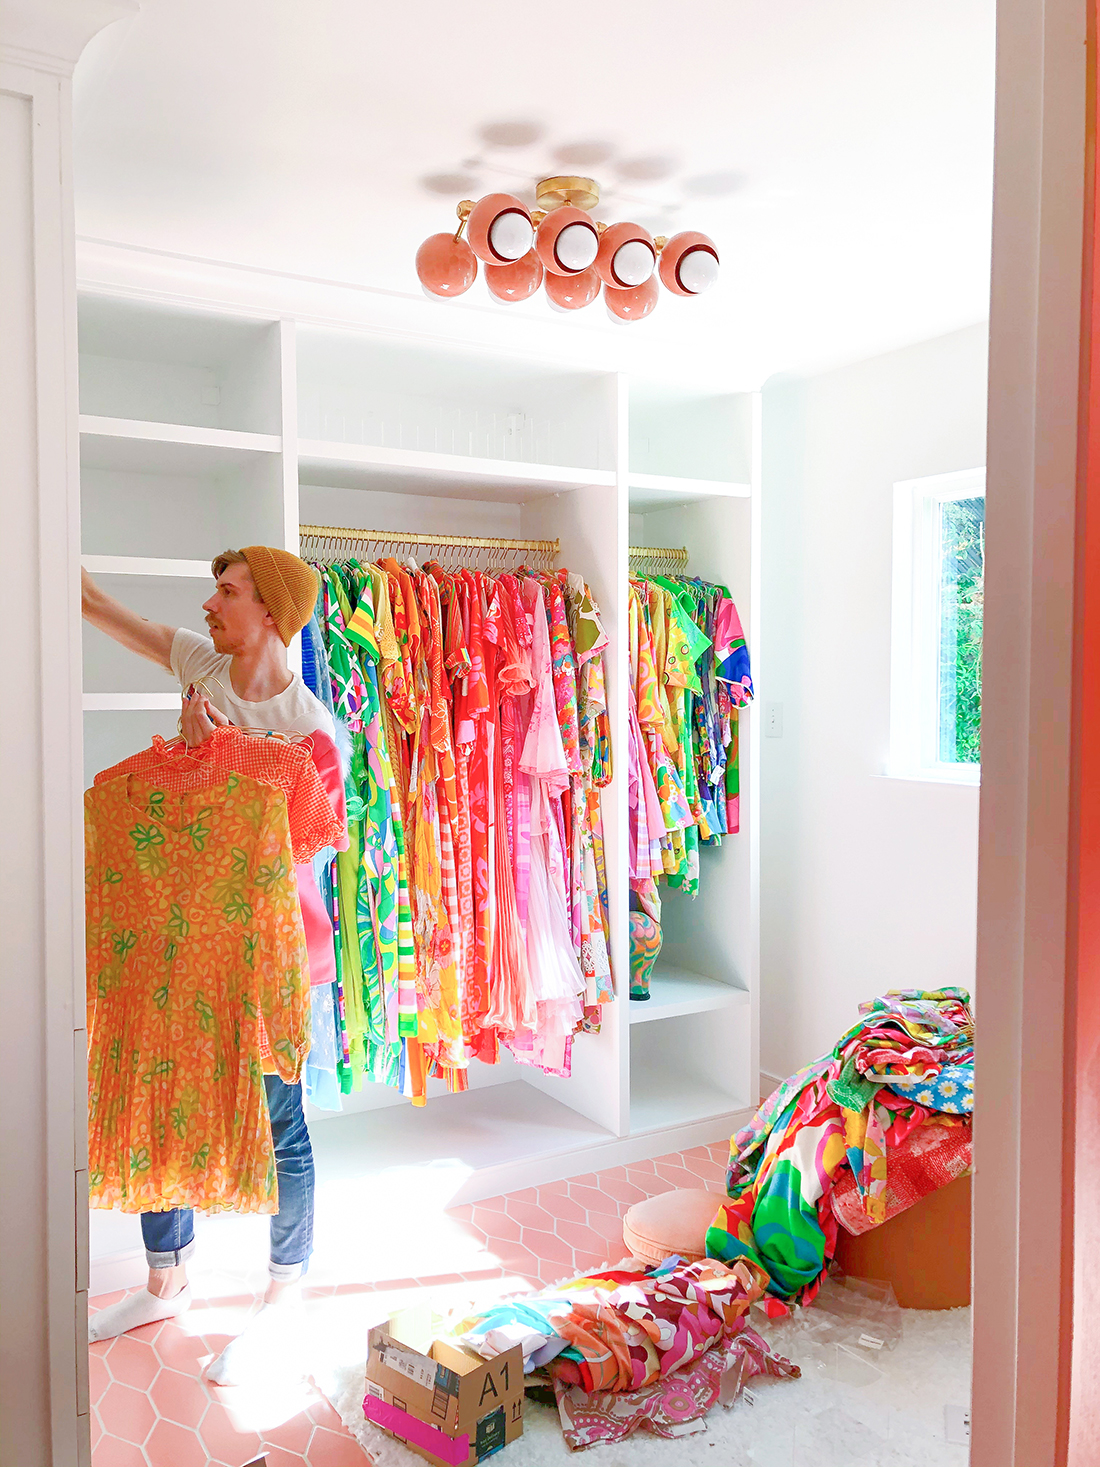
Kyle used the PAX planner on the IKEA website to figure out the best configuration before ordering everything. Since we had assembled these wardrobes once before, we felt comfortable putting them together ourselves again, which saved us a little money in labor too! Below you can see when we first started putting everything in the space.

To add a more complete look to the wardrobes we added trim to the fronts, sides, and shelves of all of the wardrobes. This got rid of the seams in between wardrobes and made everything look more streamlined. To make the drawer fronts, we used IKEA PAX shelves, cut them down to size, and screwed them to the already existing drawer fronts. We used a white trim that was bought at the hardware store, but the exact trim you choose doesn’t matter if you’re planning on painting everything in the end. Adding the trim was such a simple step, but it truly added so much value!


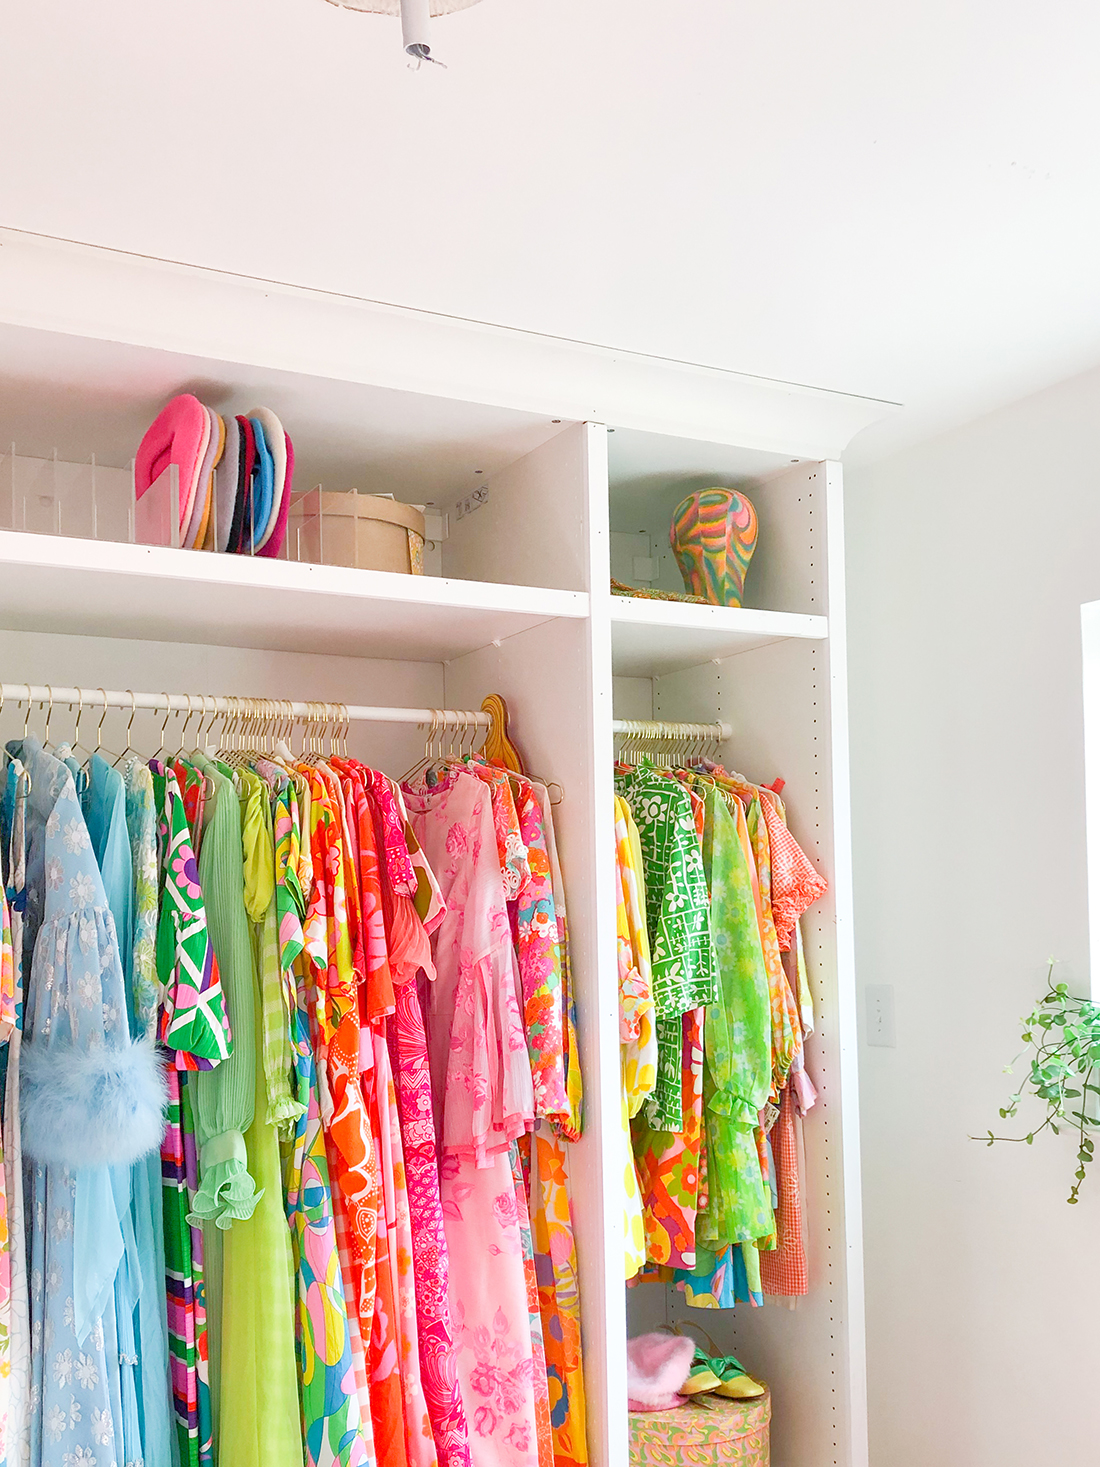
When we originally started looking at inspiration for built-ins for inspiration, from 1970’s dream homes to brand new homes with modern touches, what we started to realize was that most of those closets were floor to ceiling rooms, without space between the wardrobes themselves and the ceiling. Unfortunately our PAX systems did not touch the ceiling, and of course, has a small gap between the wardrobe top and the ceiling. To remedy that, we decided to put crown moulding around the top of the wardrobes to give them the appearance of built-ins. We used Metrie crown moulding to achieve the effect, and with the same idea in mind, we also decided to line the entire length of the wardrobe on the bottom with baseboards from Metrie as well. These baseboards are the same as the ones on the walls of the room as well, which really helped with that built-in look.

Once we had our trim, moulding and baseboards in place, we needed to make everything look as seamless as possible. The moulding and baseboards naturally had seams in them where the corners touched, as well as nail holes where they are fixed to the wardrobes and walls. There were edges on each pieces of trim that you could see as well that needed to be covered before painting. You can purchase caulking at any hardware store, and this would be a simple step to do yourself if you’re looking to save some money! Our painters used it to seal and fill all of the gaps we had in our wardrobes. Once the caulking had dried, the wardrobes were primed and painted a similar color white as we painted the walls. Keep in mind that since the IKEA wardrobes are already finished, you will need to use a bonding primer to make sure the paint sticks.

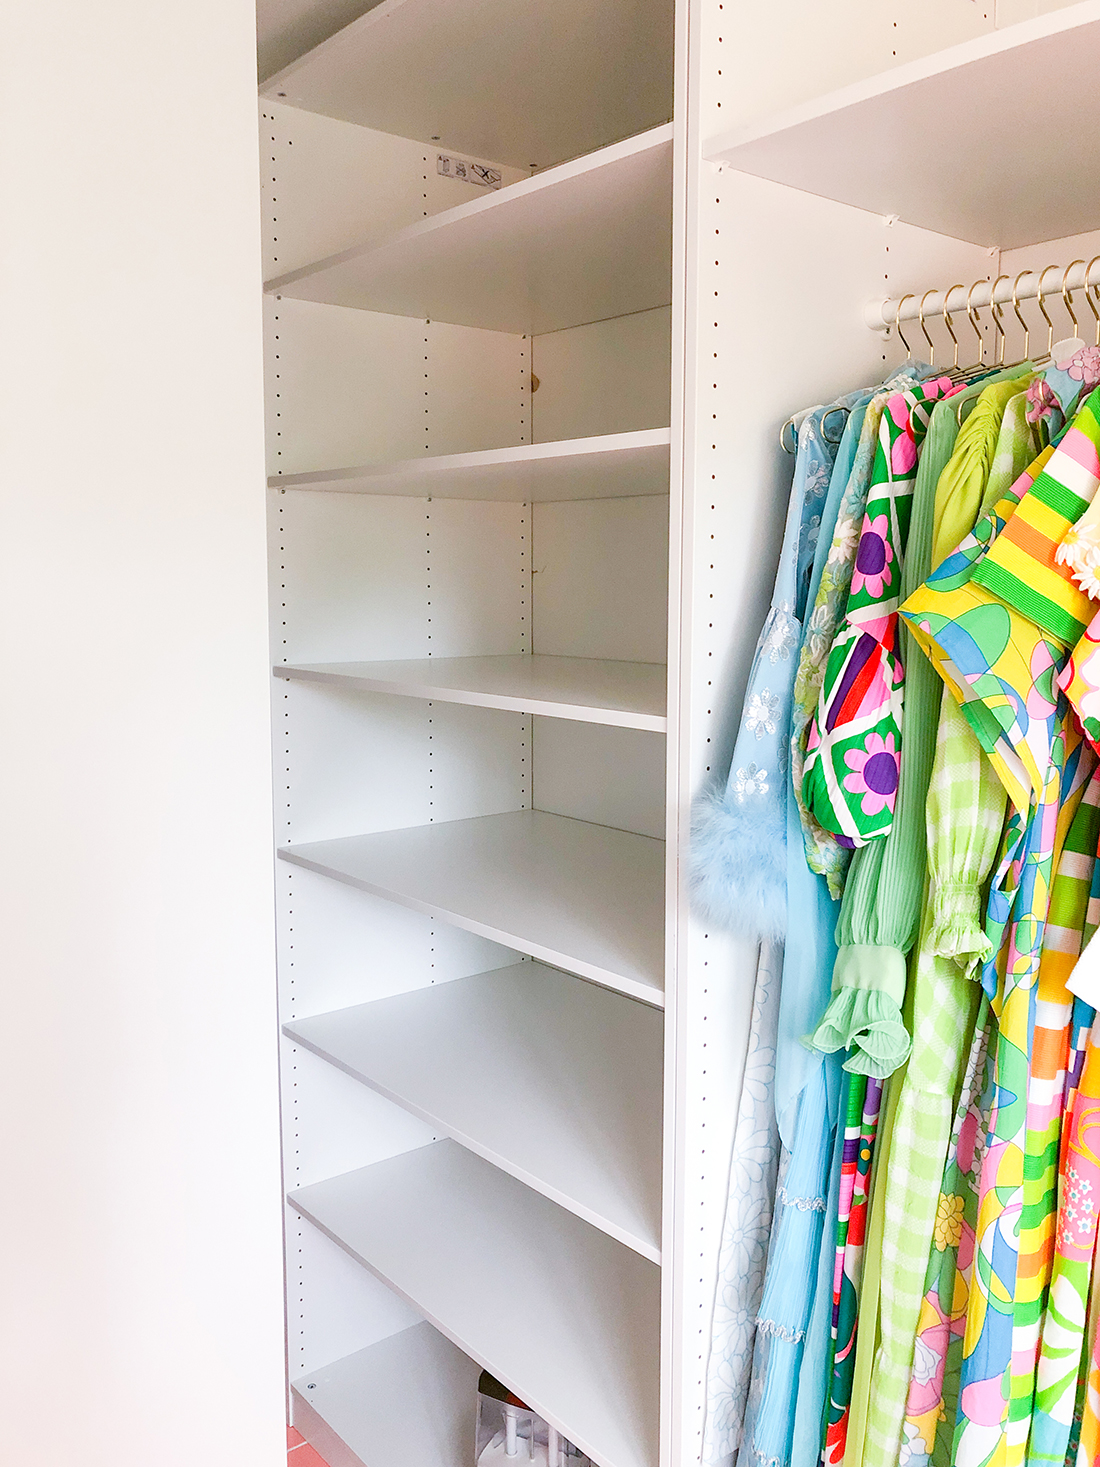
While the baseboards, moulding, trim and paint job helped make the wardrobes look like built ins, the closet was still missing some things. One of the first things we started with was also one of the most obvious IKEA giveaways, the peg holes. If you’ve ever bought an IKEA wardrobe or kitchen cabinet, then you will know exactly what we are talking about. The PAX wardrobes have HUNDREDS of these little holes, that stick out like sore thumbs. When we were shopping at IKEA we realized that they sell little stoppers for the holes in the kitchen department to make the walls look uniform. They work great, but take a lot of energy to put into the wardrobe itself. I think we ended up using over 1000 pegs throughout the wardrobe! Haha!
The next step was getting rid of the normal IKEA clothing bars and elevating them a little bit. We bought brass clothing bars and custom cut them to fit brass flanges that we installed into the wardrobe where the original white IKEA bars were. These tie into the entire room’s fixtures, which are all brass as well. Finally, we added brass pulls on the drawers, to give them a finished look.

Since budget and cost are a huge part of renovating, I wanted to break down the cost of each step with you all.
$997 labor and materials, $500 for caulking, priming, and painting, moulding and baseboards gifted by Metrie, $985 for the IKEA PAX system = $2,482 (which is less than we paid for our last sofa haha!)
We used a contractor to do the trim and install the moulding and baseboards, and we also outsourced painting and caulking to a professional team, but both of those costs could be cut down considerably if you feel comfortable doing everything yourself!
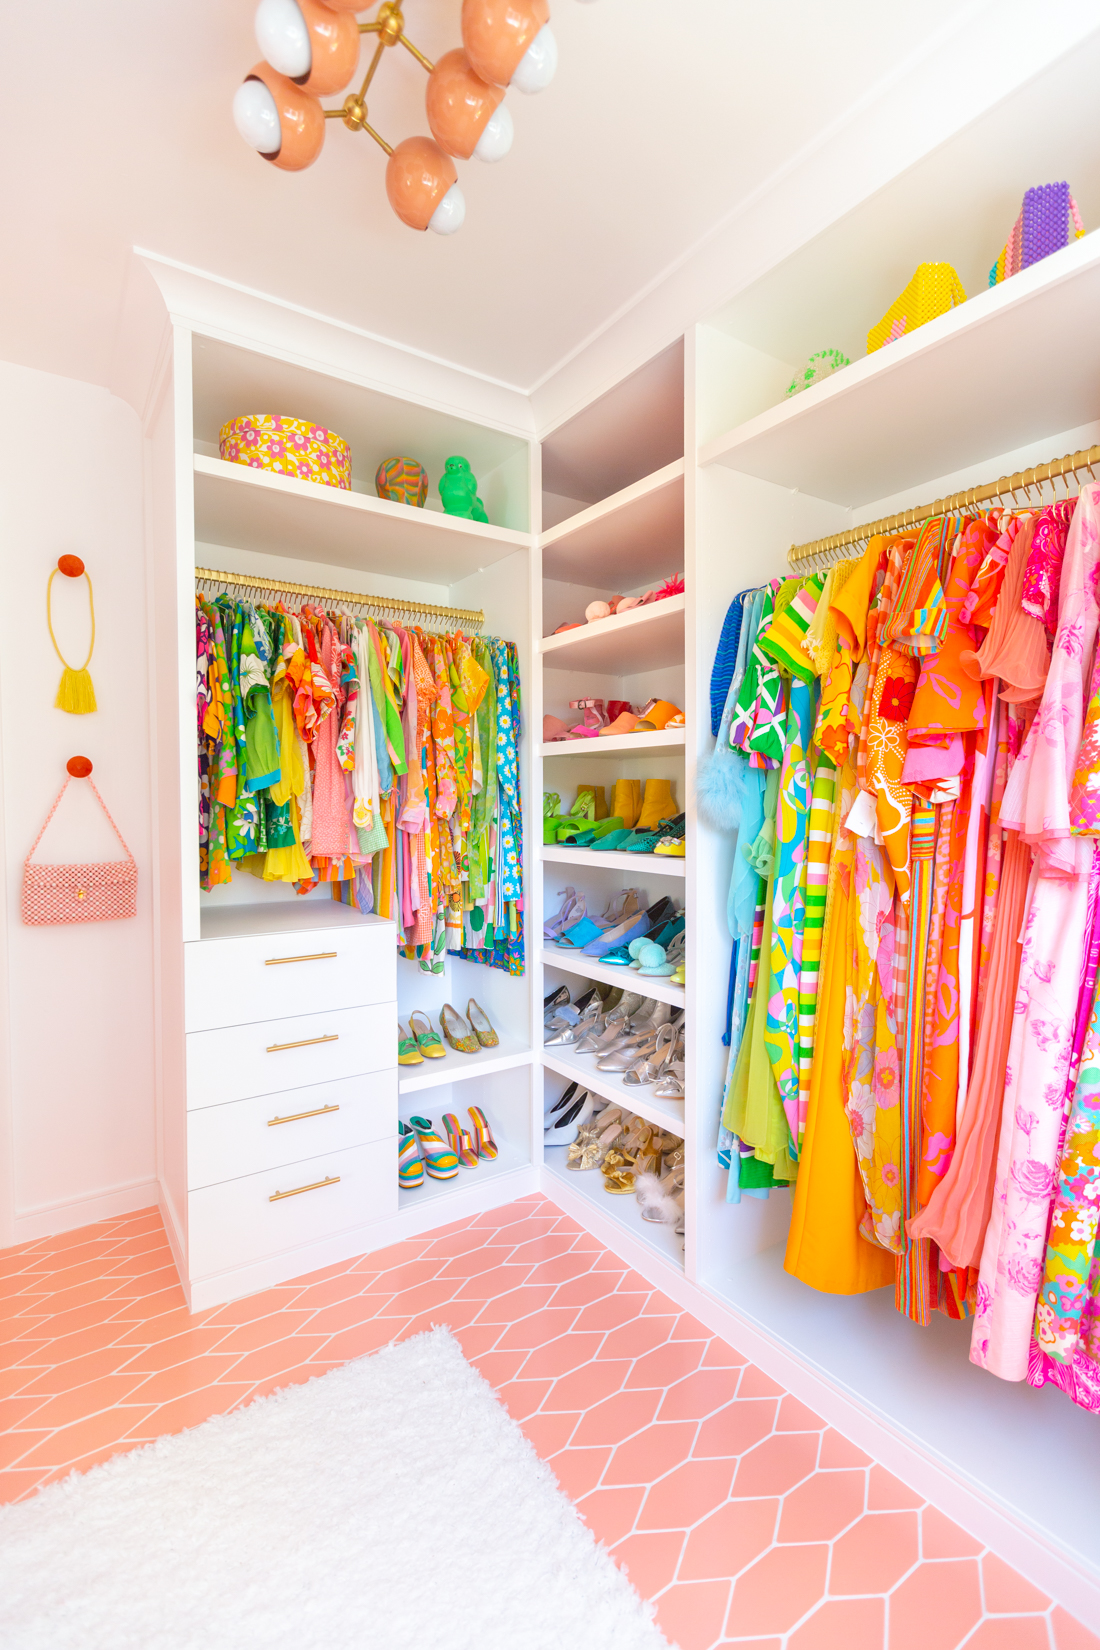
And there you have it! Our finished closet! Hopefully you enjoyed this breakdown and can see how simple it was to transform a cheaper wardrobe solution into something that looks much more expensive. This could be done for a bookcase, cabinetry, the possibilities are endless! Oh, and if you need a list of sources, make sure to check out the end of our closet reveal blog post here!


3 Responses
Would it be possible to share how you went about sourcing your contractor for this project? I also live in austin, and i am having such a difficult time finding one/knowing how to compare contractors to find the best and most affordable. maybe i’m just really bad at all thing home renovation related though – ha 🙂 Thanks in advance!
Of course! We actually stayed in his Airbnb, which is how we met him, but he’s moving on now to do a show with HGTV so we’re also in search of one too! I’ve had the best luck so far just sourcing people on Thumbtack for random jobs around the house, and then if I think they did a good job, we see if they would take on a bigger project. You can send through the same message to a bunch of different people on Thumbtack too in order to get quotes to compare prices. Hope that helps! We’re definitely struggling on the contractor front too, so don’t sweat it! xoSam
You guys did such a great job! It looks amazing!