
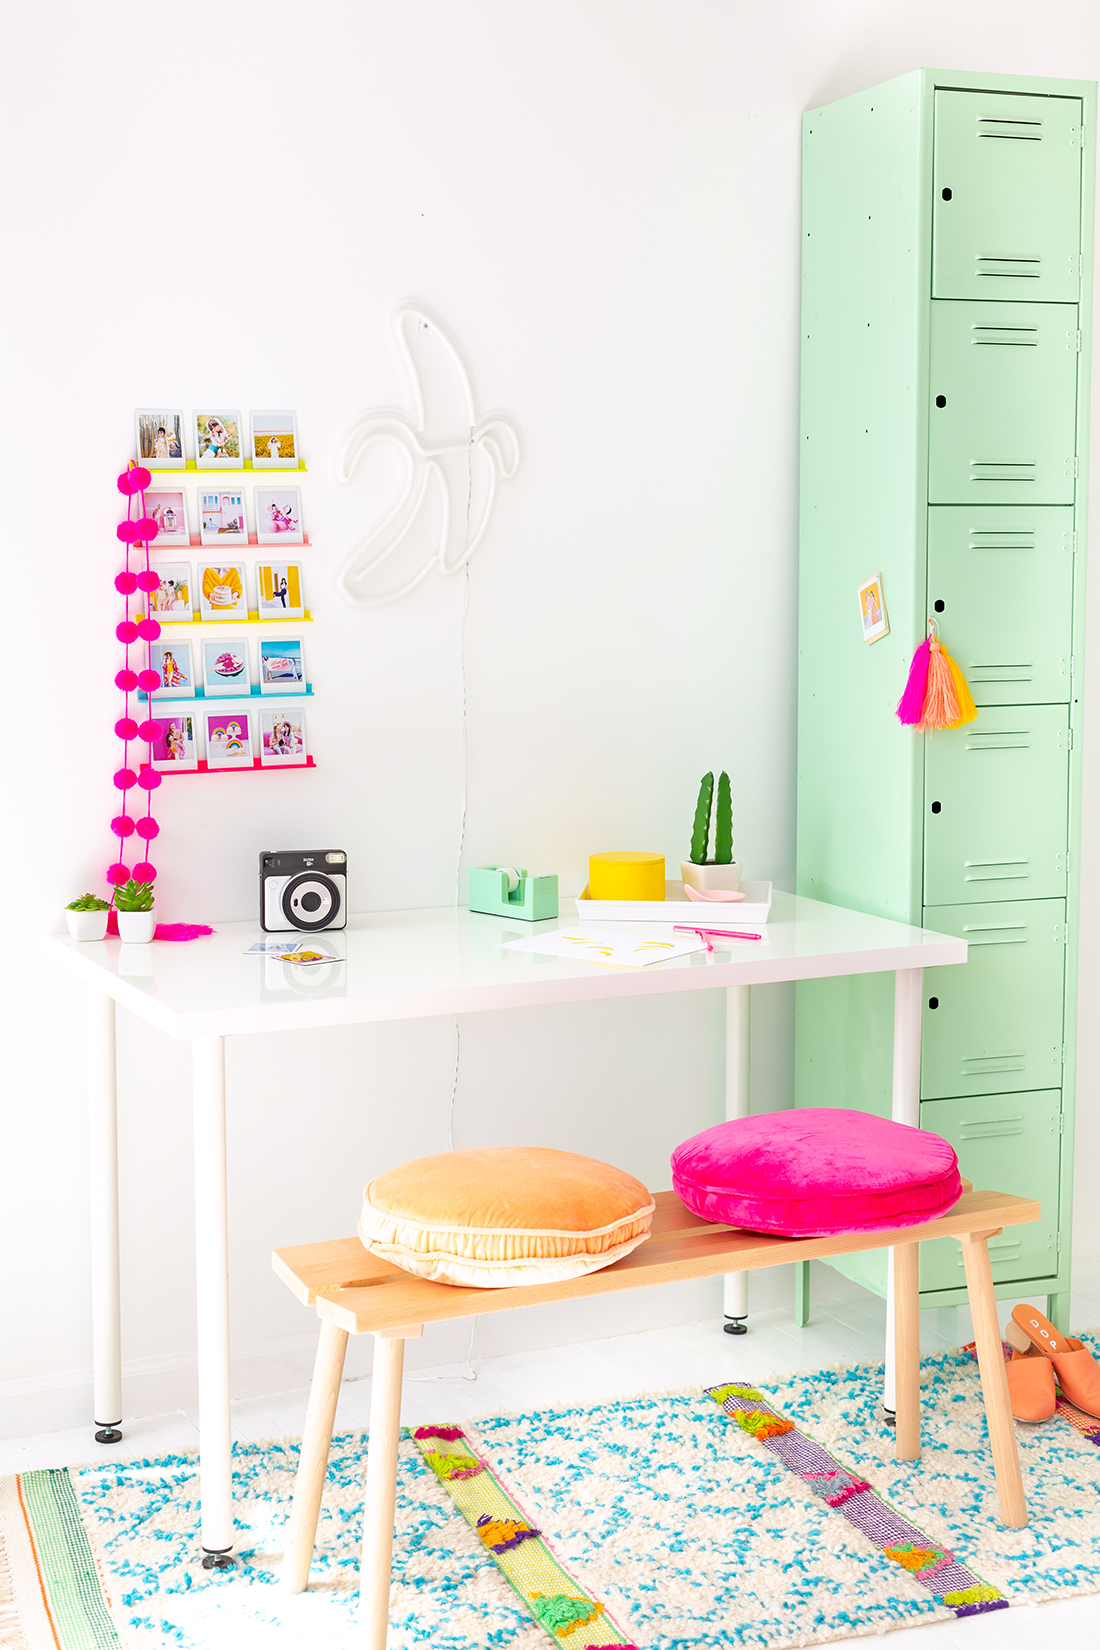
I’m super excited to show all of you our latest DIY creation, mainly because I’ve been working on our desk area in the studio and this is such an easy way to add some personality! If you know anything about me and Kyle by now, it’s that we LOVE taking our instax® cameras with us whenever we travel, and having the ability to capture fun moments in a tangible photo. At this point we have something like three albums of photos, and a hundred or two loose photos around our apartment. We may have a bit of an addiction! :p When we found out about the new FUJIFILM instax SQUARE® SQ6 instant camera we knew we needed to add it to our collection, and take some photos with it ASAP! It has a ton of new features that help you take the most creative photos possible, like a built in landscape mode for catching the perfect sunsets for Kyle and a macro mode to take the most Insta-worthy photos of your fancy dessert for me.
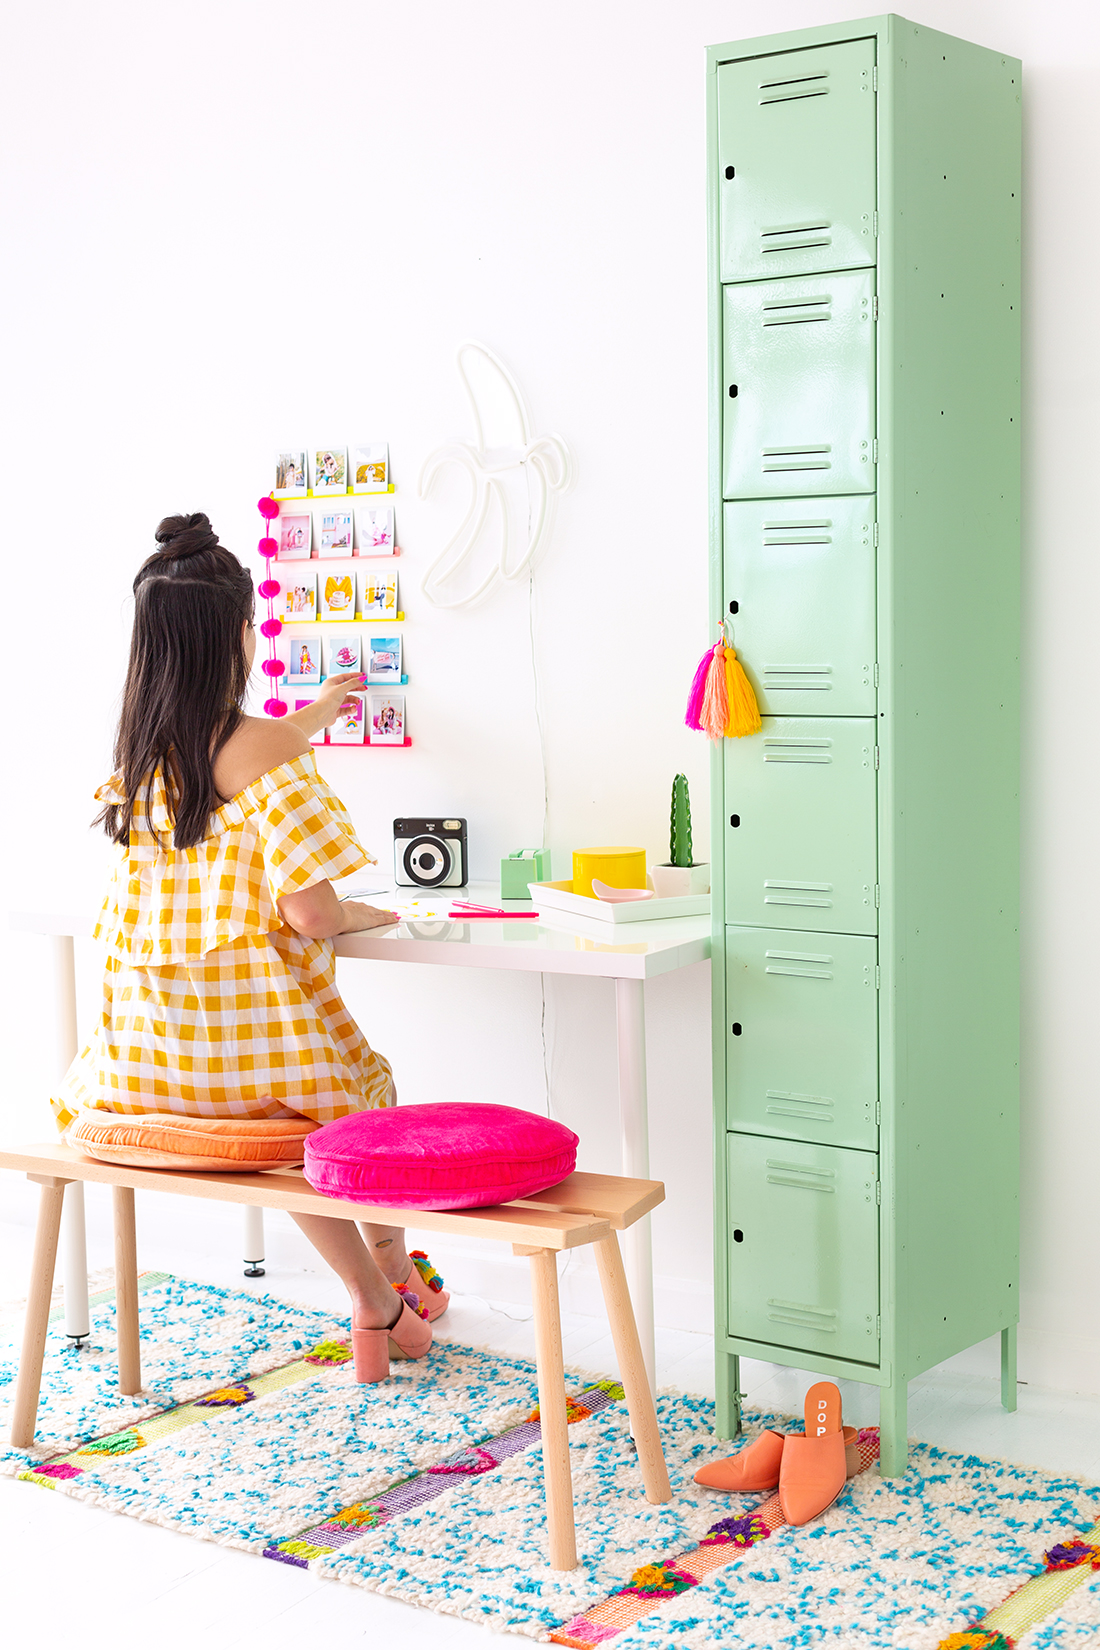
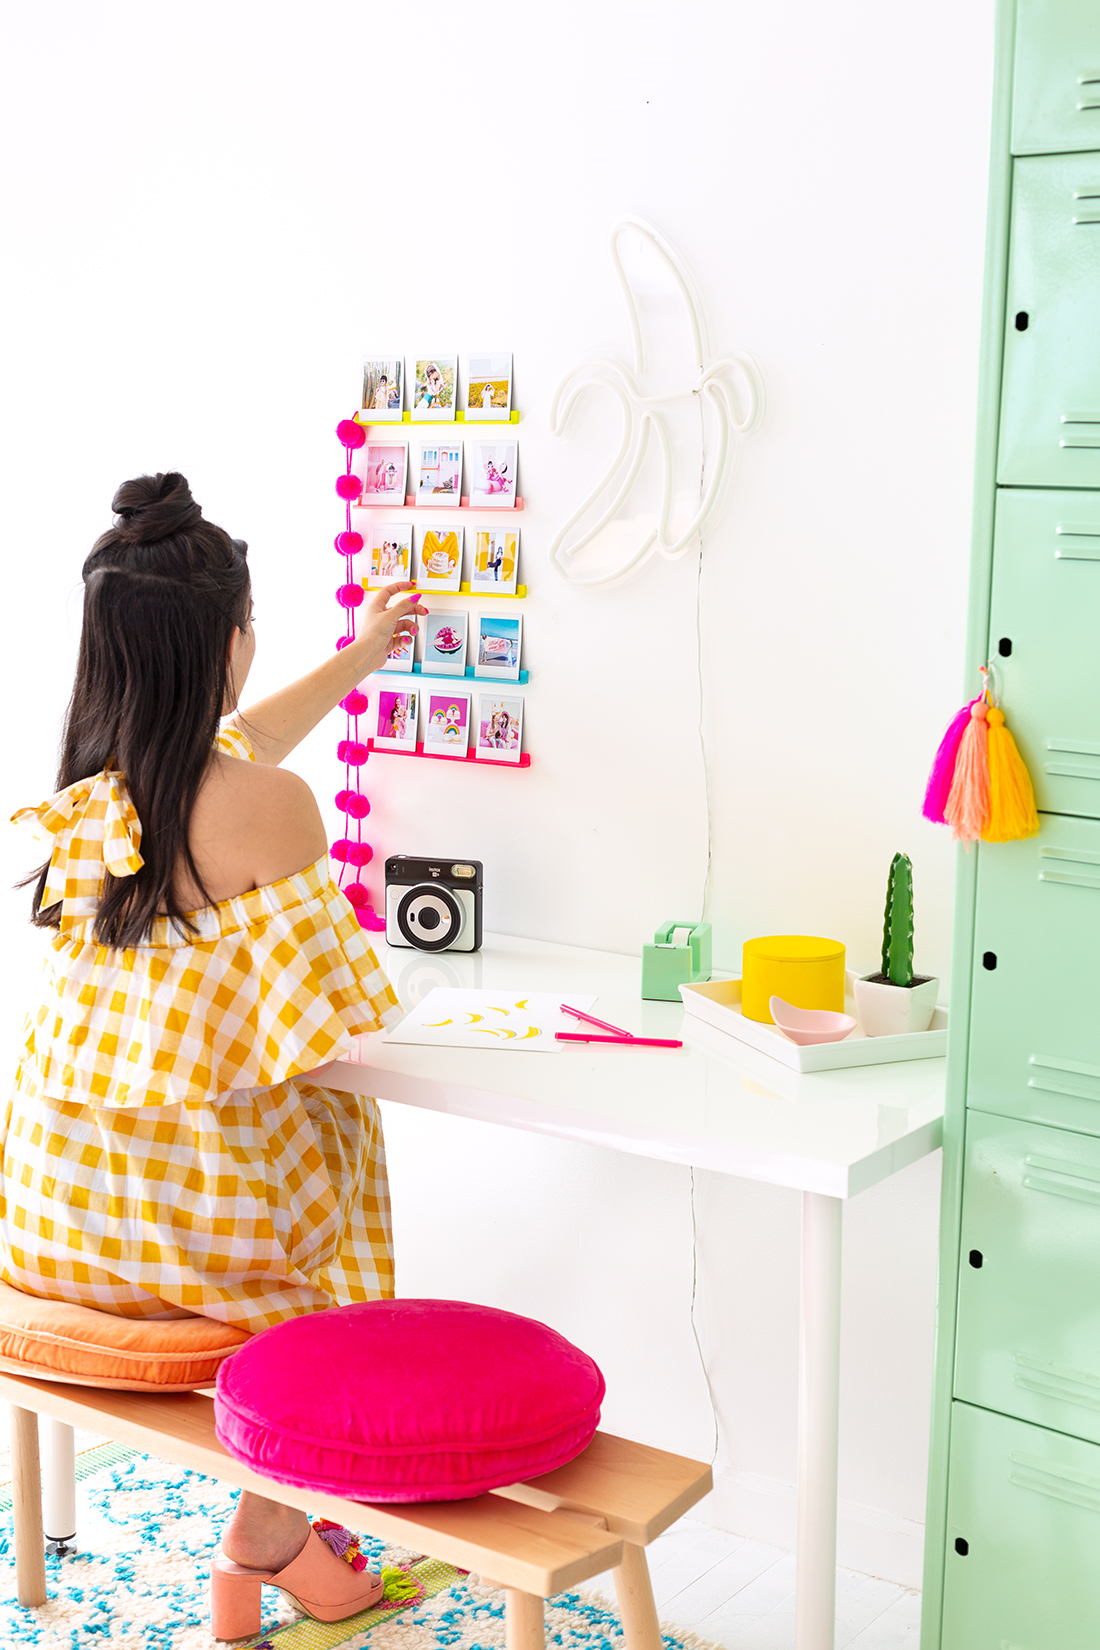
Since we moved into our new studio space this summer, we’ve had a lot of empty walls lacking in color and fun, and too many photos to know what to do with; so I brainstormed for a way to bring some of our oodles of instax® to the office and display them in a colorful and personal way! We wanted our desks in the new studio space to feel more personal, and there’s nothing more personal than a few snapshots of your absolute favorite memories and trips on your very own mini photo ledges! They definitely help liven up an office, whether it’s a cubicle or your home office in your bedroom!

Plastic corner molding (here)
Hacksaw
Ruler
Spray paint in various colors
3M removable velcro strips (here)
FUJIFILM instax SQUARE® SQ6 instant camera
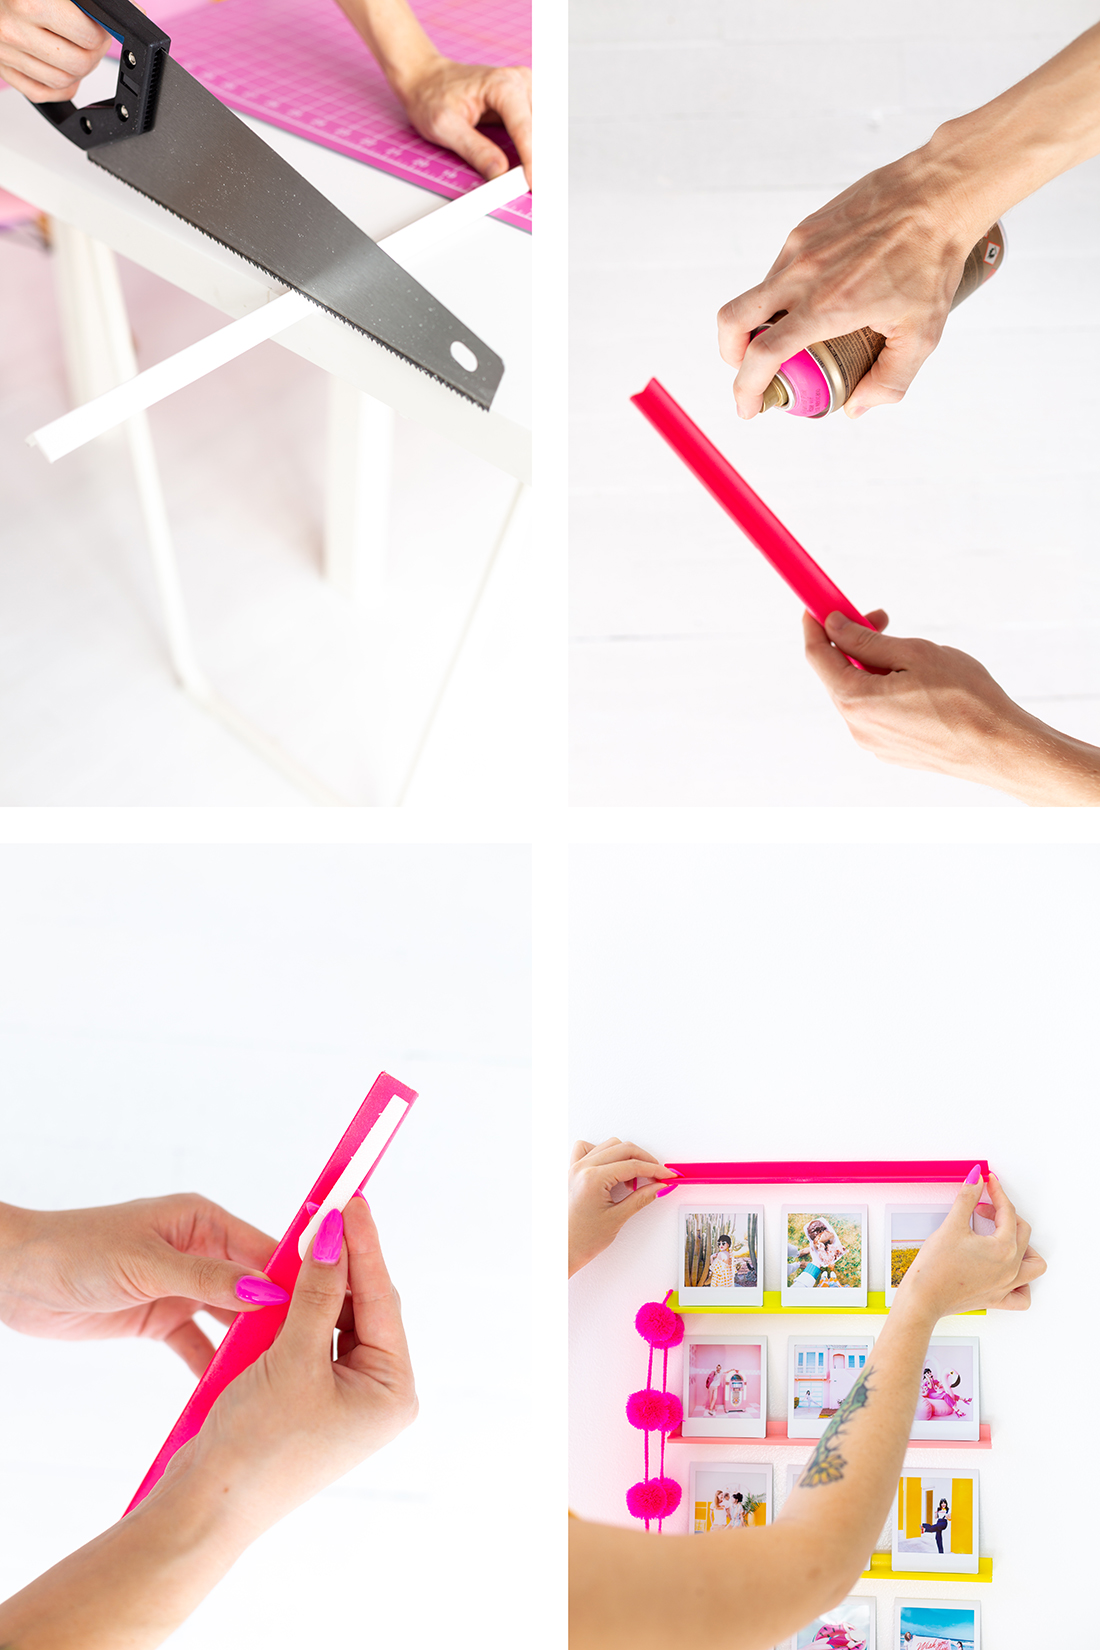

1. Using your ruler, mark 11″ on the plastic molding. You can cut yours to any length you want, but we did 11″ to fit three instax SQUARE® photos.
2. Carefully cut the molding with a hacksaw, or take the molding to a hardware store and have them make the cuts for you.
3. Once you have your molding cut, spray paint it your desired color. Allow it to dry completely before moving to the next step.
4. Cut a small strip of removable velcro and stick one side to the photo ledge. Stick the other side of the velcro to the wall where you want your ledge to go.
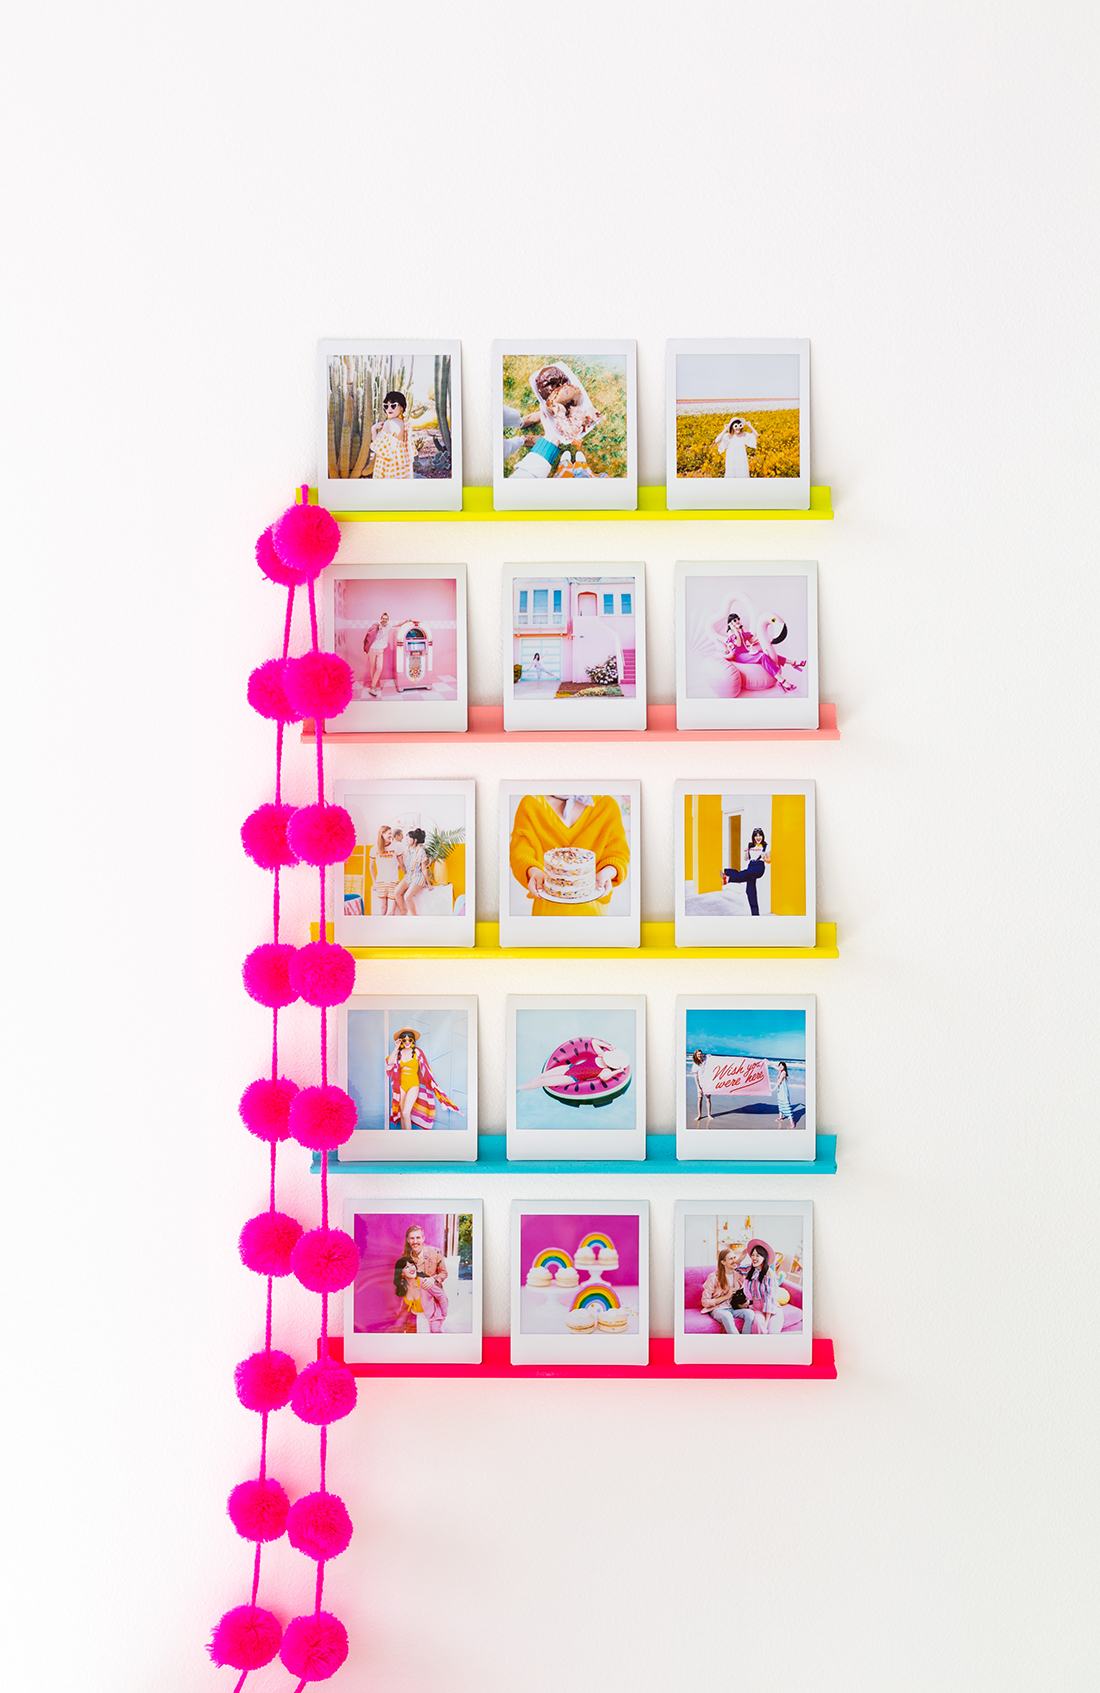
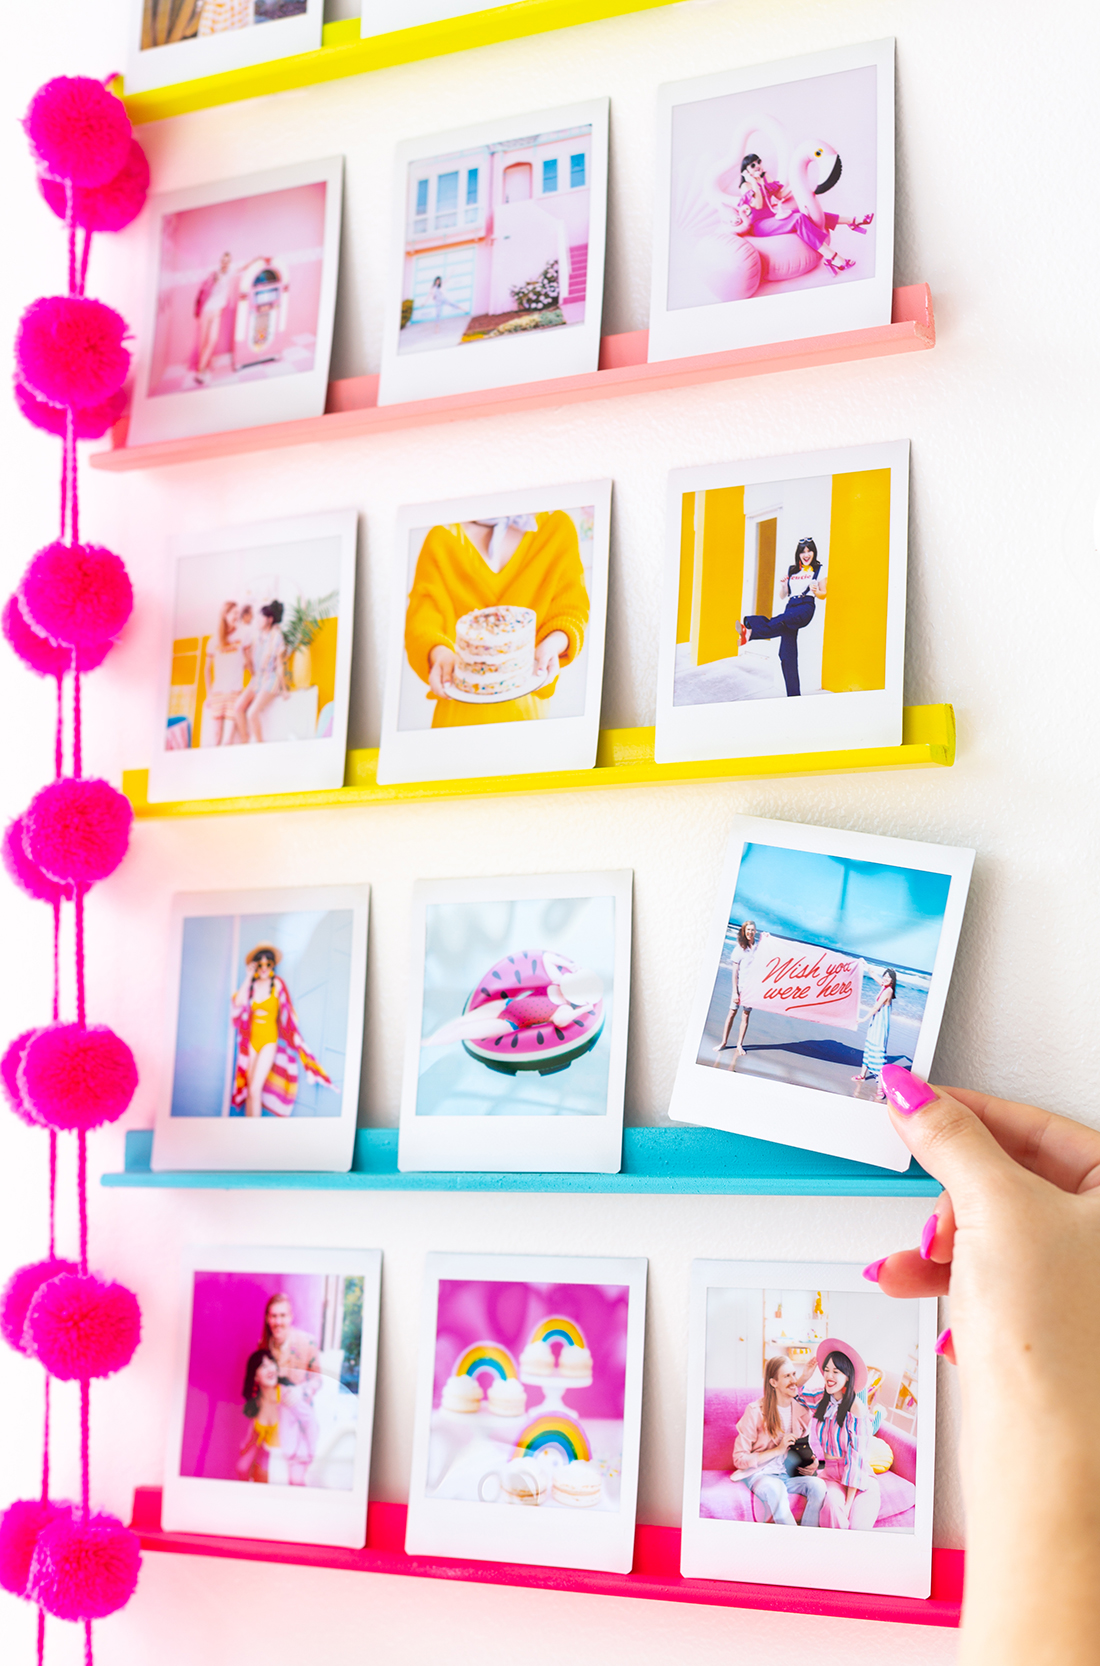
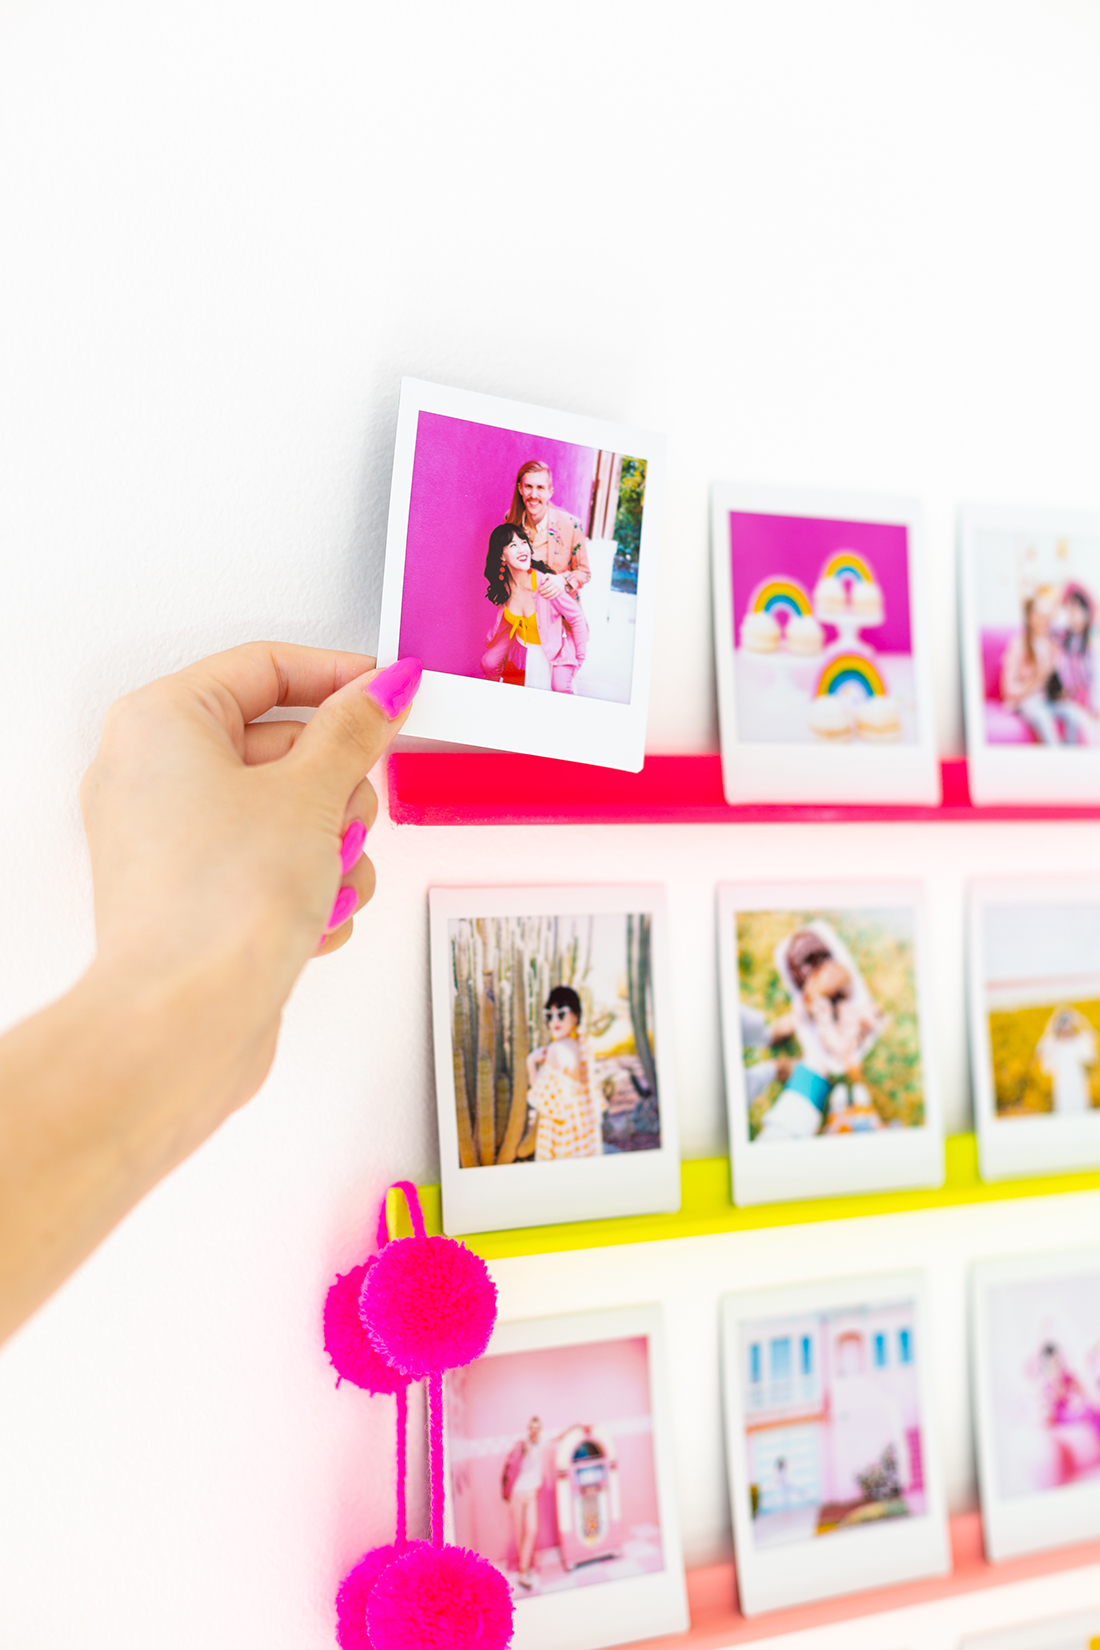
5. Stick the ledge to the wall and place your FUJIFILM instax SQUARE® photos on the ledge!
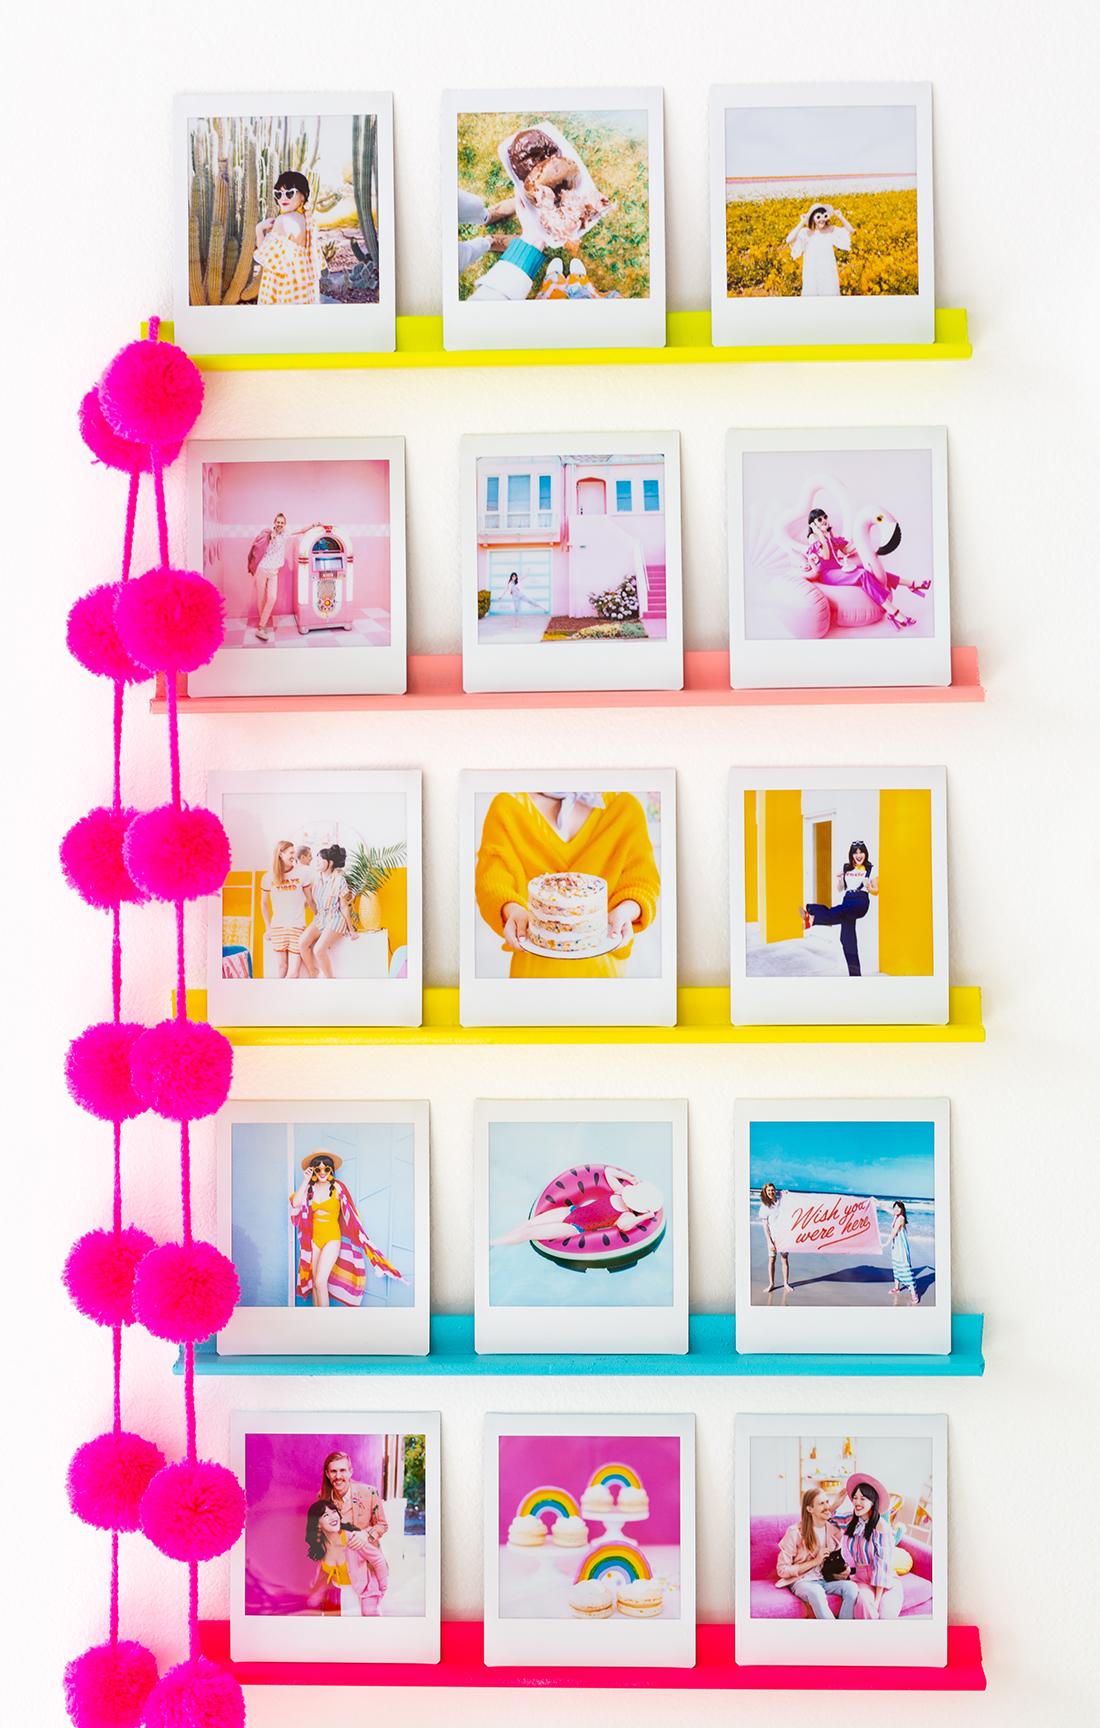
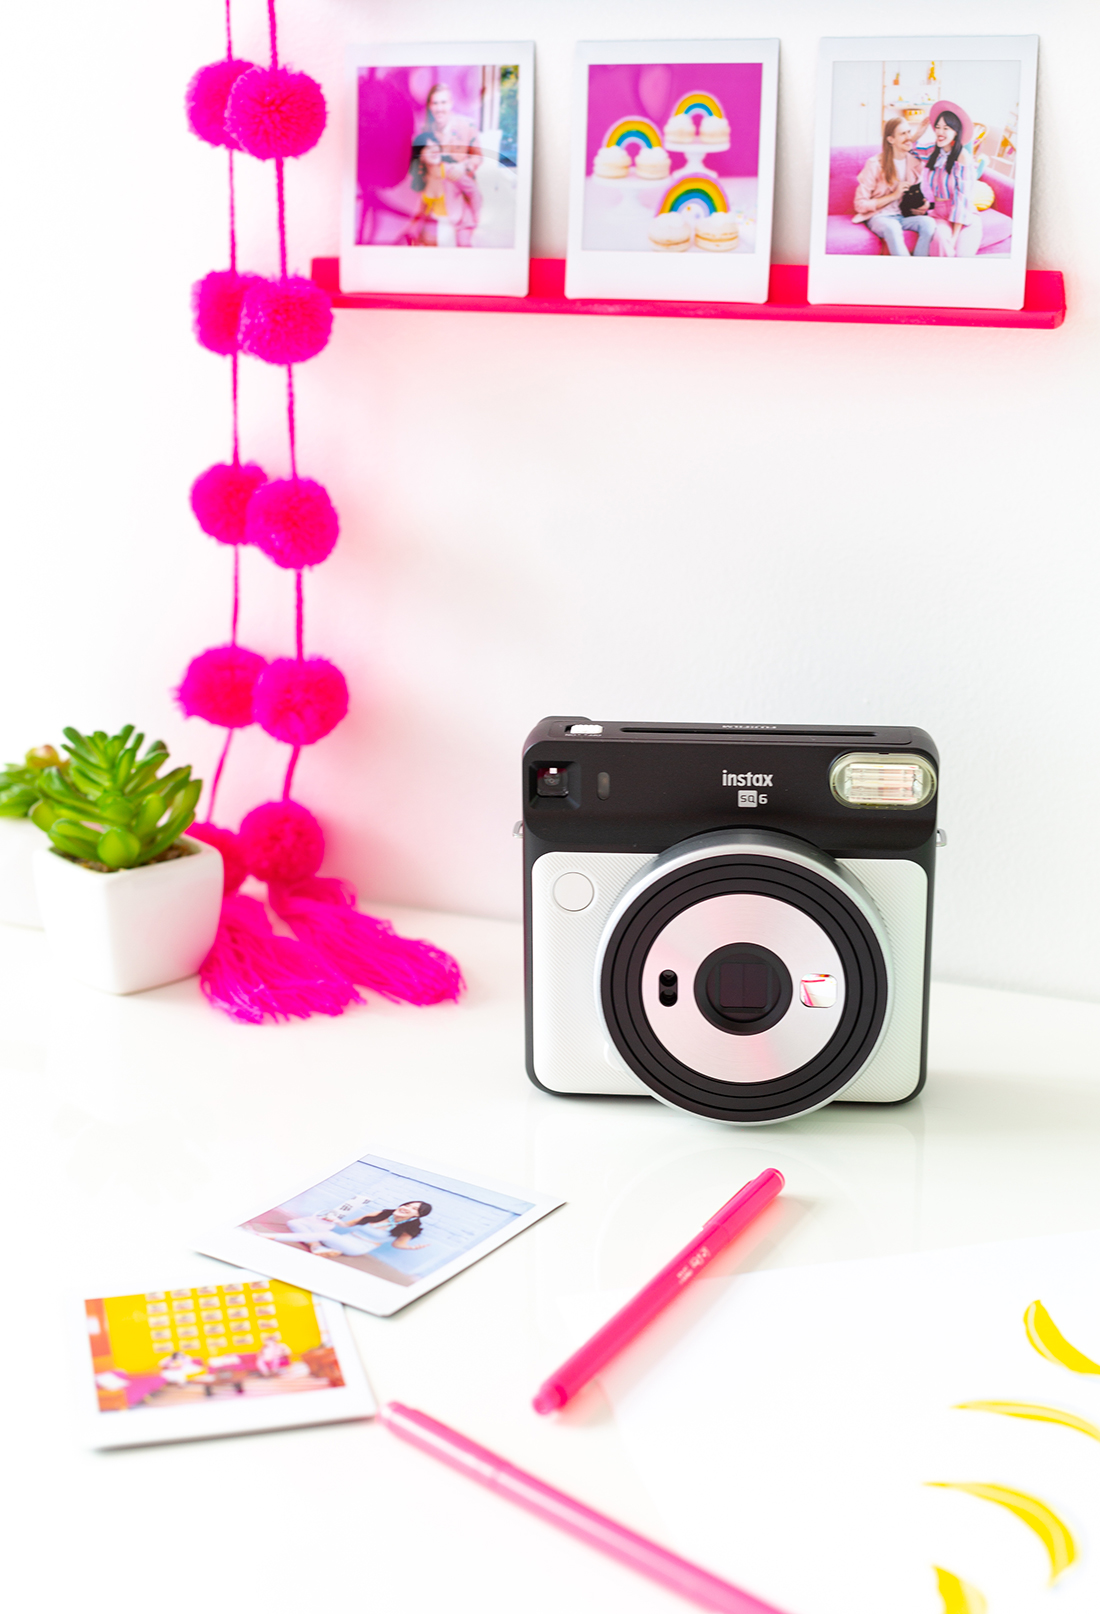
I am completely in love with how these ledges turned out, so much so that I even color coordinated the photos I put on each ledge! We used the instax® SQ6 filters over the flash to give our photos an awesome color filter. The best part about these ledges is that they really are easy to make, and you can turn them into any color you want, which means they can go anywhere you want as well; whether it’s your bedroom wall, in your office, or on display in your living room!
Hopefully this DIY gives you a little inspiration into how to display your favorite memories, I know it has got me thinking of even more ways to display and share ours! Do you have any incredible instax displays in your homes? Let us know how you made them below, and make sure to share your memories if you end up making some ledges of your own!
This post was sponsored by FUJIFILM instax. All content and opinions are my own. Thank you for continuing to support sponsors that make this blog a lot more Aww Sam! You can find more about our sponsorship opportunities here.


One Response
i was just now searching for ways to display photos that are renter-friendly too and i find this very suitable. I’d use some plastic for the “shelves”and glue it with a glue that will come off easily later on. any thoughts?