
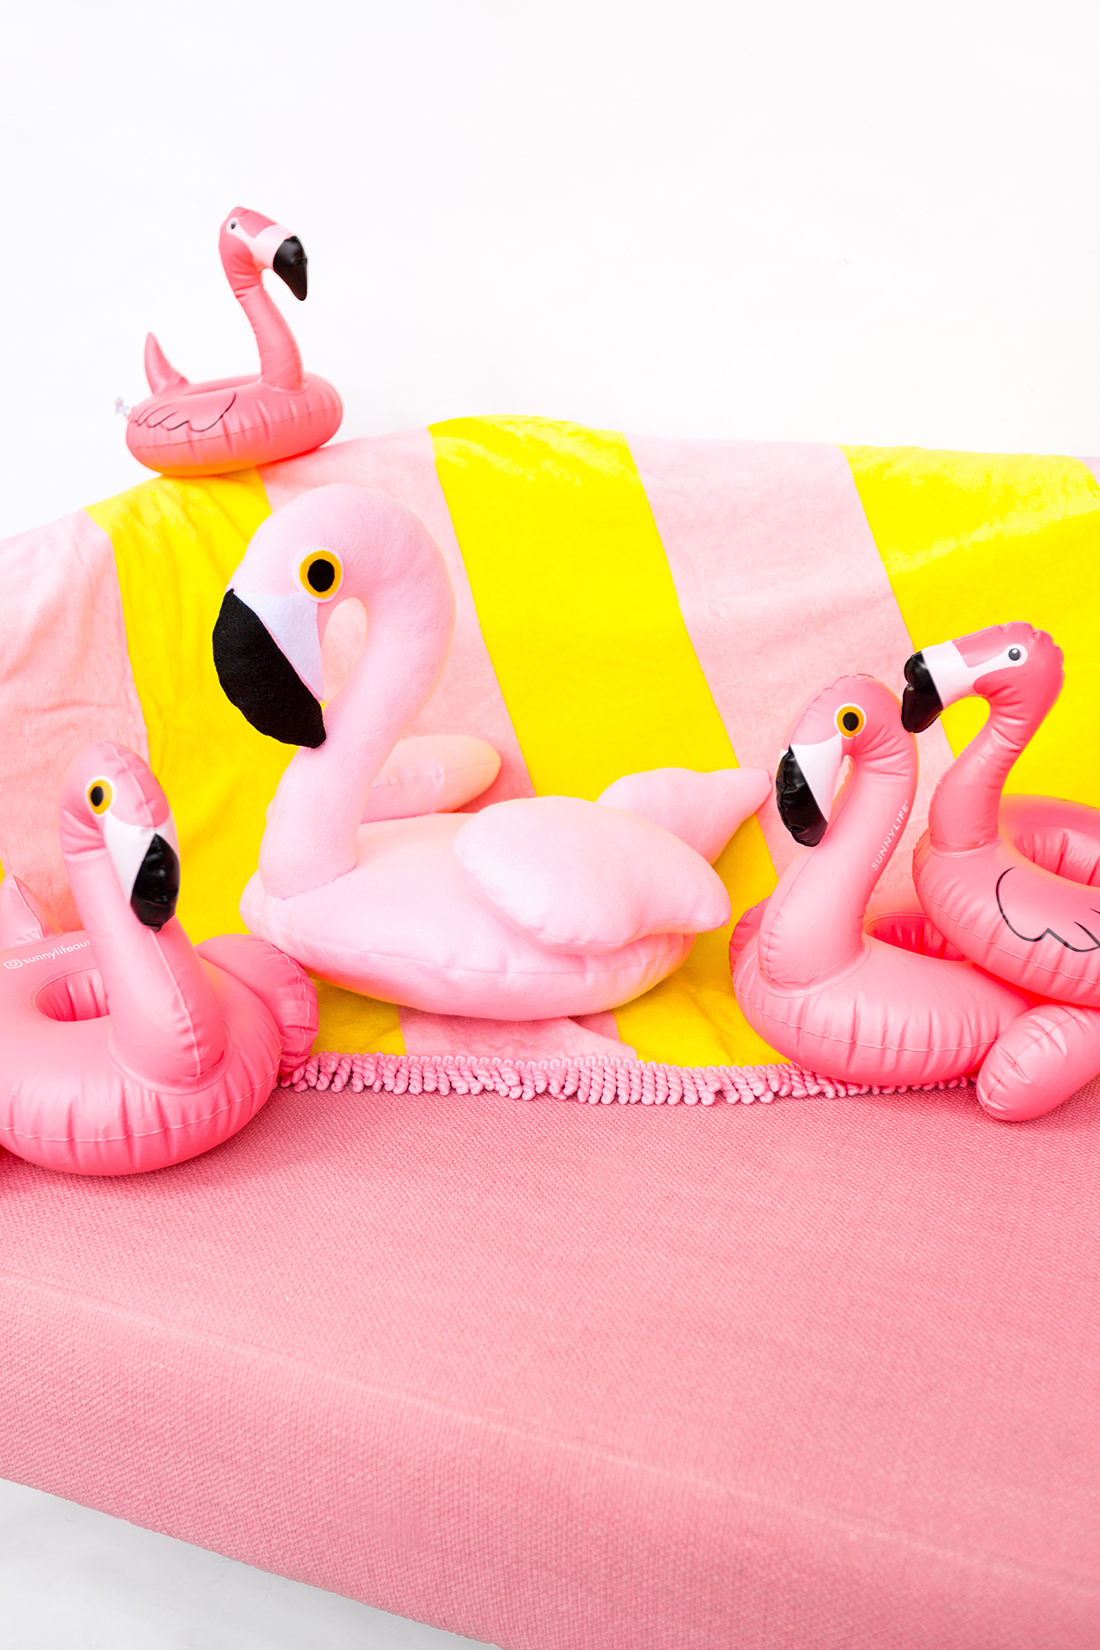
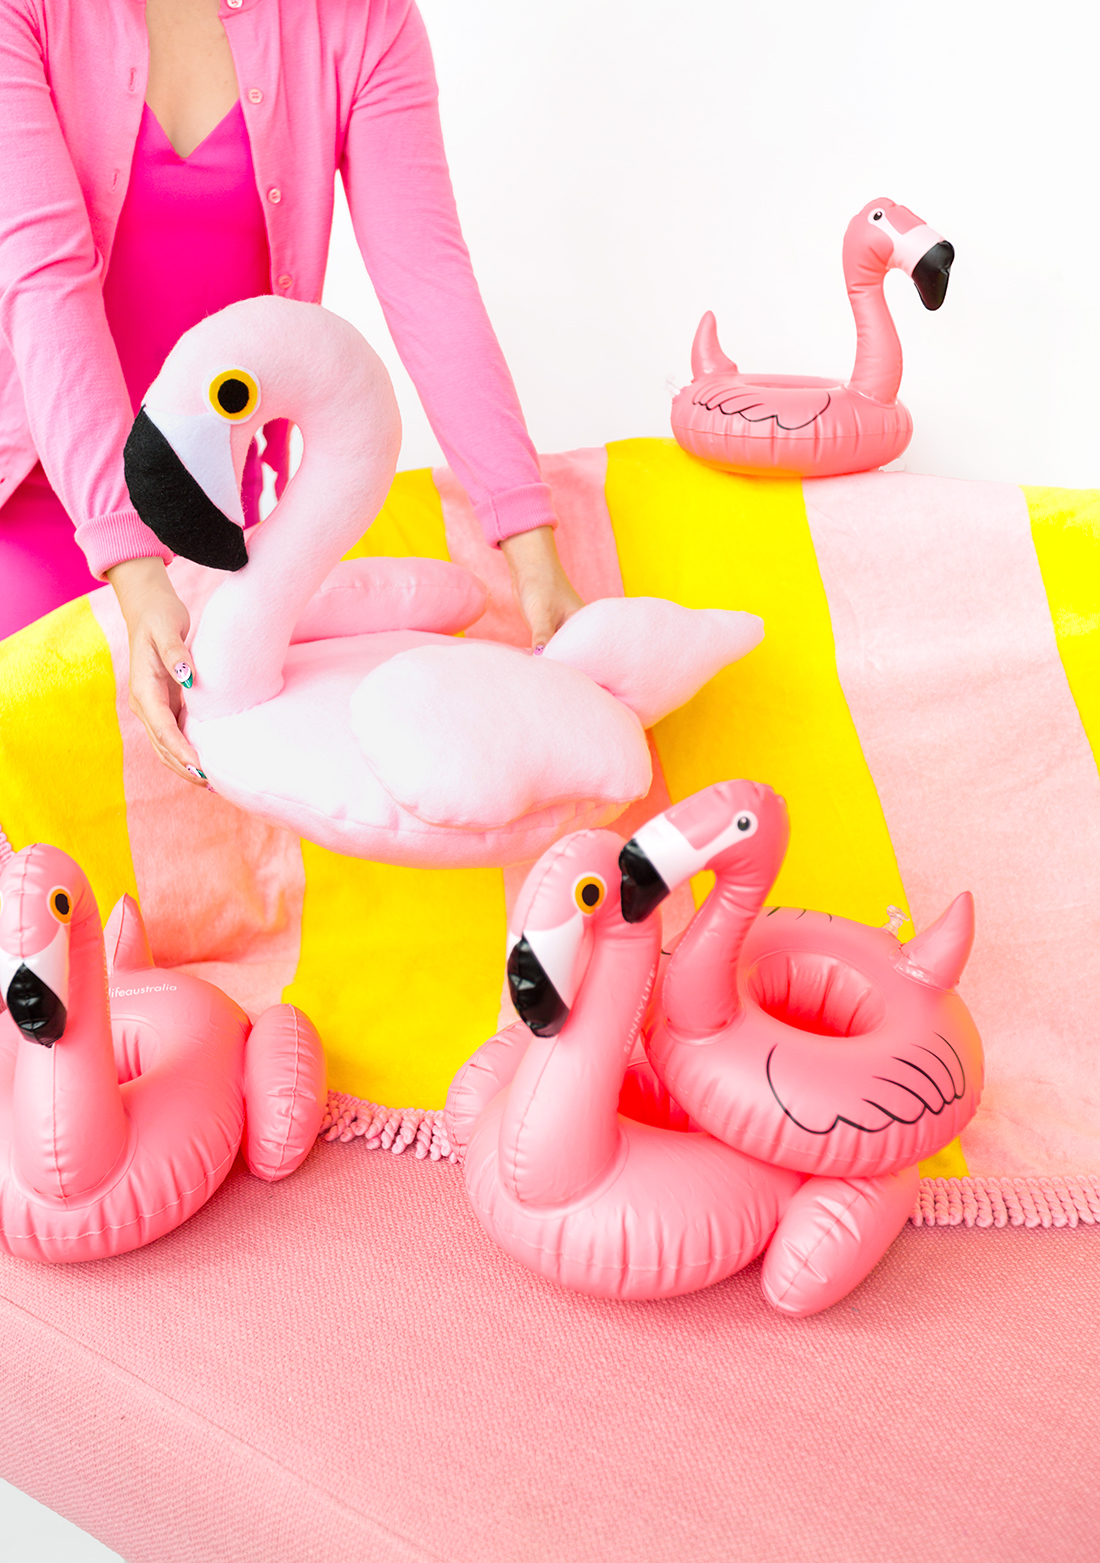
When we were re-arranging things in the studio the other day Kyle asked why I don’t have a flamingo pillow yet, and after thinking about it for a minute, I had no idea why I didn’t have one! So the next sentence is probably obvious to you by now, but we decided to make one! I modeled it after my favorite Sunnylife pool float, so you could pretty much take these pillow patterns and make a swan or a toucan pillow too. Even though it looks like it would be complicated, this pillow is a great project for beginner sewers, and an even better gift for a flamingo-lovin’ friend! (P.S. I apologize in advance for the lack of how-to photos on this one. I made this the night before I left for LA, so expect how-to photos when I get back to NYC next week!)

Flamingo pillow pattern (here)
Pink, black, white, and orange felt
Pink thread
Sewing machine
Hand sewing needle
Craft glue
Sewing pins

1. Print out and tape together the pattern pieces and pin them to your pink felt. Add a 1/2 seam allowance around each piece and cut out 4 wings pieces, 2 tails, 2 heads, and 2 of the body. Pin the beak to black felt, add a 1/2 seam allowance, and cut out 2 pieces.
2. Thread your sewing machine with matching pink thread. Pin the beak to the flamingo head, right sides together, and sew them so that they are now one piece. Do the same for the other flamingo head piece.
3. Sew both pieces of the body together, leaving a small opening so you can stuff the pillow. Turn the body right side out and stuff it until it is to your liking. Hand sew the small opening closed.
4. Follow step number 3 to sew together the wings, tail, and head. Make sure when you are doing the wings to do both sides differently so they face opposite directions when you attach them to the body.
5. Position the wings, tail, and head onto the body and hand sew each of them down until they feel secure. Knot and tie off the threads.
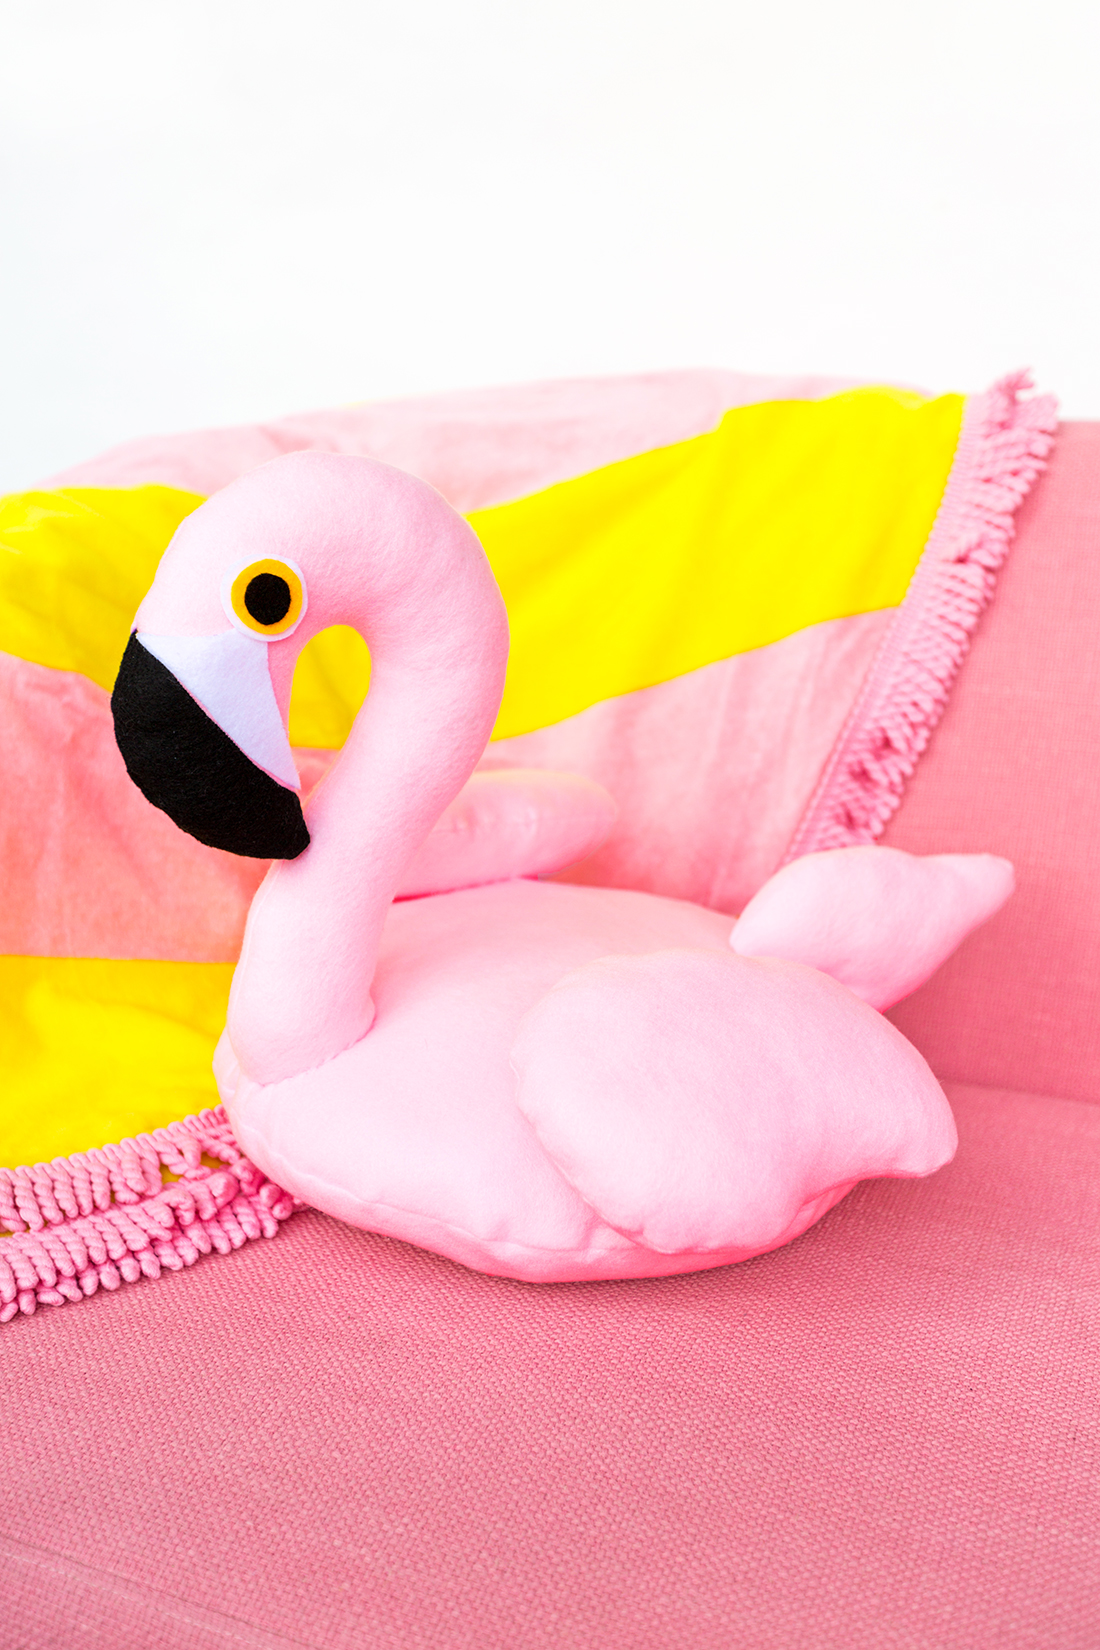
6. Cut a 1″ circle out of black felt, a 1 1/4″ circle out of orange felt, and a 1 1/2″ circle out of white felt. Using your craft glue, glue each of the circles one on top of the other, ending with the white circle. These will be the eyes of the flamingo.
7. Place your white felt up to the head of the flamingo and trace along the beak, making a triangle shape up to the eye. Cut this out and glue it right above the beak. Repeat these steps on the other side for the other eye. Wait for the glue to dry completely and you have yourself a new throw pillow!
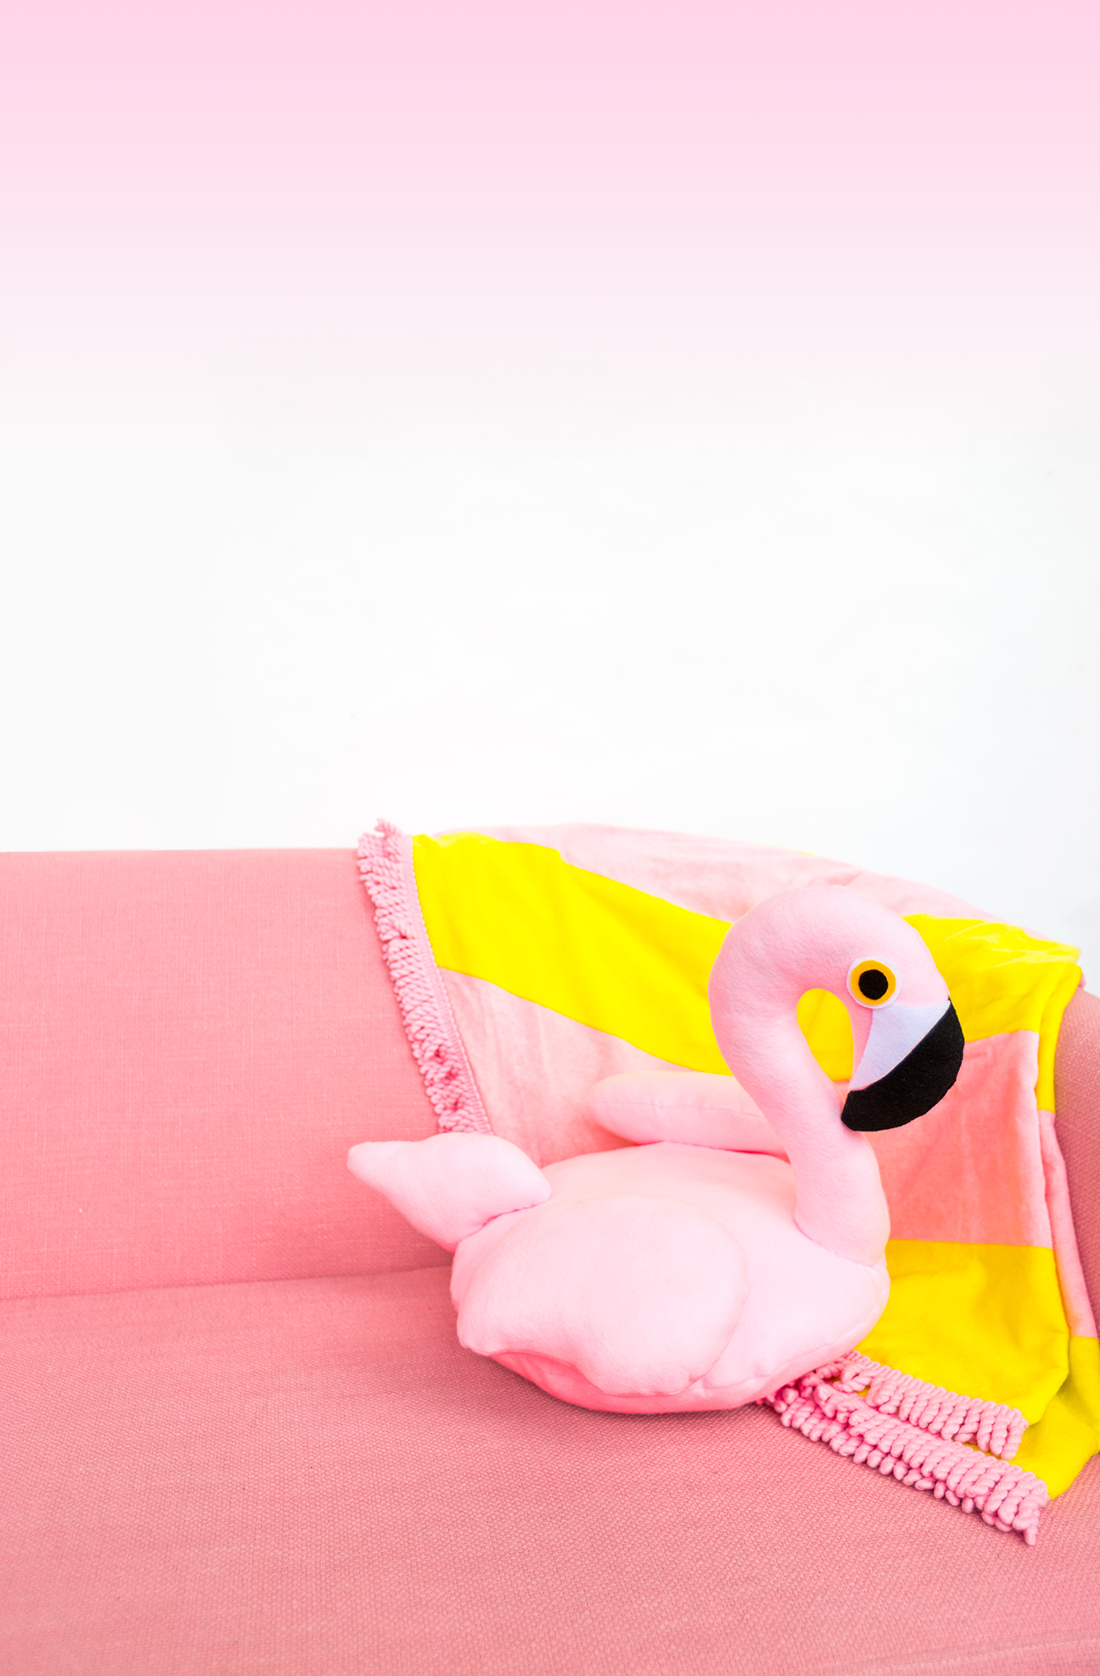
I’m excited to get back to New York and lounge with my new flamingo pillow! And if you want a snack to munch on that matches, check out our most popular project ever; the flamingo pool float cake!


4 Responses
Me: This is so cute!
Also me: Is there anything for beginners…?
Hi Cherish!
Thank you! This should be okay for beginner sewers, but if you’re looking for something you don’t have to sew, we have a lot of no-sew projects! This (click here) is one of our easiest no-sew pillows. Hope that helps!! 🙂 xoSam
Omg this is so cute, I’ll try to make it soon
It’s perfect. Love it so much.