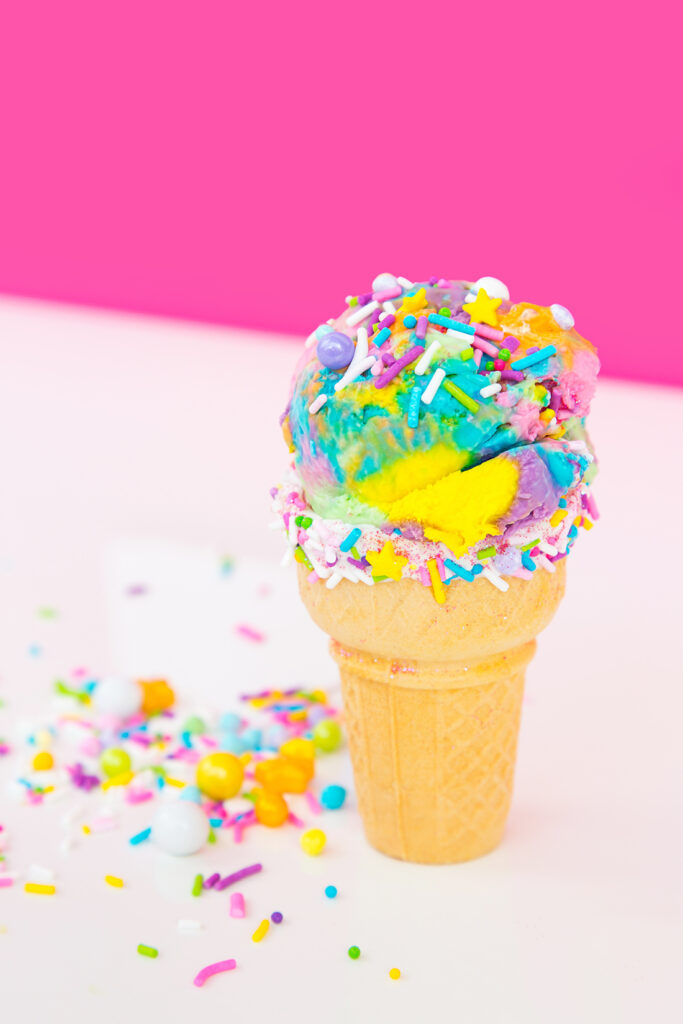

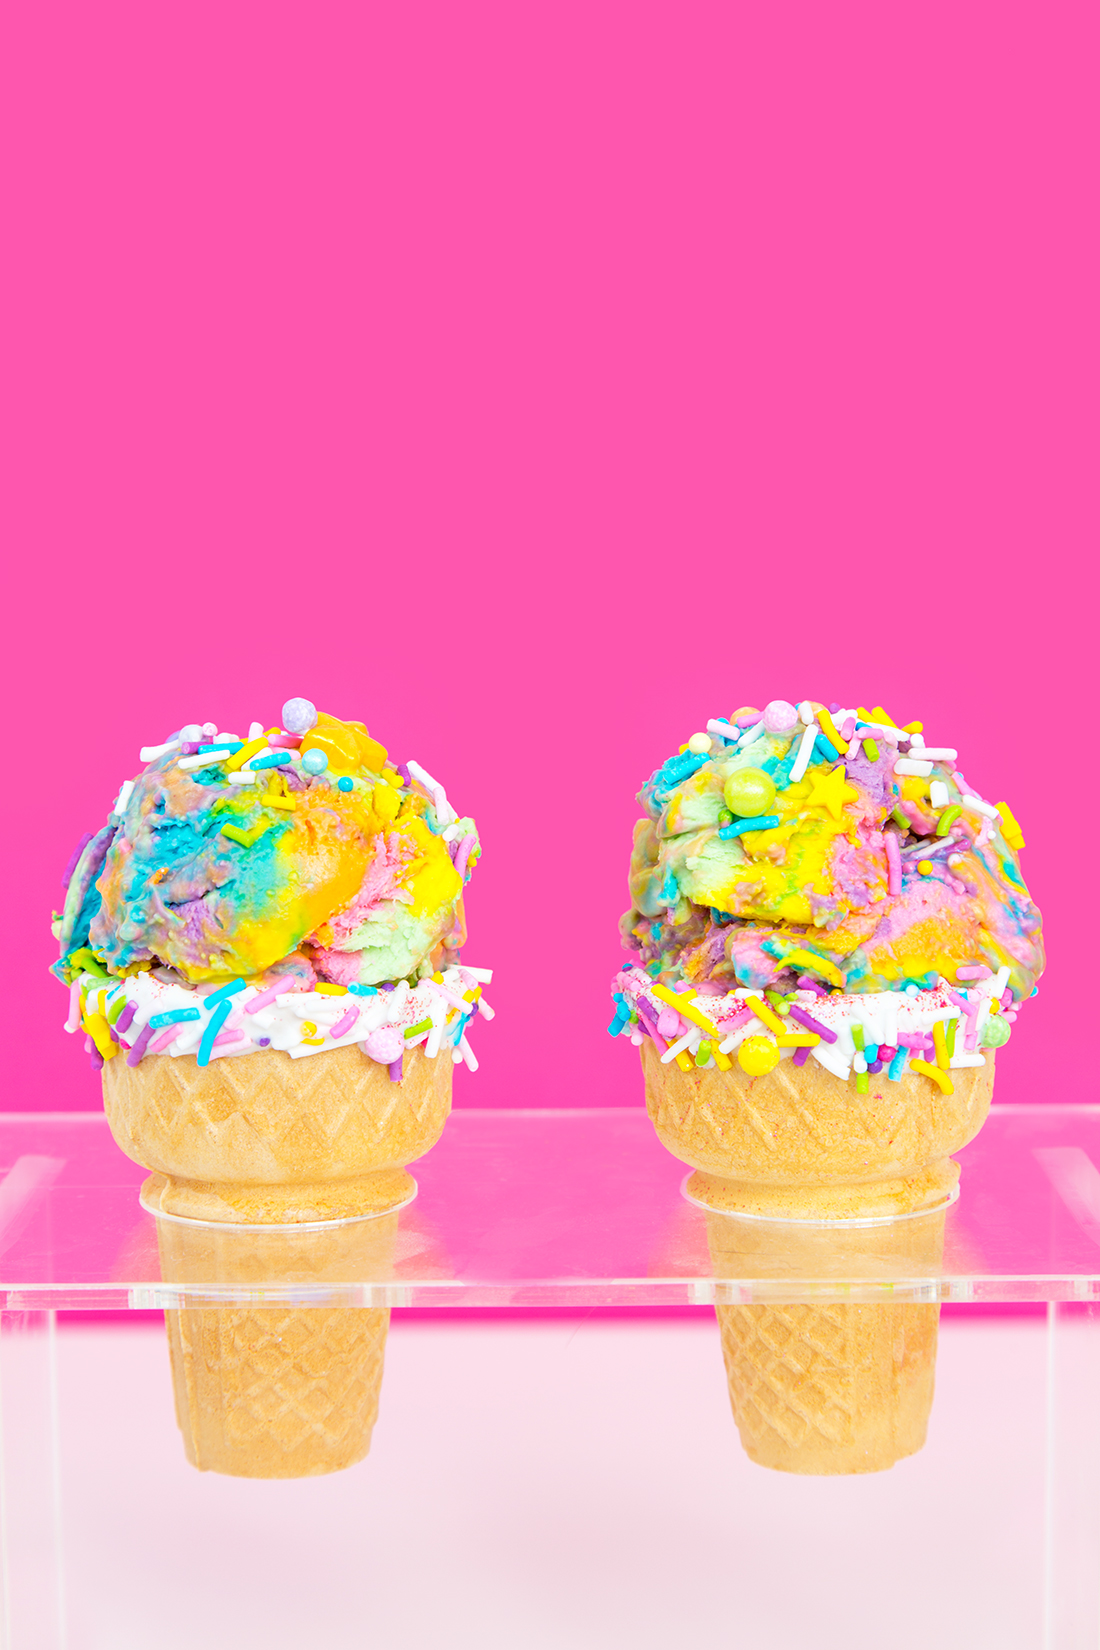
Have you guys ever had superman ice cream ? I grew up eating superman and blue moon, and when I moved to NYC for college, I realized that nobody from places outside of the Midwest knew what superman ice cream was! I don’t know how to explain the flavor, but it’s a red, yellow, and blue swirled ice cream that tastes di-licious! So we’re paying tribute to superman ice cream today by showing you all how to make rainbow swirled ice cream. And do you want to know what the best part is?! You could totally customize these colors and end up with a pink ombre drink! We chose to do rainbow (because, duh, Lisa Frank vibes!) one to give you an idea of all of the possible contacts.

2 cups heavy whipping cream
1 can of sweetened condensed milk
1 teaspoon vanilla
Pinch of salt
Electric mixer
Gel food coloring in pink, purple, mint, blue, yellow, and orange
Chopstick
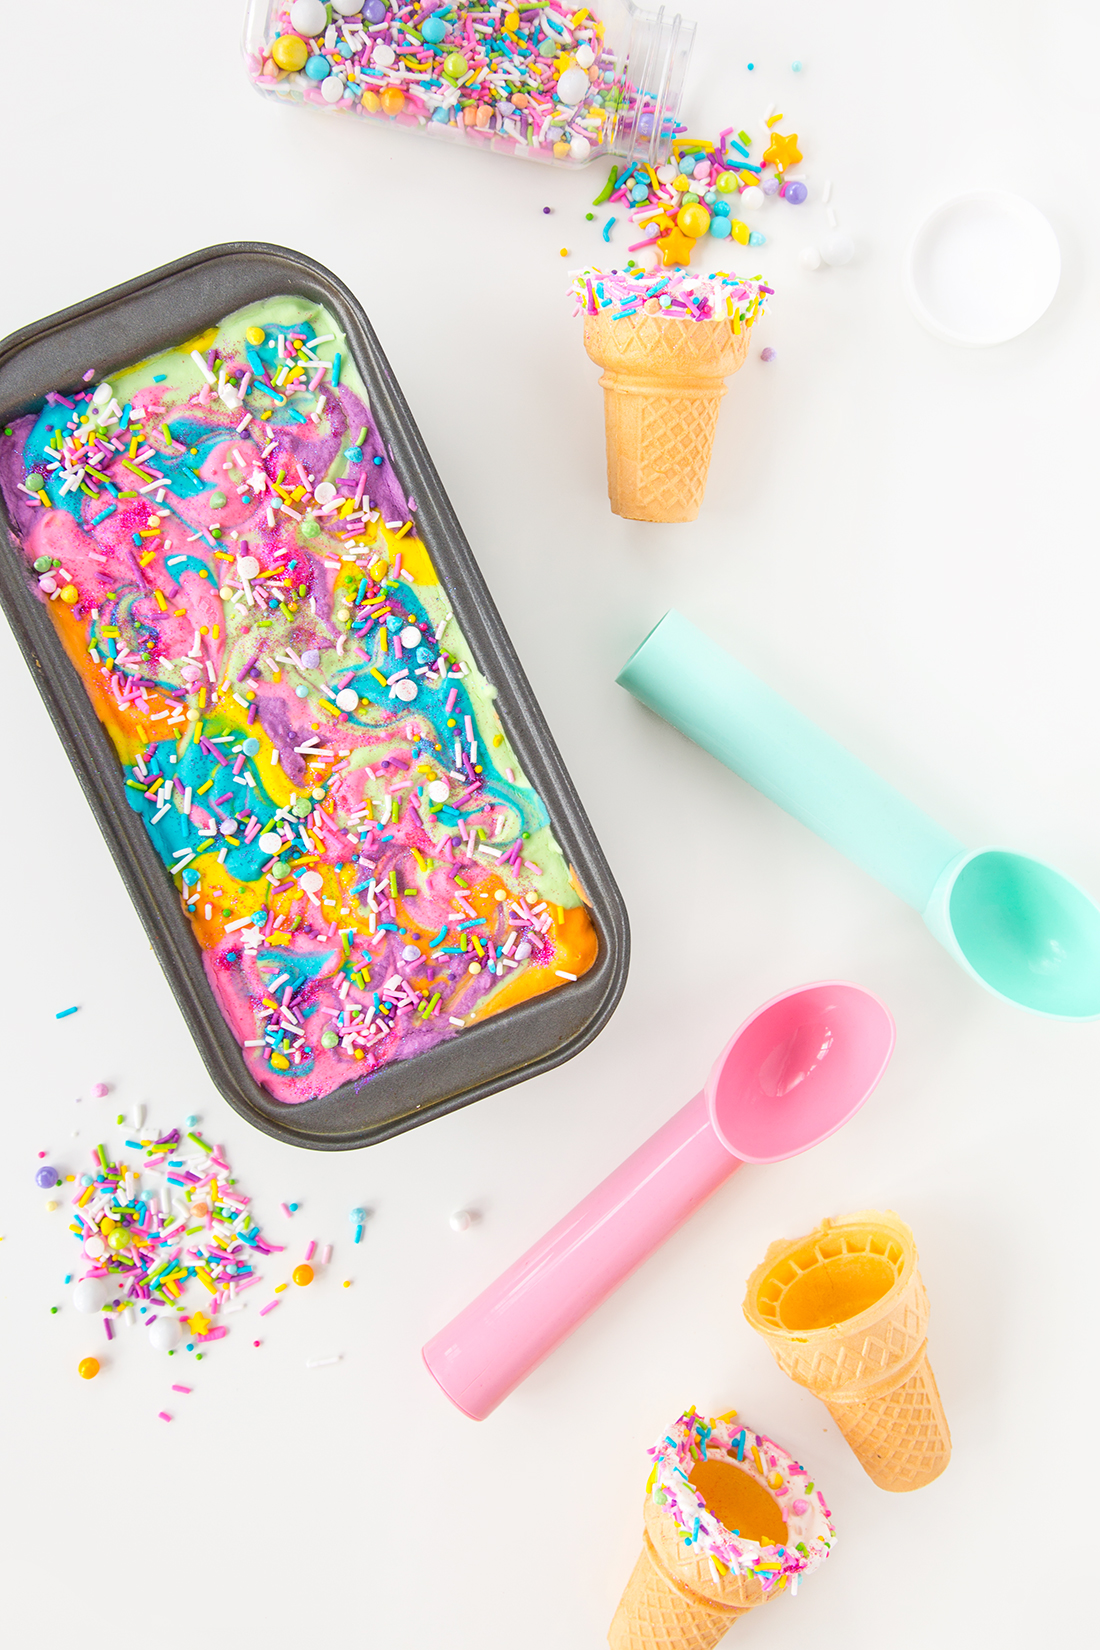
Ice cream container
Rainbow sprinkles

1. Mix the heavy whipping cream in a large bowl on high until it forms stiff peaks.
2. In a separate bowl, combine the condensed milk, vanilla, and salt.
3. Slowly fold the condensed milk mixture into the heavy whipping cream with a baking spatula.
4. Once everything is combined, split up the ice cream base into 6 equal bowls. Color each bowl with food coloring and stir to mix in.
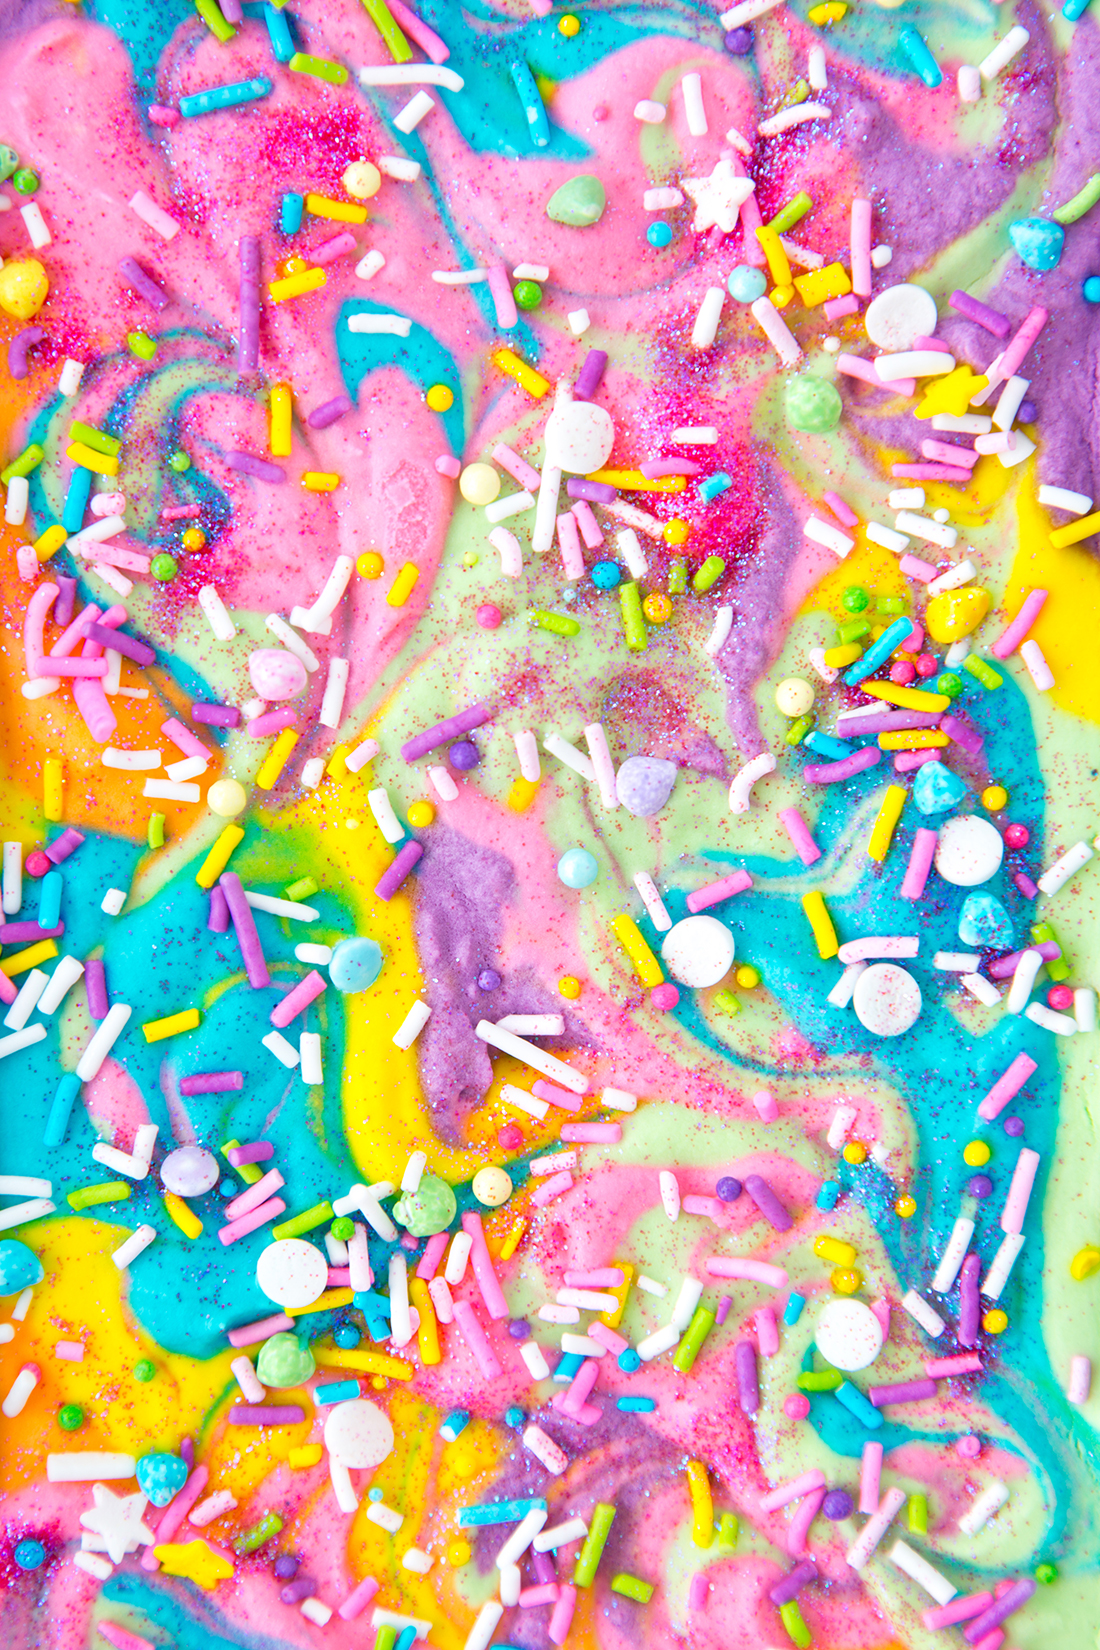
5. Scoop each color into the bowl in tablespoons (see the DIY for our rainbow chocolate bark to learn how to marble colors). Take your chopstick and swirl the colors together until you have the desired marbling you are going for.
6. Top the ice cream with rainbow sprinkles and freeze for 8 hours before serving!


What colors would you choose for your marbled ice cream ?! I’m going to stick to rainbow for my colors of choice, but since this ice cream is no-churn and SO easy to make, I might whip up a pink and yellow version this weekend too!


One Response