

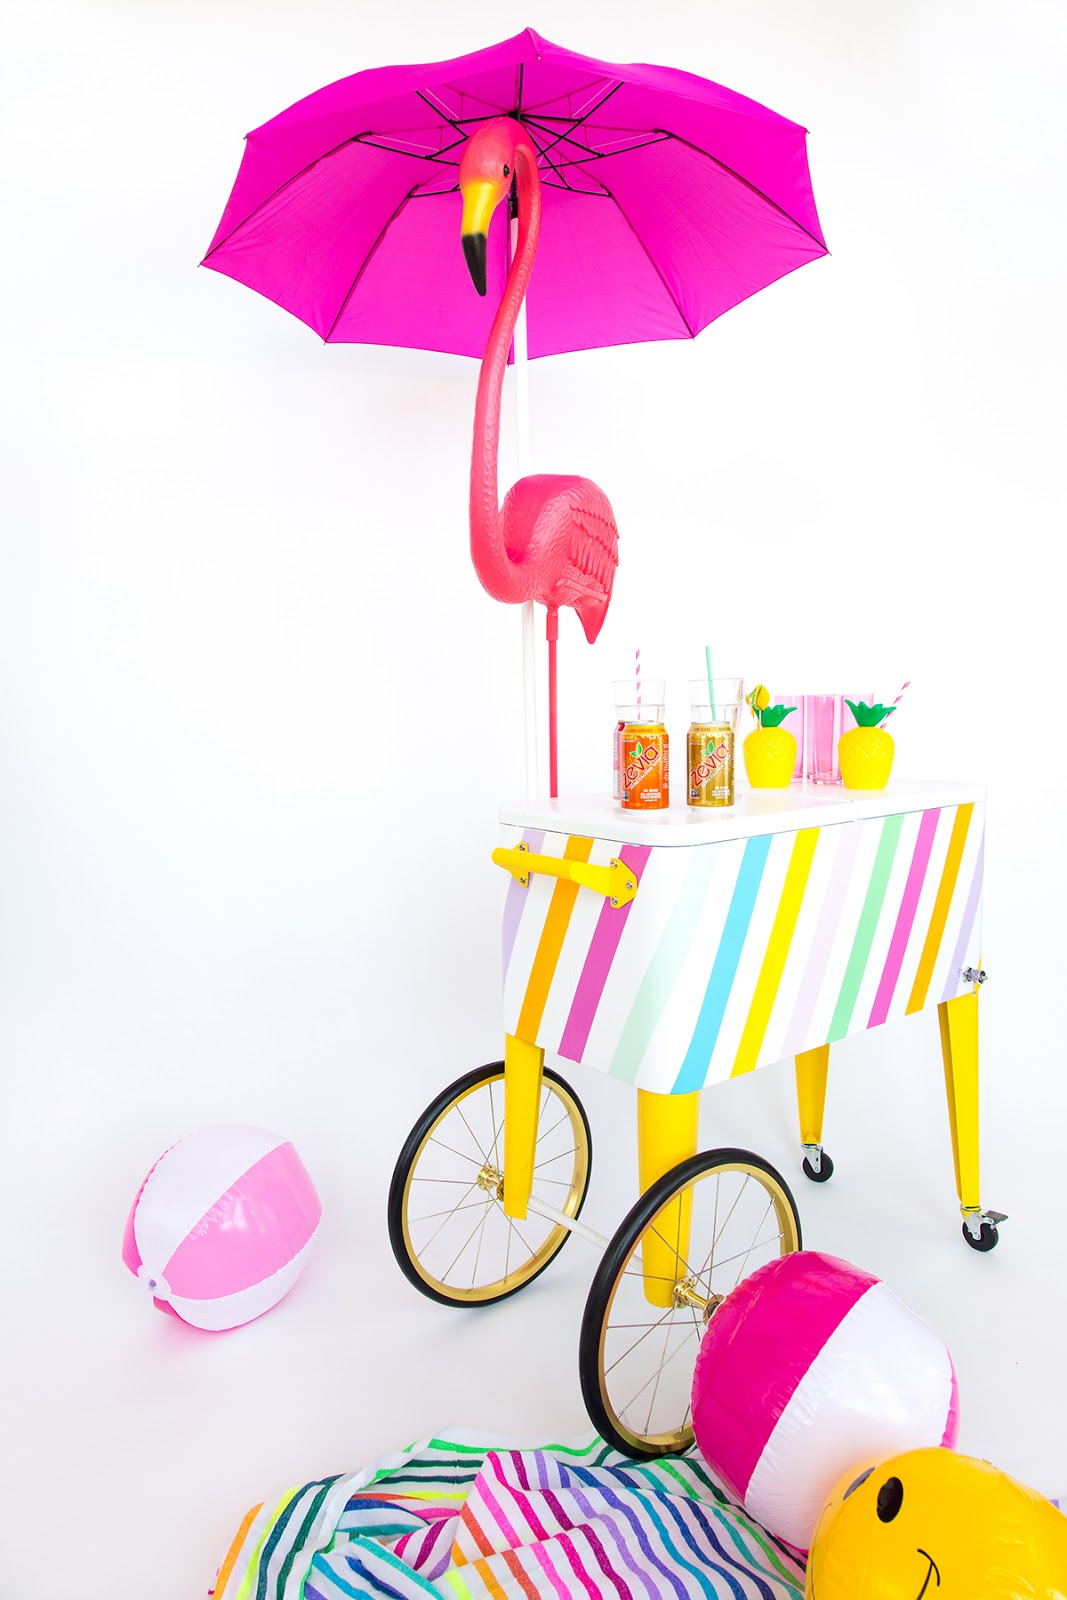
One day I walked into the studio and had a CRAZY idea to make an ice cream cart! (I know, a bit ambitious, right?) But if there’s one thing I know about myself, when I have a fun idea I always will figure out how to make it work even if it seems out of reach. So when Zevia asked if I wanted to collaborate on another post, I knew this would be the perfect time to figure out this ice cream cart idea and show you how to DIY it! And guess what?! It turned out to be a lot easier than we thought and now we have a fun cart for the rest of our Summer parties!! You can make yourself some Zevia floats or cream soda and have a fun day in the sun! AND Zevia sodas are zero calorie, naturally sweetened, sugar free, and non-GMO project verified so you don’t have to worry about reaching for that second strawberry float. Ha! Let’s get making your brand new ice cream cart!!


Large cooler (here)
Primer
White paint
Paintbrush
Paint in rainbow colors
Painter’s tape
Cart wheels (here)
Umbrella (here)
Hacksaw
Curtain rod
Threaded rod just smaller than the axle diameter of the wheels
4 lock nuts that match your threaded rod
Self-drilling sheet metal screws
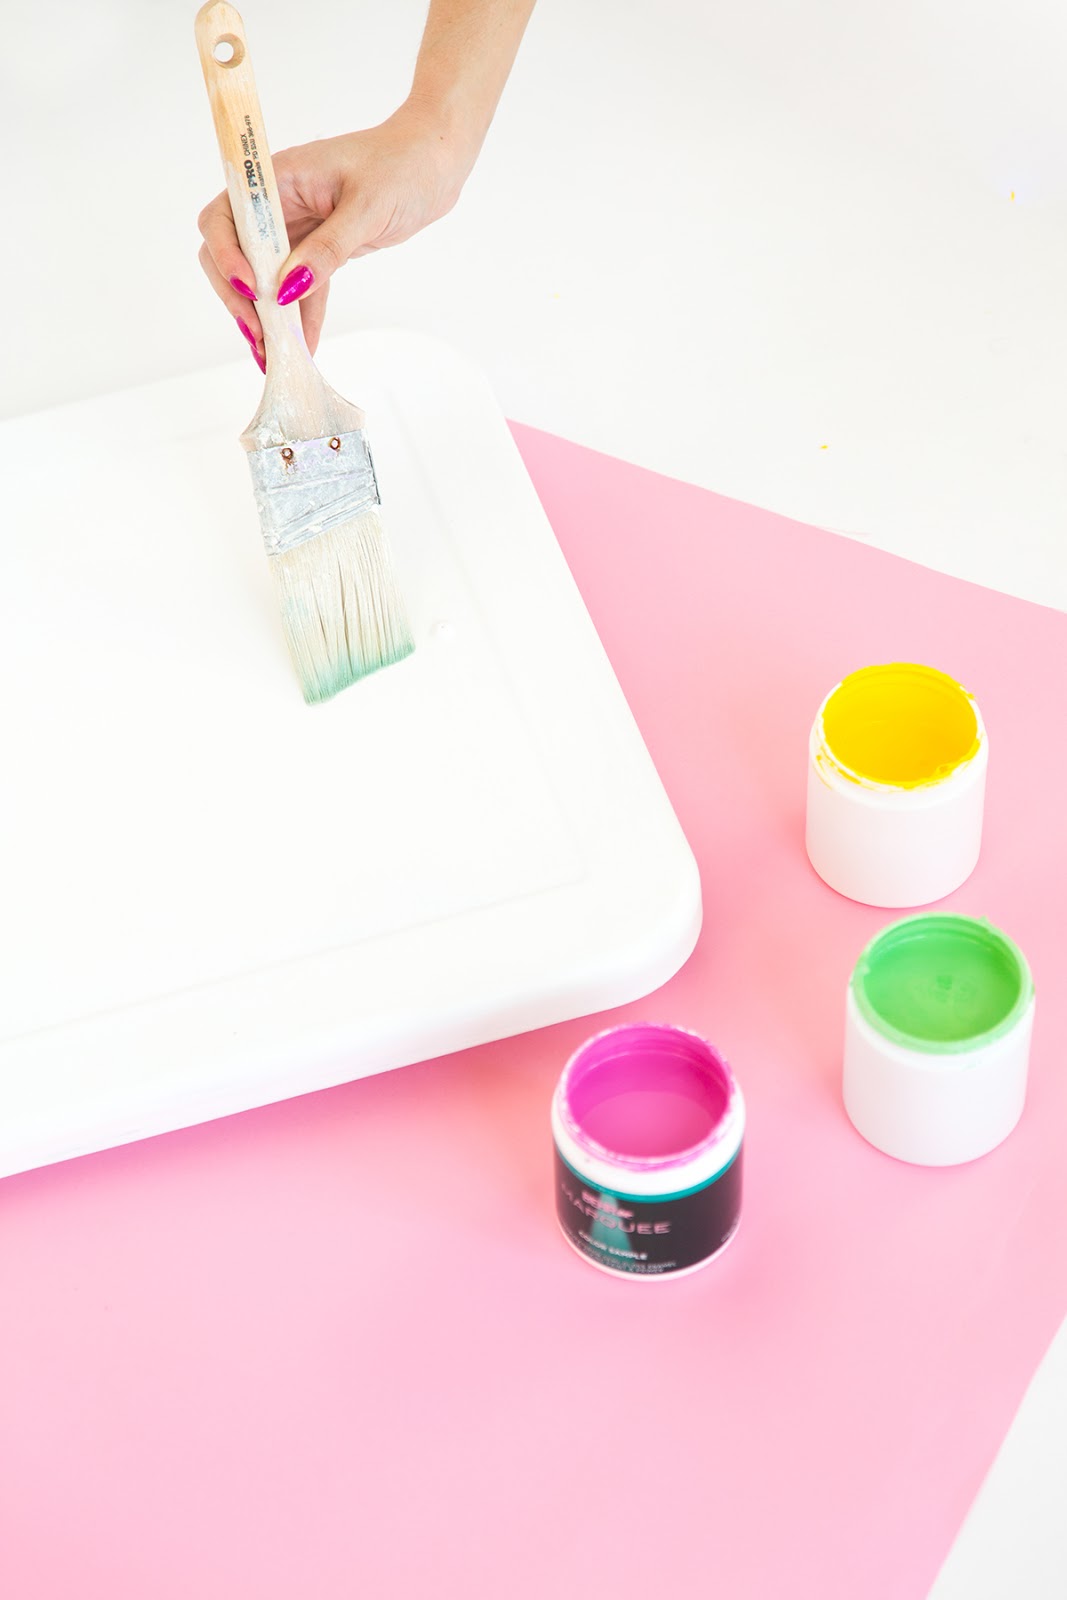
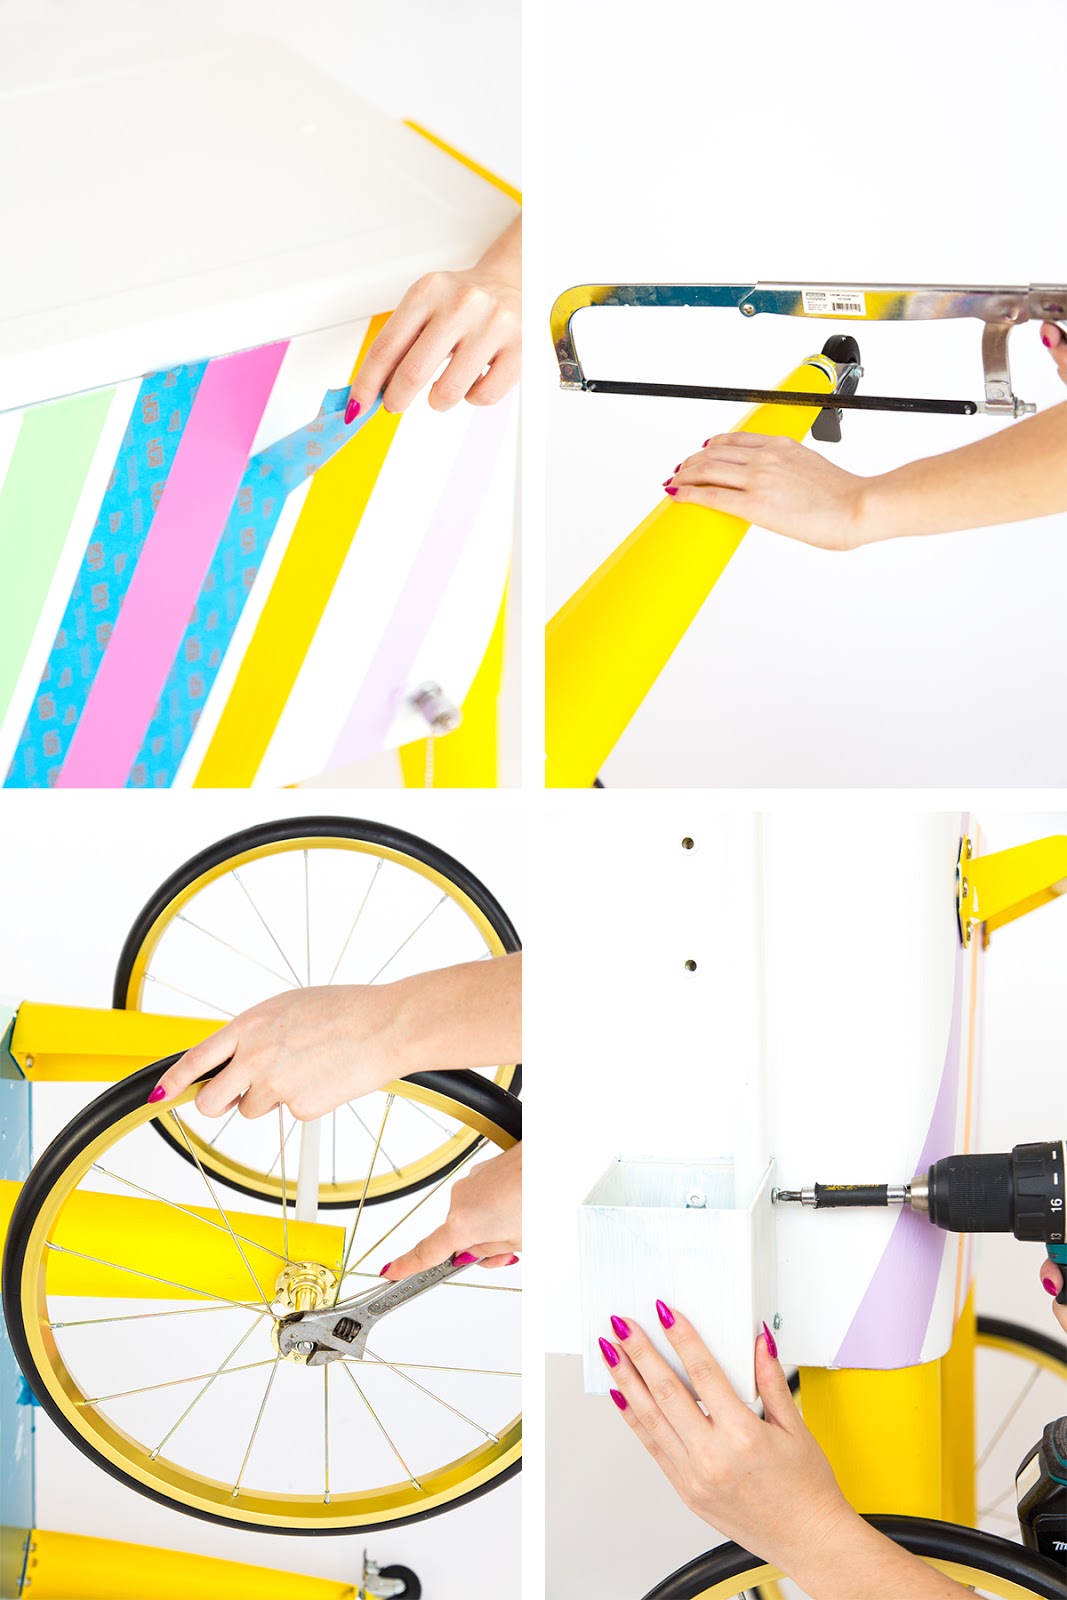

1. Prep all of the parts of the cooler by cleaning them off with soap and water. Using a primer, prime the legs, handles, cooler, and cooler lid. Allow to dry completely.
2. Once the primer had dried, paint the cooler lid and cooler white, and the legs and handles yellow. I used two coats of paint for each. Make sure the first coat has dried completely before applying the second coat.
3. To paint the stripes, use painter’s tape to block off two inch sections on the cooler. Alternate between a color and white, painting a thin coat of paint for each stripe. Once the paint has dried, remove the painter’s tape.
4. After everything has been painted, cut two of the four legs shorter using a hacksaw with a blade that can cut ferrous metal. To determine the length to cut, measure the radius of your wheels and add 1″. Drill two holes, one in each of the legs you just cut. Make sure the holes are slightly larger than the threaded rod.
5. Insert the threaded rod through the holes to make the cart’s rear axle. To attach the wheels, sandwich each wheel between two lock-nuts, screw onto the threaded rod on the outside of the leg, and repeat for the other side. Cut off any excess threaded rod with a hacksaw.
6. To make the umbrella, first remove the umbrella’s handle. Determine what the height of the umbrella needs to be and cut a curtain rod to this length using a hacksaw. Using self drilling sheet metal screws, mount the curtain rod vertically to the side of the cart wherever you’d like it. Slide the modified umbrella into the top of the curtain rod to complete the umbrella.


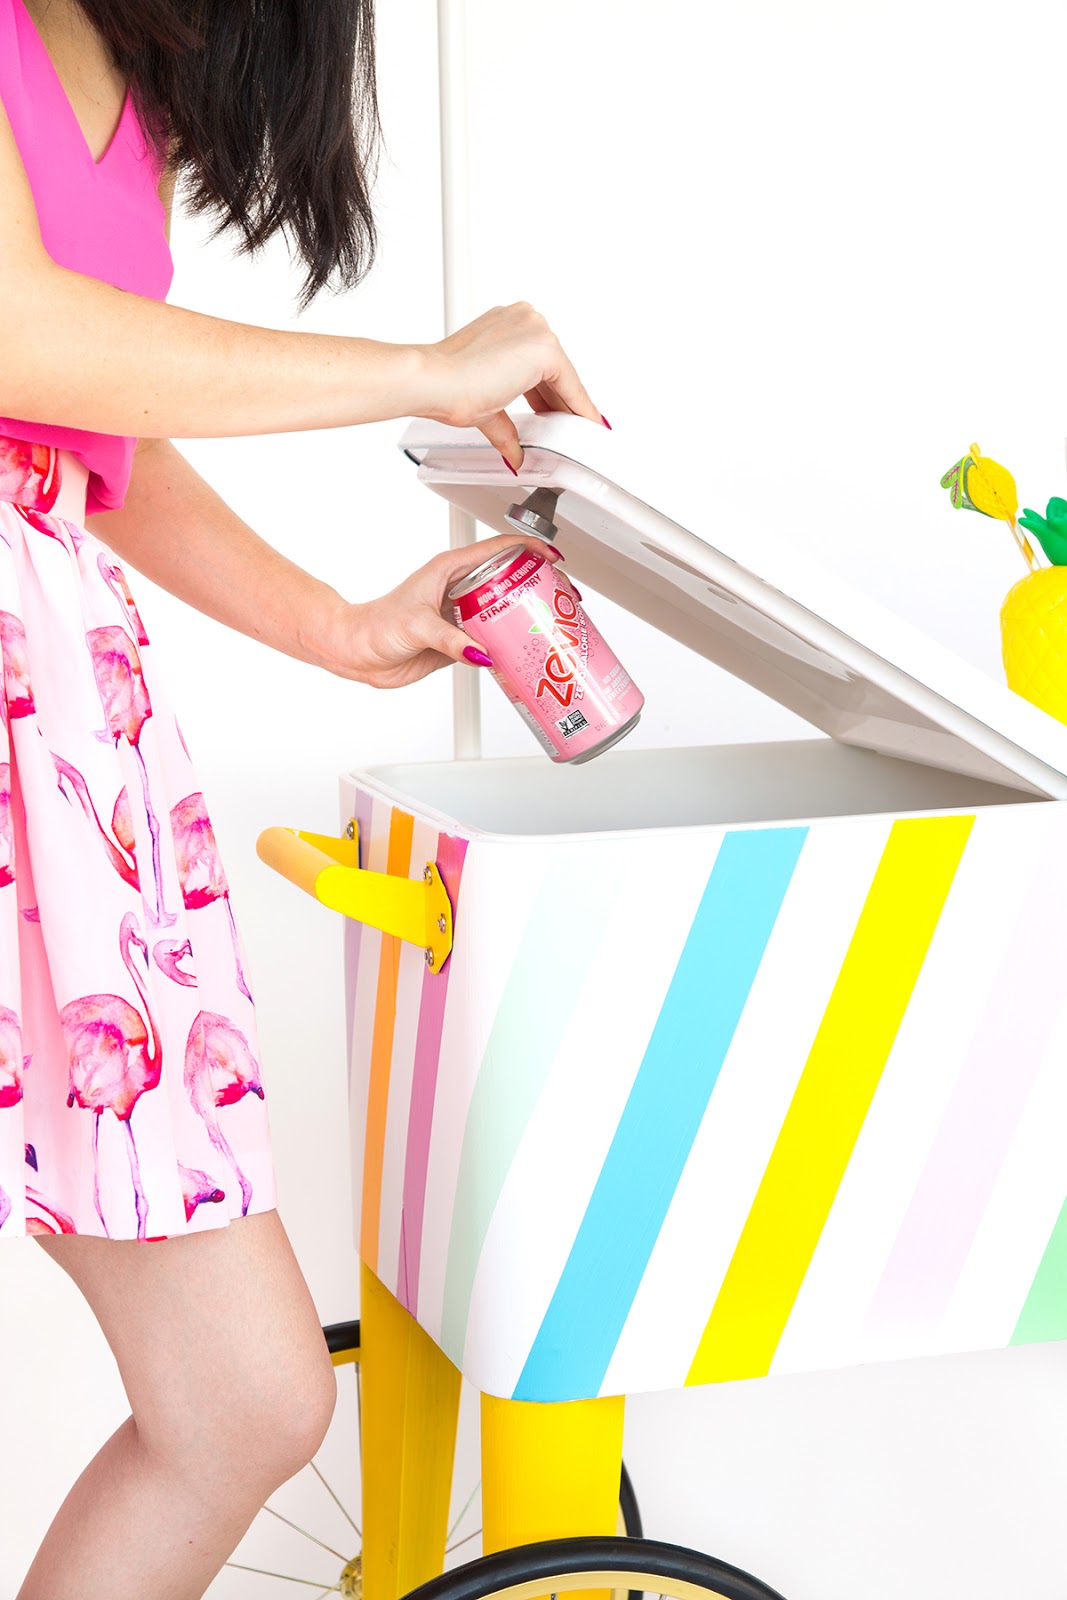
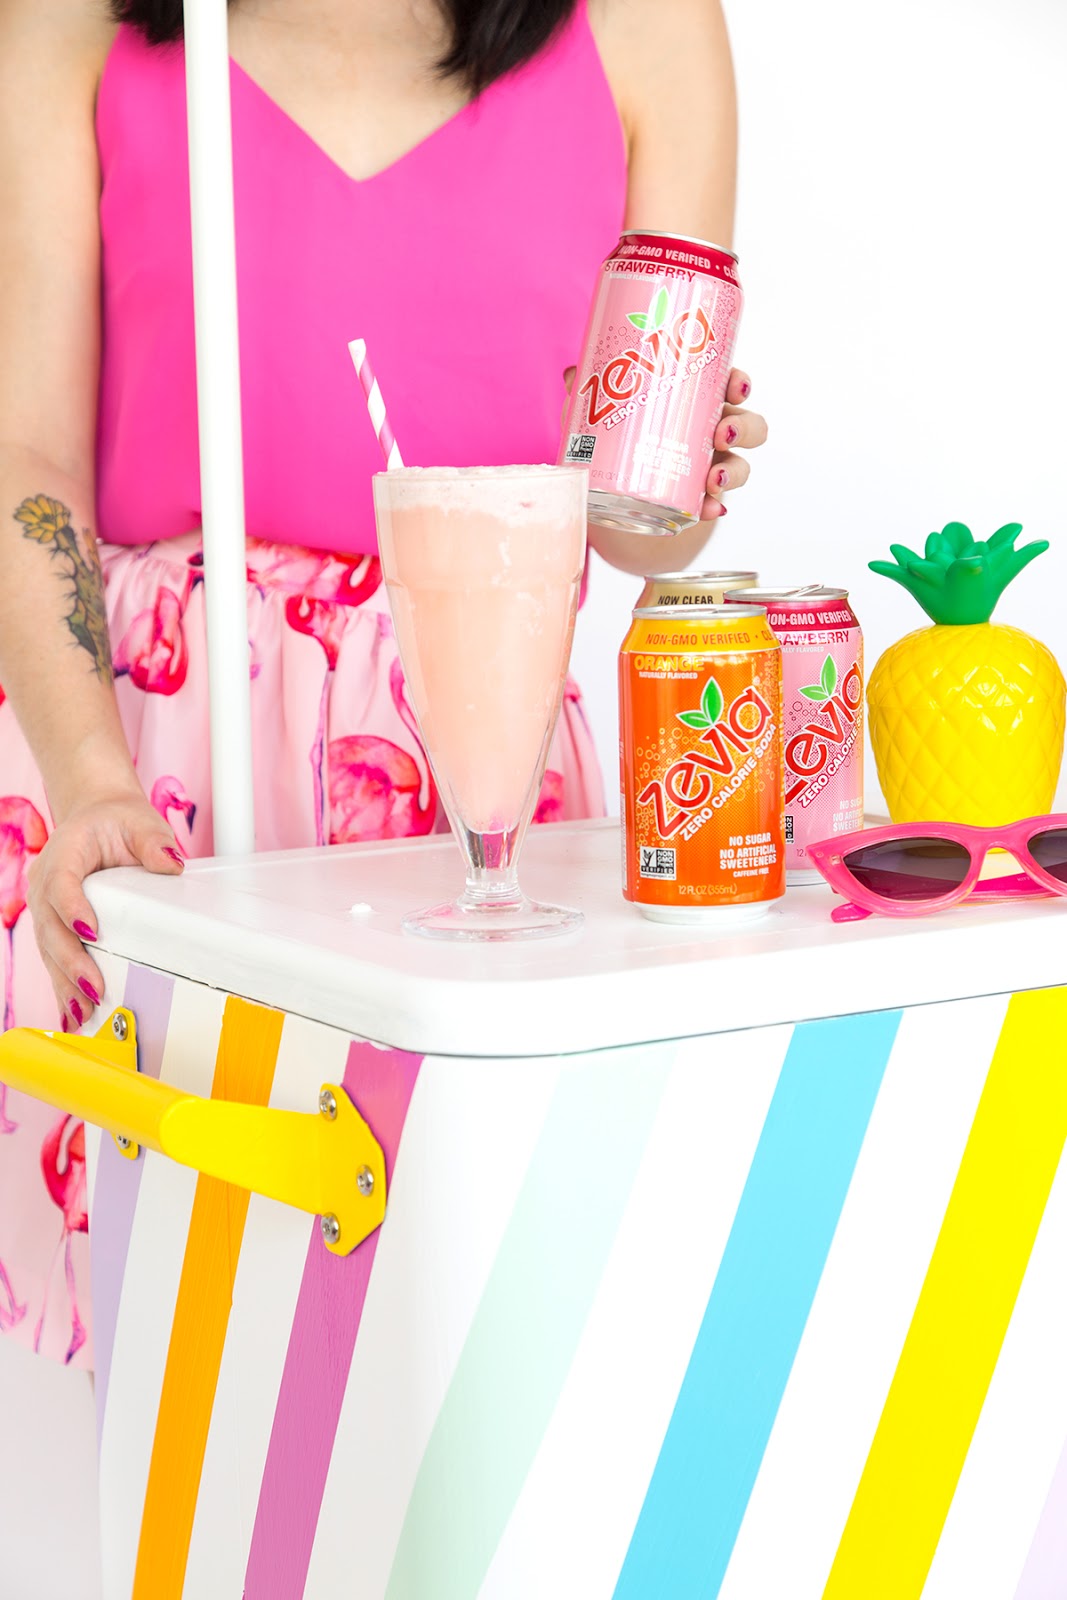
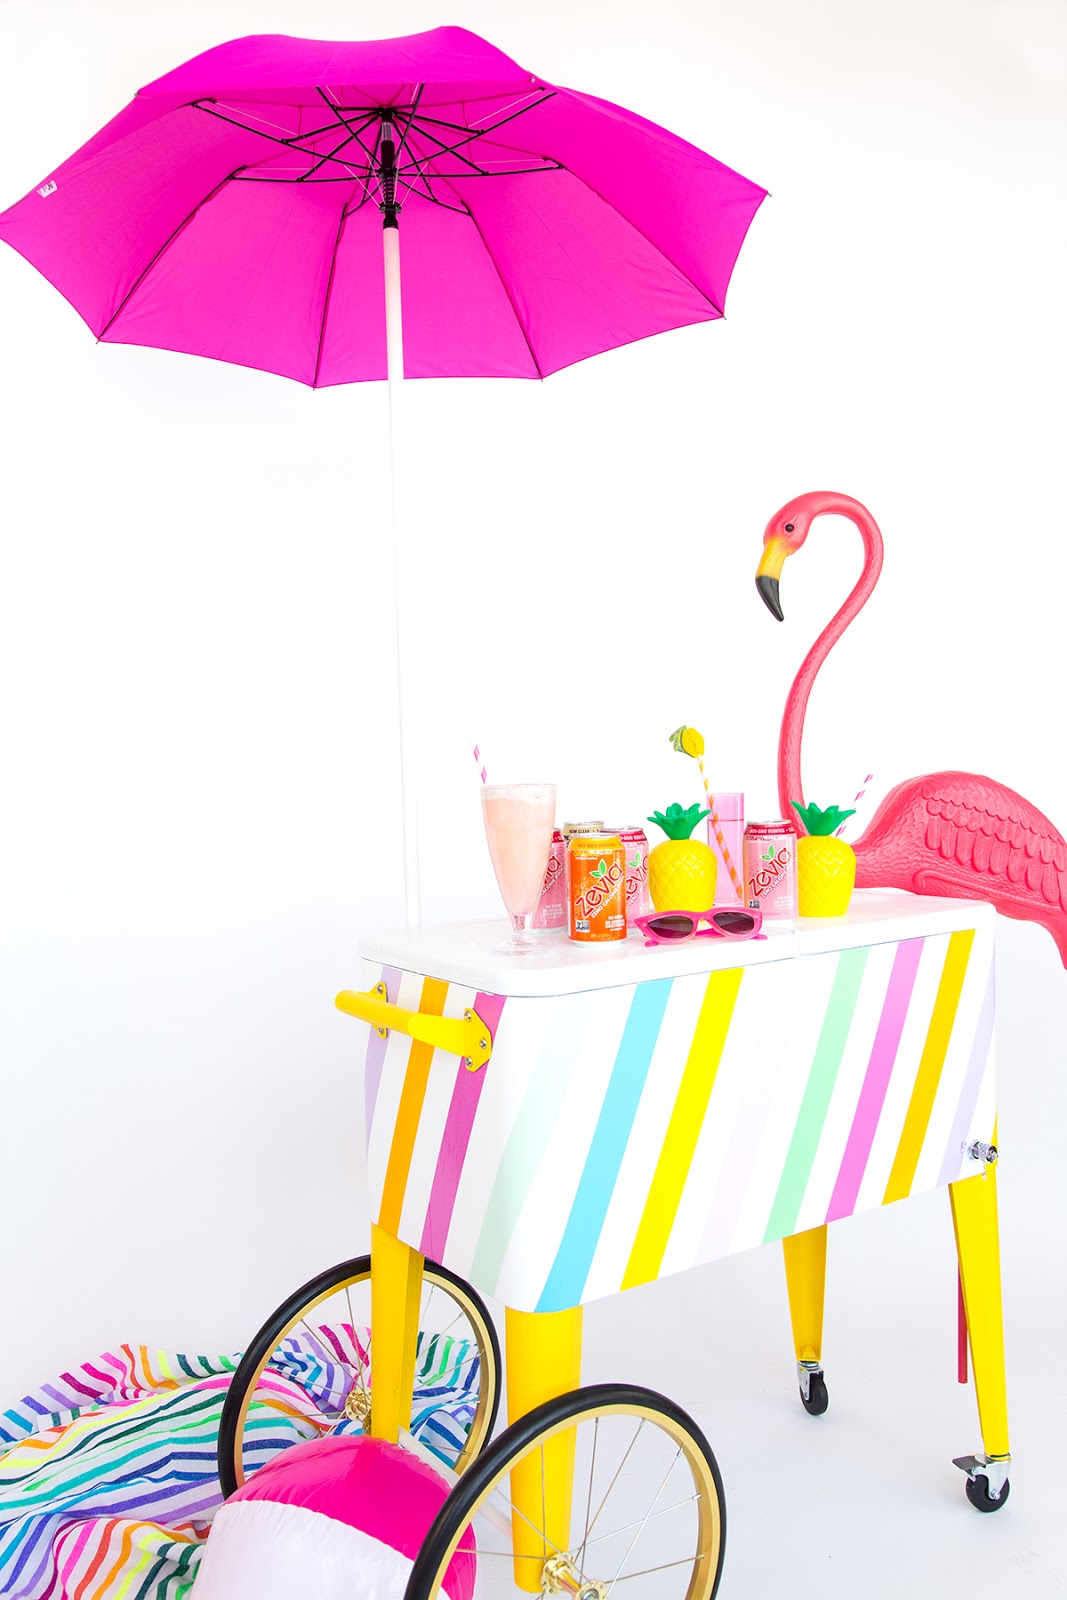
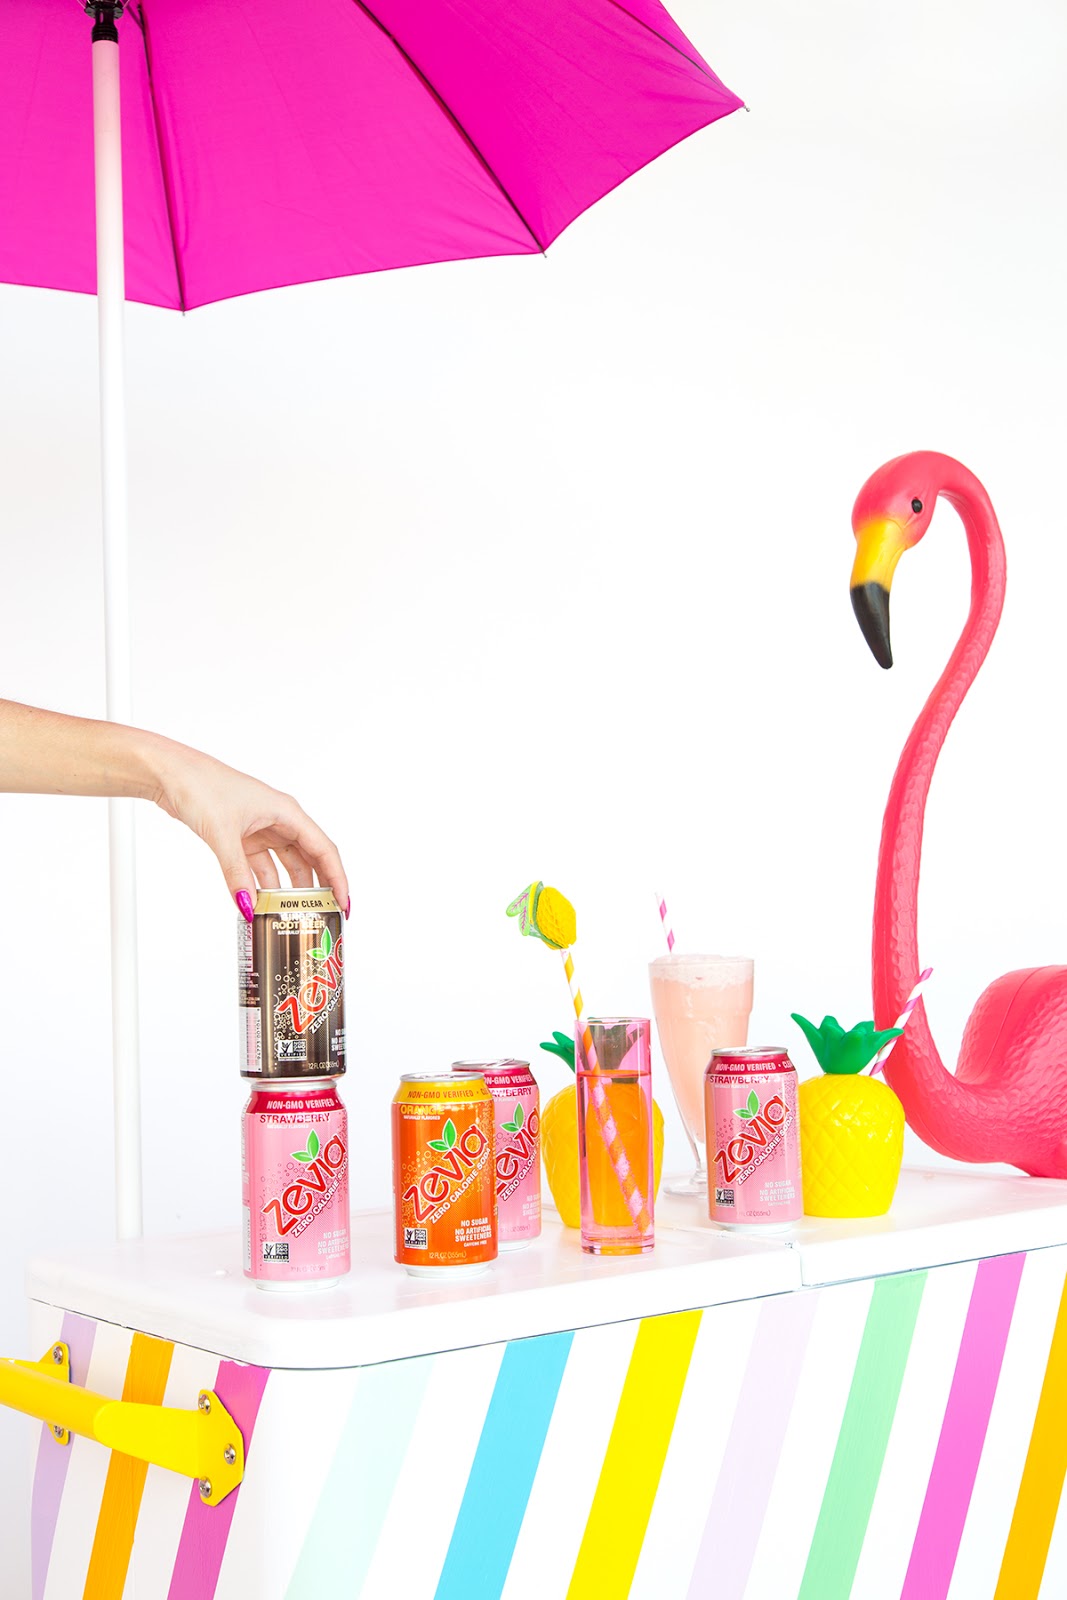
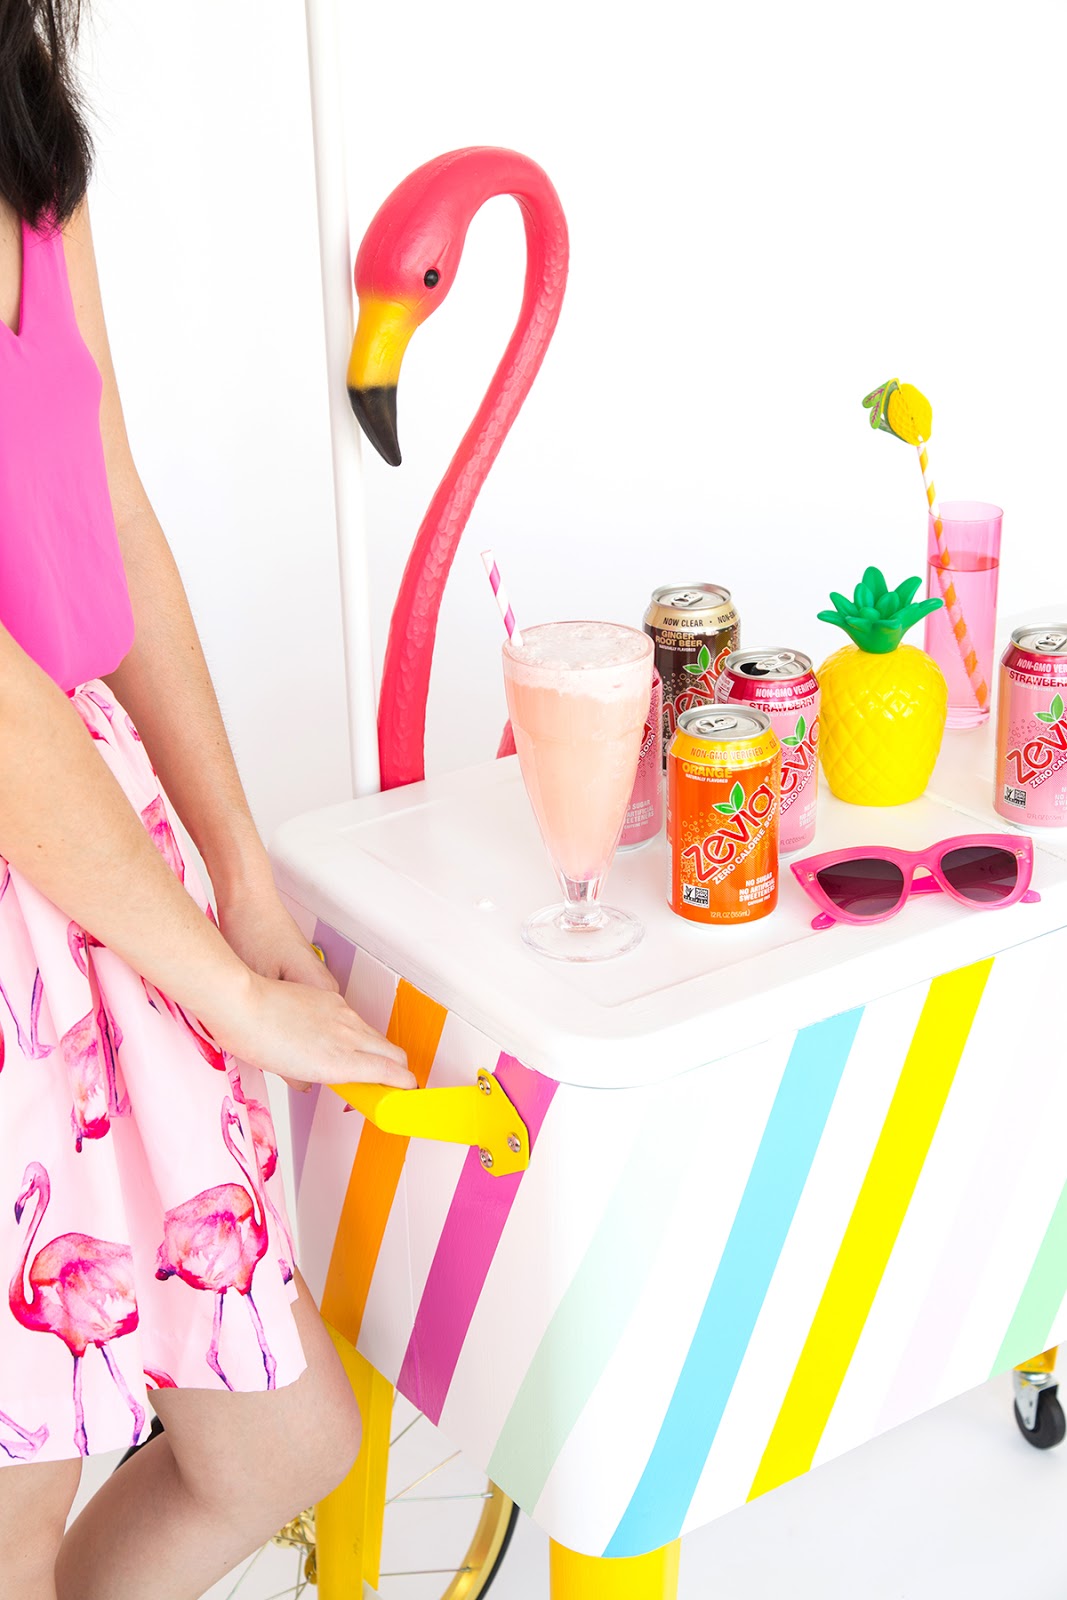
Now who’s ready for some ice cream?! We’ve got a whole cart full! Go grab a strawberry Zevia and a milkshake glass and we’ll make some floats to beat this Summer heat!


9 Responses
This is absolutely amazing!! I love the flamingo perched on top of it!
This is so creative and cool
Where did you find the legs?
Hi Ashley!
If you look at the link to the cooler under the supplies list, the legs come with the cooler. 🙂 xoSam
Absolutely love this!
Is there any way that you can EXplain to me, what was used to put the holes in the legS and was it used to put Holes through two ends of the legs. Im all painted and stuck at this point!
Hi Keri!
We used a drill and drill bit to put holes in both ends of the legs for the larger wheels. xoSam