
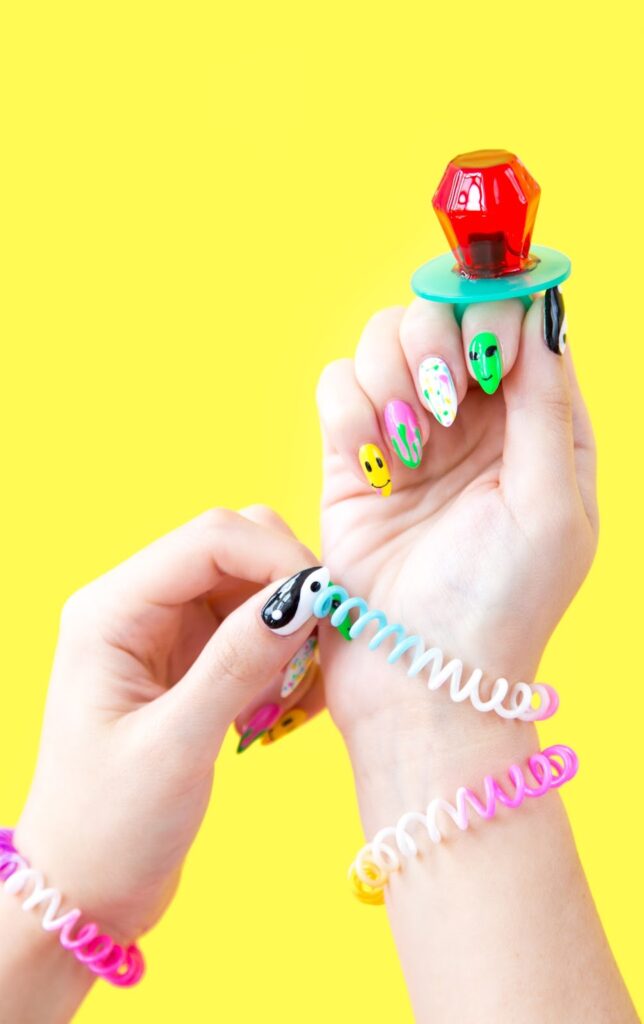
If you were born in the 90s like I was (1992 baby over here!), then you’ll remember the time of tamagotchis, lava lamps, and furbys. And guess what, all of those nostalgic 90s things have been making a comeback recently! I mean, have you seen the new furbys and the Lisa Frank clothing line?! So today we’re showing you how to add some easy 90s-themed designs to your manicure so you can rock those ring pops and plastic scrunchies again. The best part about this DIY mani is that you can mix and match the designs, so if you’re not really feeling the yin yang or the slime, you can do a whole hand of aliens. There are so many possibilities with these designs, and I guarantee that even if you think you can’t do nail art, you’ll be able to master this manicure! Grab your glowsticks, we’ve got some nail art to do!


Clear base and top coats
Nail polish in yellow, pink, white, green, and blue
Nail art pens in black, green, and white
Toothpicks

1. Prep your nails by pushing back cuticles, filing and shaping nails, and removing any previous polish.
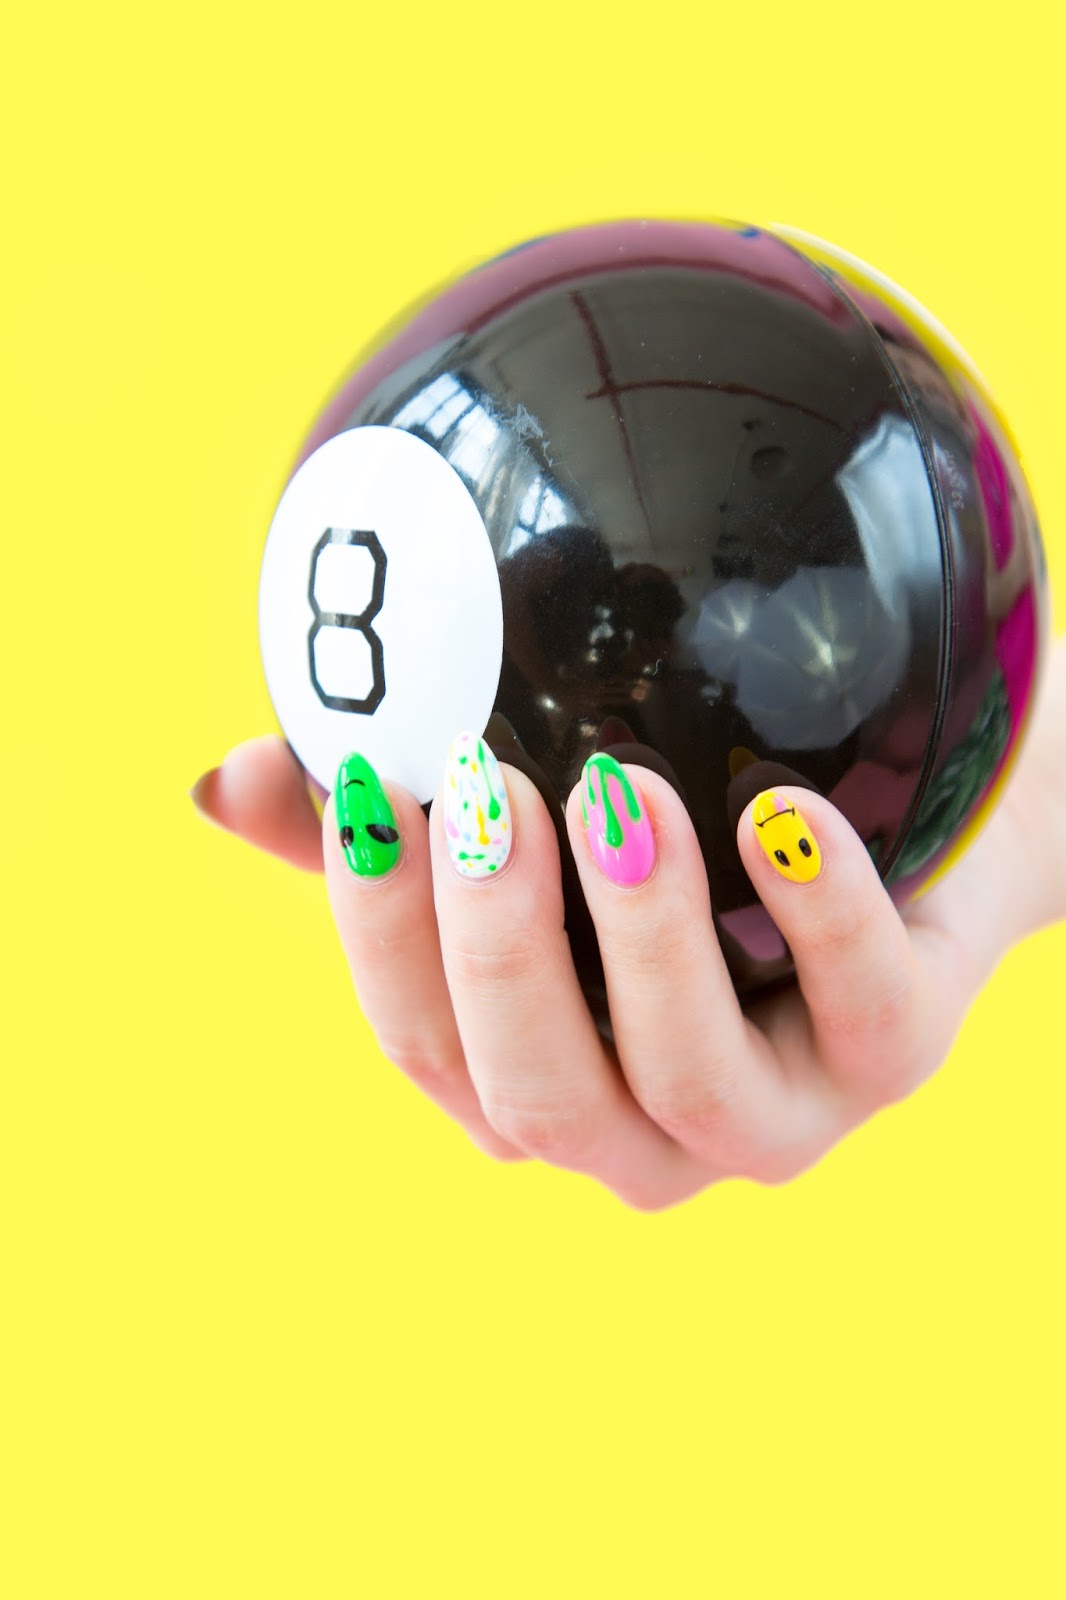
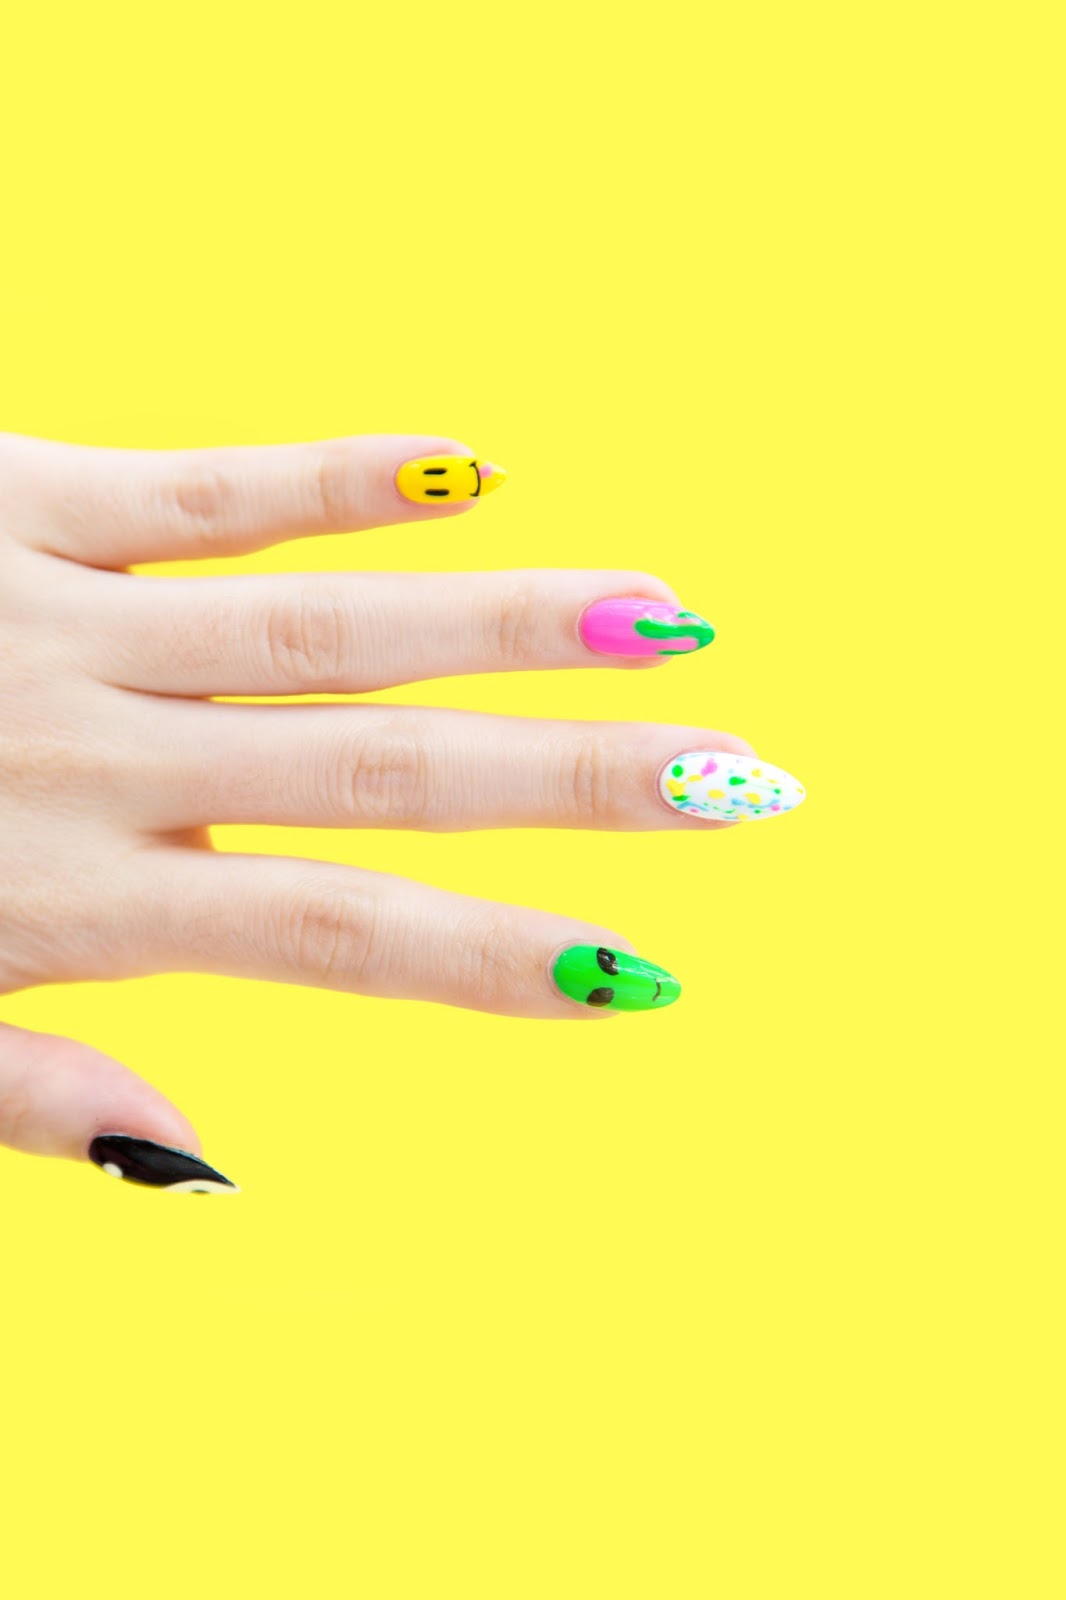
2. Apply an even base coat over the nail and allow to dry. Once that is dried, apply yellow polish to your pinky, pink polish to your ring finger, white polish to your thumb and middle finger, and green polish to your pointer. Allow to dry completely.
3. To make the smiley face nail, use the black nail art pen to draw eyes and a mouth on the nail. Take a toothpick and dab it into the pink nail polish and place it under the mouth of the smiley face for a tongue.
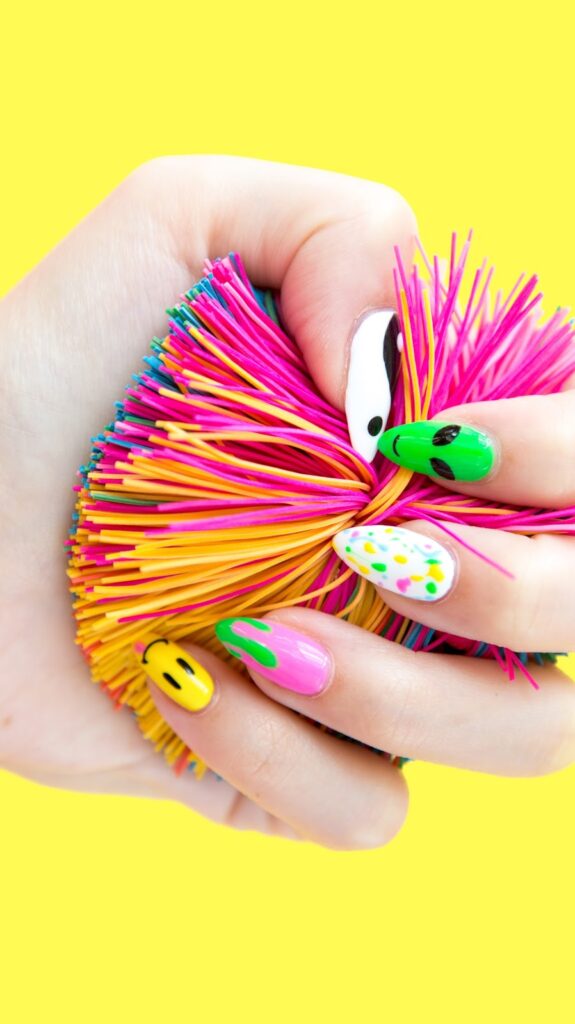
4. For the slime, use the green nail art pen to create drips starting from the tip of the nail. Clean up any rough edges with a toothpick.
5. For the paint splatter, place pink polish on a toothpick and go crazy making lines and dots all over the nail. Repeat for the yellow, green, and blue polishes until the nail is covered in paint splatters.
6. For the alien, use the black nail art pen to draw two almond shapes on the nail for eyes and a smile. Clean up around the eyes with a toothpick.
7. For the yin yang nail, use your black nail art pen to cover half of the nail with black polish by drawing a curve down the middle. Place a white dot in the black polish area and a black dot in the white polish area.
8. Once everything has dried, apply a top coat to all of the nails.

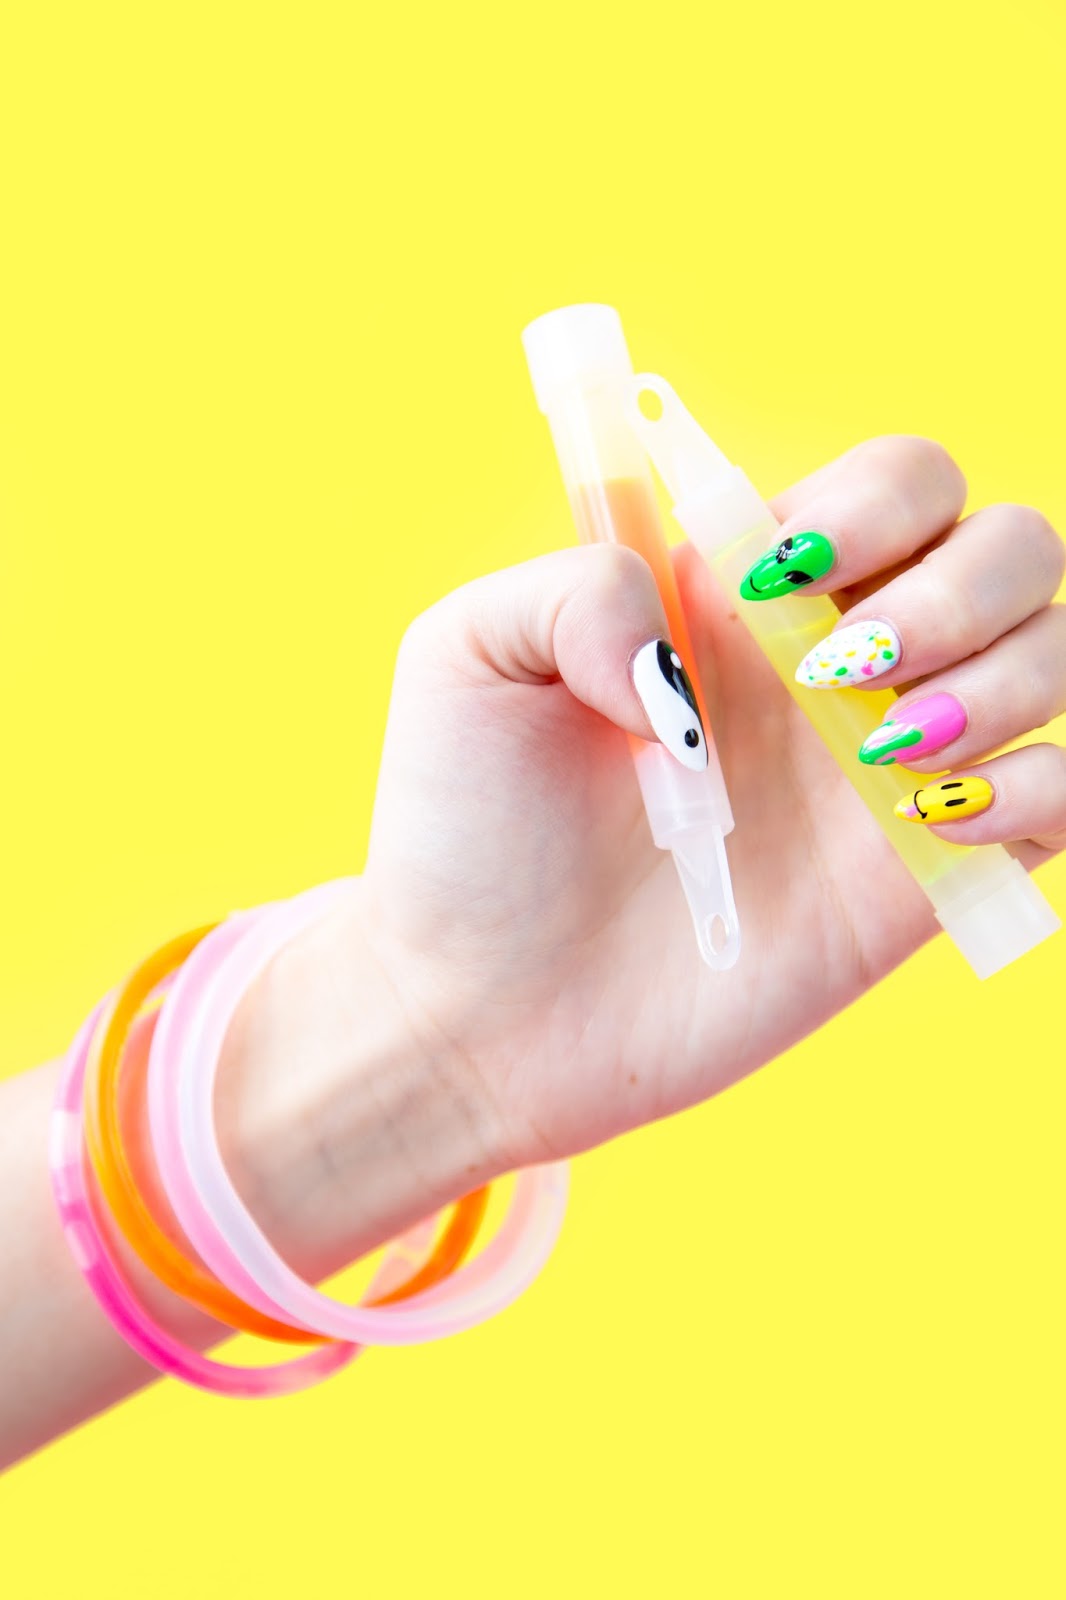
Nails by Gracie J. of The Editorial Nail
And if you’re looking for a throwback-style snack to go along with your new 90s nails, this funfetti cookie crisp cereal has got you covered!


