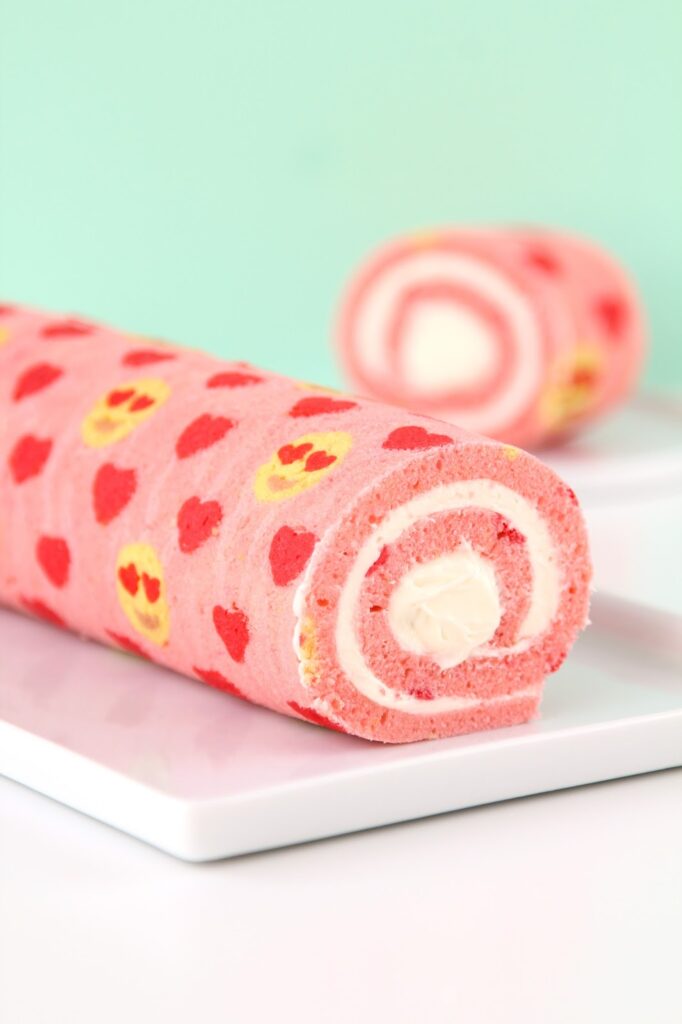
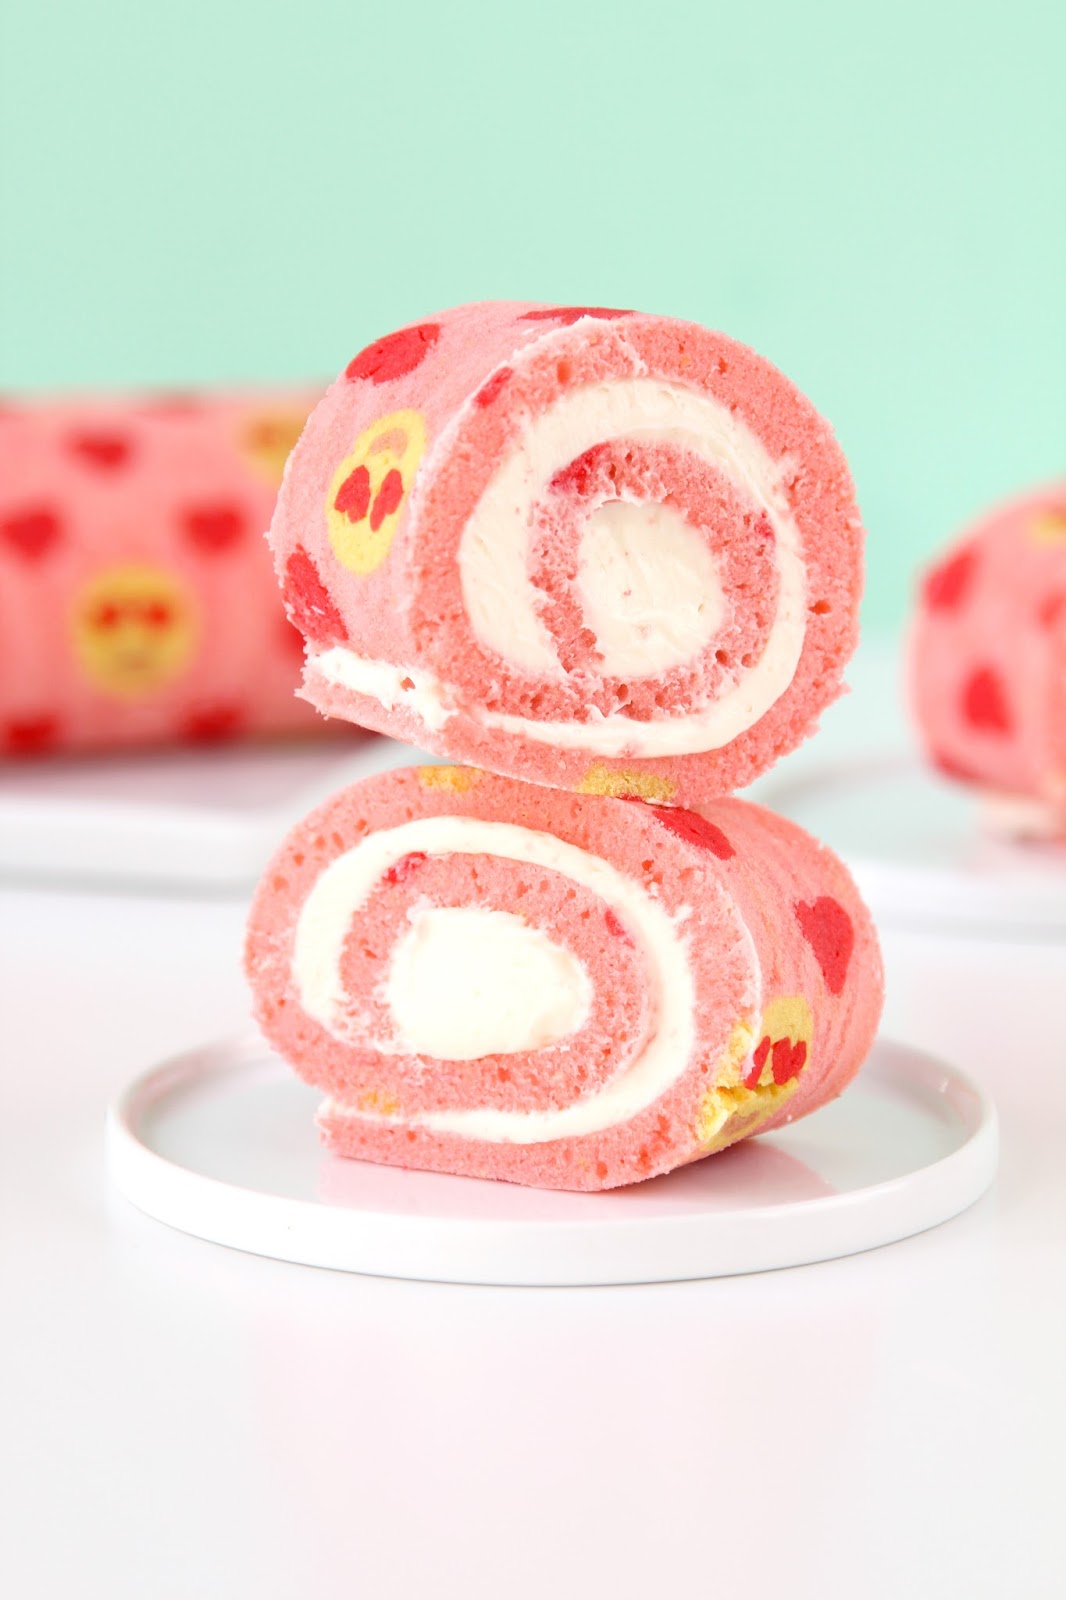
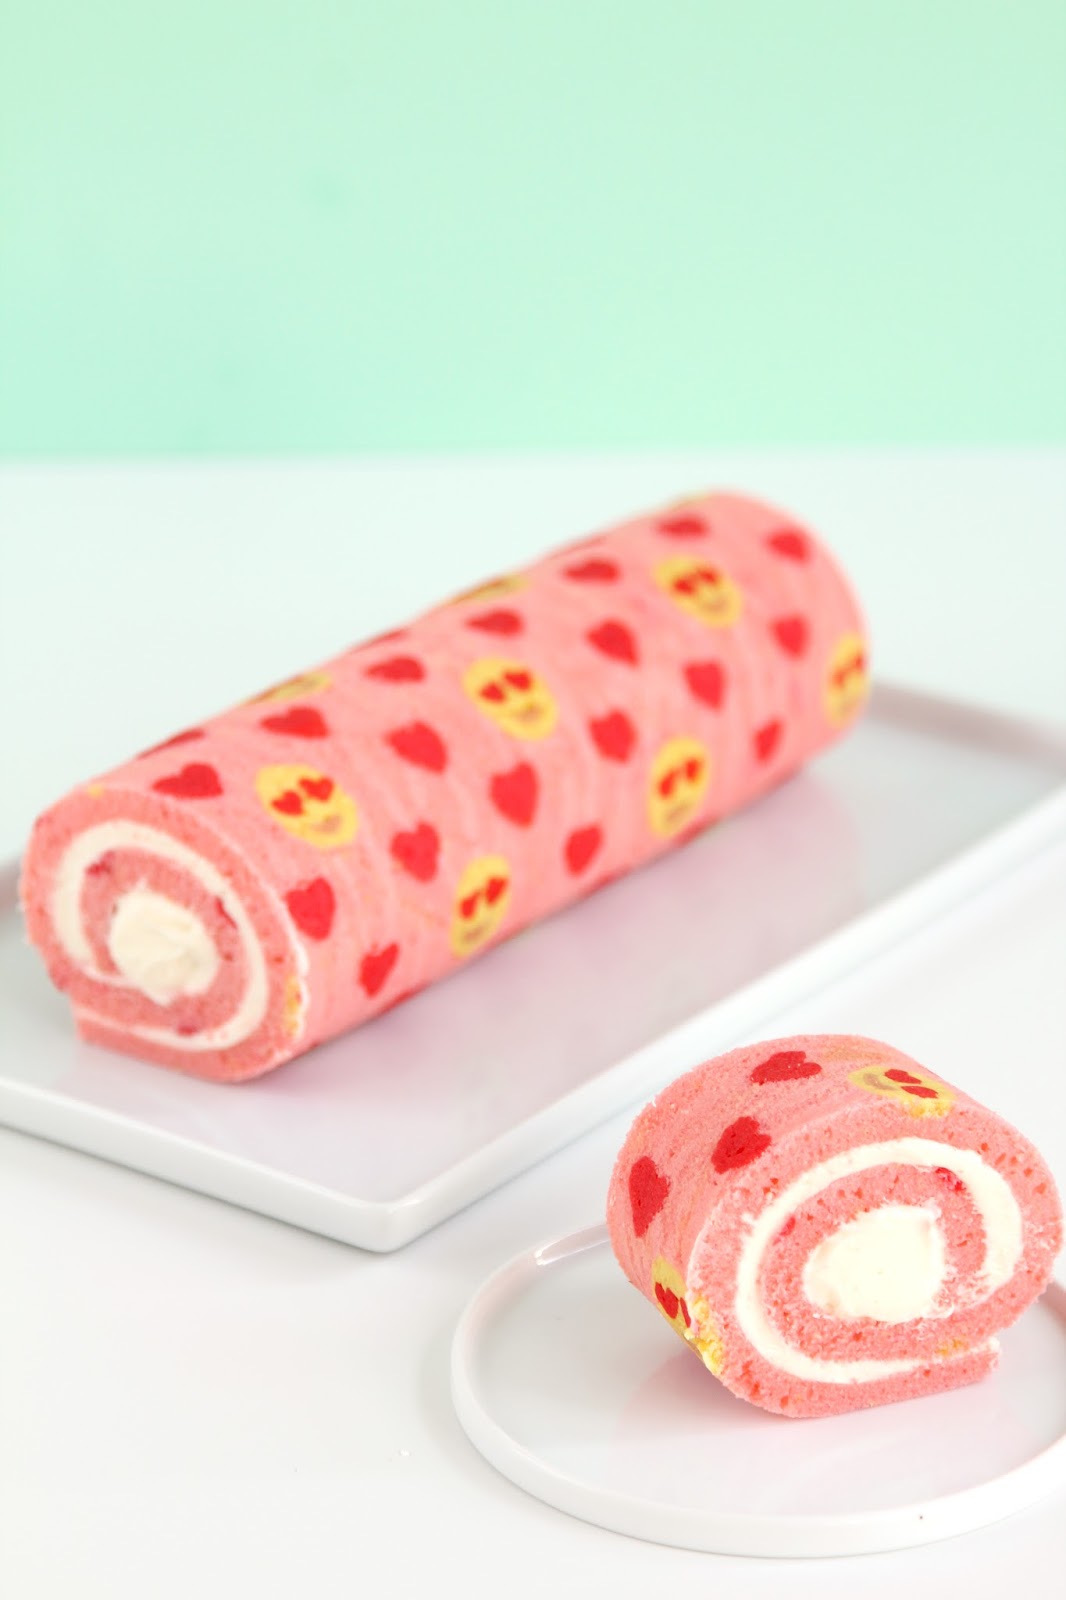
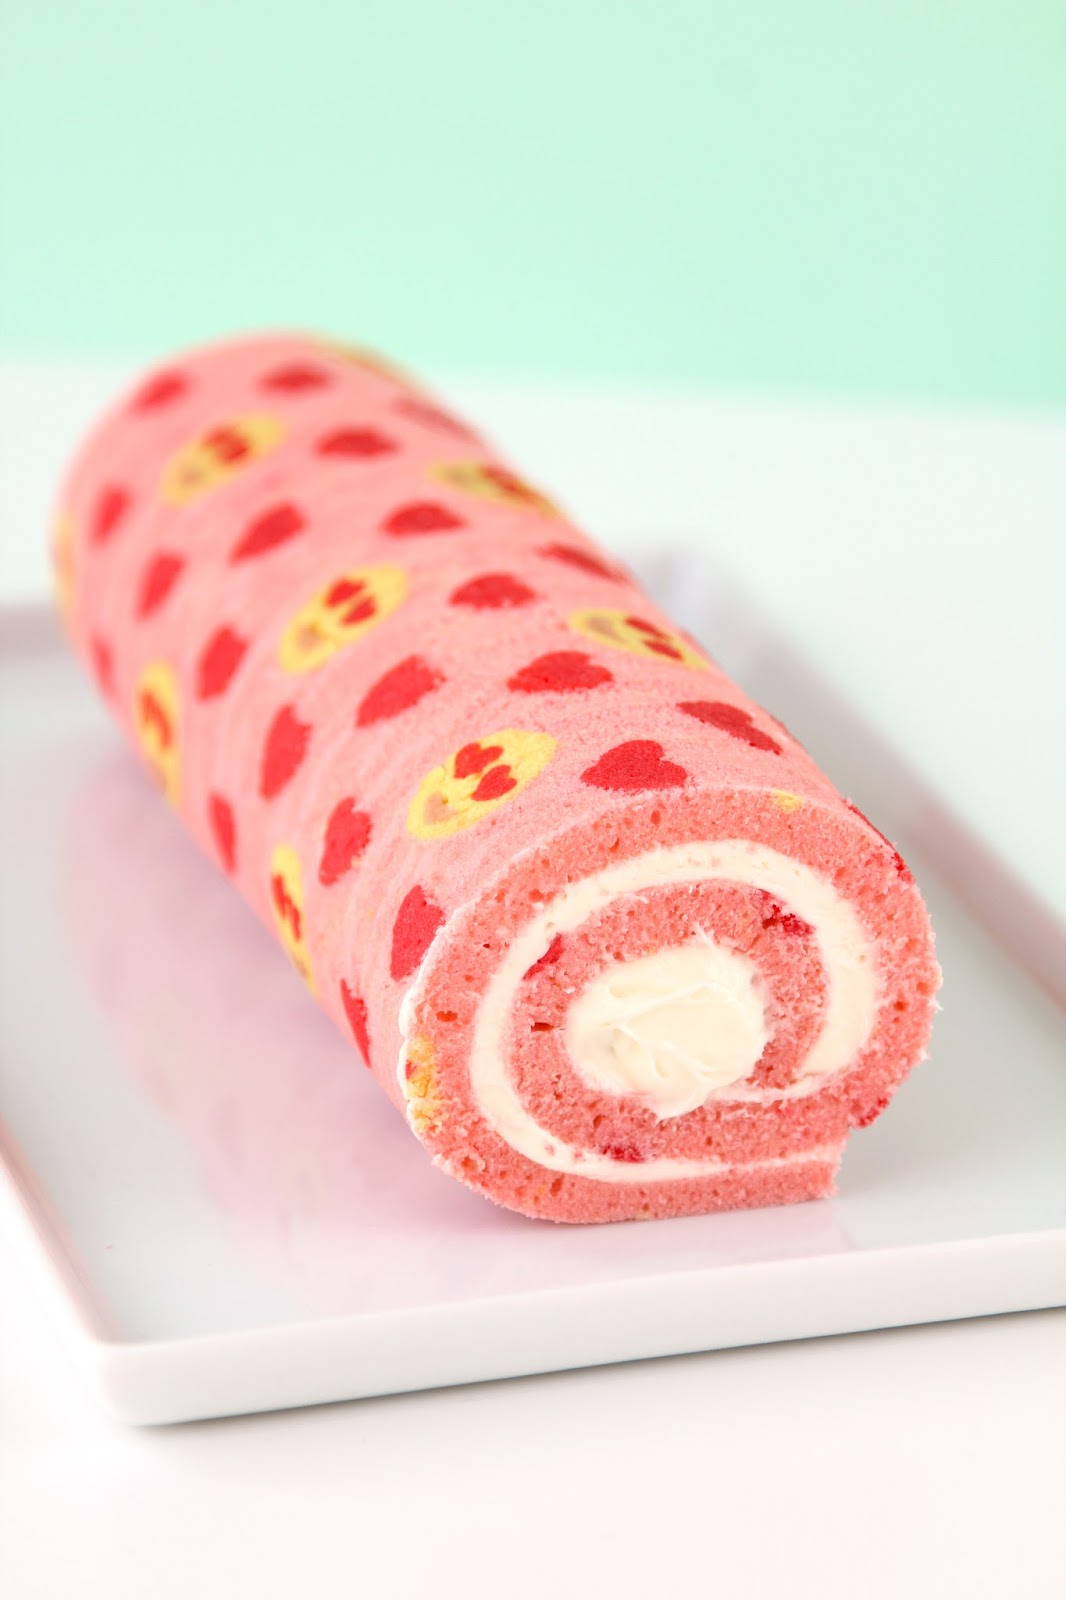
I’ve been seeing the cutest patterned roll cakes popping up all over Pinterest, so I thought, “this doesn’t seem so hard, I could do this, right?” Wrong. We went through SO many failed attempts trying to get the cake recipe just right, and we finally did it! So I’m sharing with you today how to make your very own heart eyed EMOJI CAKE ROLL!!! You will totally have all of your friend’s wide eyed at your Valentine’s Day party if you show up with this baby! It’s definitely one of those cakes that’s almost too cute to eat (almost). Get the pattern for the outside of the cake and our fail-proof recipe below!
For the cake:
4 egg whites
1/2 cup + 1 tablespoon sugar
1/2 cup butter, melted
3/4 cup flour
11″ x 15″ baking sheet
Parchment paper
Pink food coloring
For the pattern paste:
Printed emoji heart eye pattern 11″ x 15″ (download below)
1 egg white
2 tablespoons sugar
1/3 cup flour
1 1/2 tablespoons butter, softened
Yellow, red, and brown food coloring
Piping bags
For the cream cheese frosting:
1/2 cup cream cheese
1/2 cup powdered sugar
1/2 teaspoon vanilla extract
1 cup heavy cream
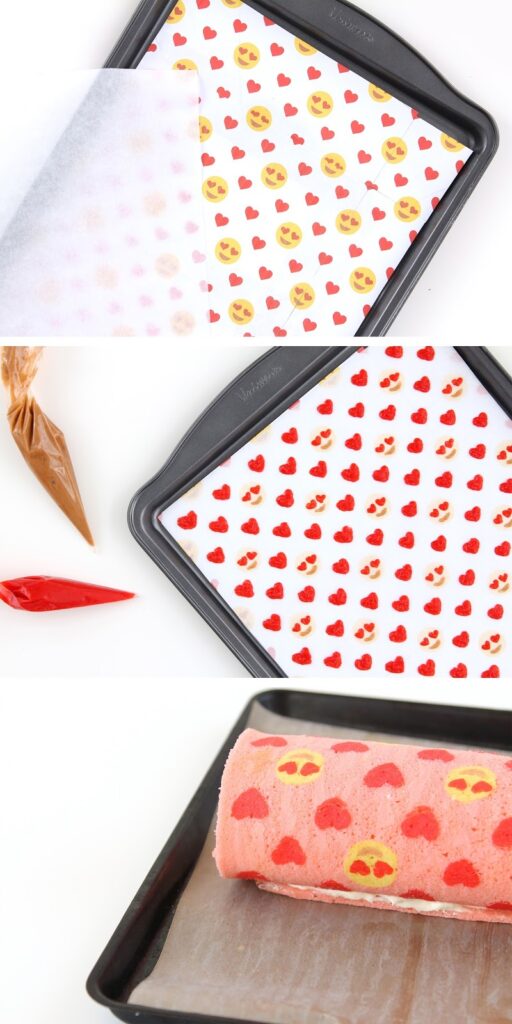
(Sorry in advance for not having more making photos, we had to work quickly on this one. No time to stop for photos. But watch the video linked in the how-to section below)
1. Combine all of the ingredients for the pattern paste in a large bowl. Divide into three equal parts, and color the red, yellow, and brown. Transfer these to piping bags.
2. Print out the design below and pattern the papers until you get an 11″ x 15″ sheet. Place a sheet of parchment paper over your design and pipe the design onto the parchment paper. To make a heart eyed emoji, put down the eyes and mouth first. Place these in the freezer to harden. Once they’ve hardened, add the yellow circle on top of them to complete the emoji face, and place back in the freezer.
3. Preheat your oven to 400 degrees Fahrenheit. Whisk the egg whites until a stiff peak forms. You only need egg whites for the cake, so throw away the yolks or place them in a separate bowl to use for something else later. Add in the sugar, butter, flour, and food coloring to your egg white mixture and fold until just combined.
4. Take your patterned baking sheet out of the freezer and pour the cake batter over it, making sure that there is an equal distribution and the whole baking sheet is covered. Bake for 7 minutes.
5. Dust a sheet of parchment paper or a tea towel with powdered sugar and flip the cake over design-side up onto the parchment paper. Peel the other sheet of parchment paper off of your cake to reveal your design. Flip the whole cake over again so that the side that the design is on is facing up. (This video is very helpful to see how to roll up your cake)
6. Combine cream cheese, powdered sugar, vanilla extract, and heavy cream in a bowl together. Spread the frosting on the inside of the cake. Once the frosting is evenly distributed, roll up the cake into a spiral. Put the whole cake into the freezer for 30 minutes-1 hour. Remove from the freezer and enjoy!









16 Responses
This has to be the best thing ever! I absolutely love it; and it looks delicious!WritingMonique
ARE YOU KIDDING ME?! Sam, this is amazing!!!!
Love everything about this! ?
Omg this is amazing!!!!! Too pretty to eat! ��������
Tiffany | fromyourstruly.co.uk
This is amazing.
I love a good cake roll and this one is beautiful! Yumgoggle.com
What size baking pan do you use?
11" x 15"
🙂
How many egg yolks do you use for the cake?
You don't use any egg yolks, just the egg whites! 🙂 Set aside the egg yolks and use them for something else. xo Sam
In the cake directions it says to whisk the yolks and fold them into the whites…?
Sorry, that was a typo! It's changed now. 🙂 xo Sam
Cool!
https://dinamighty.com/