
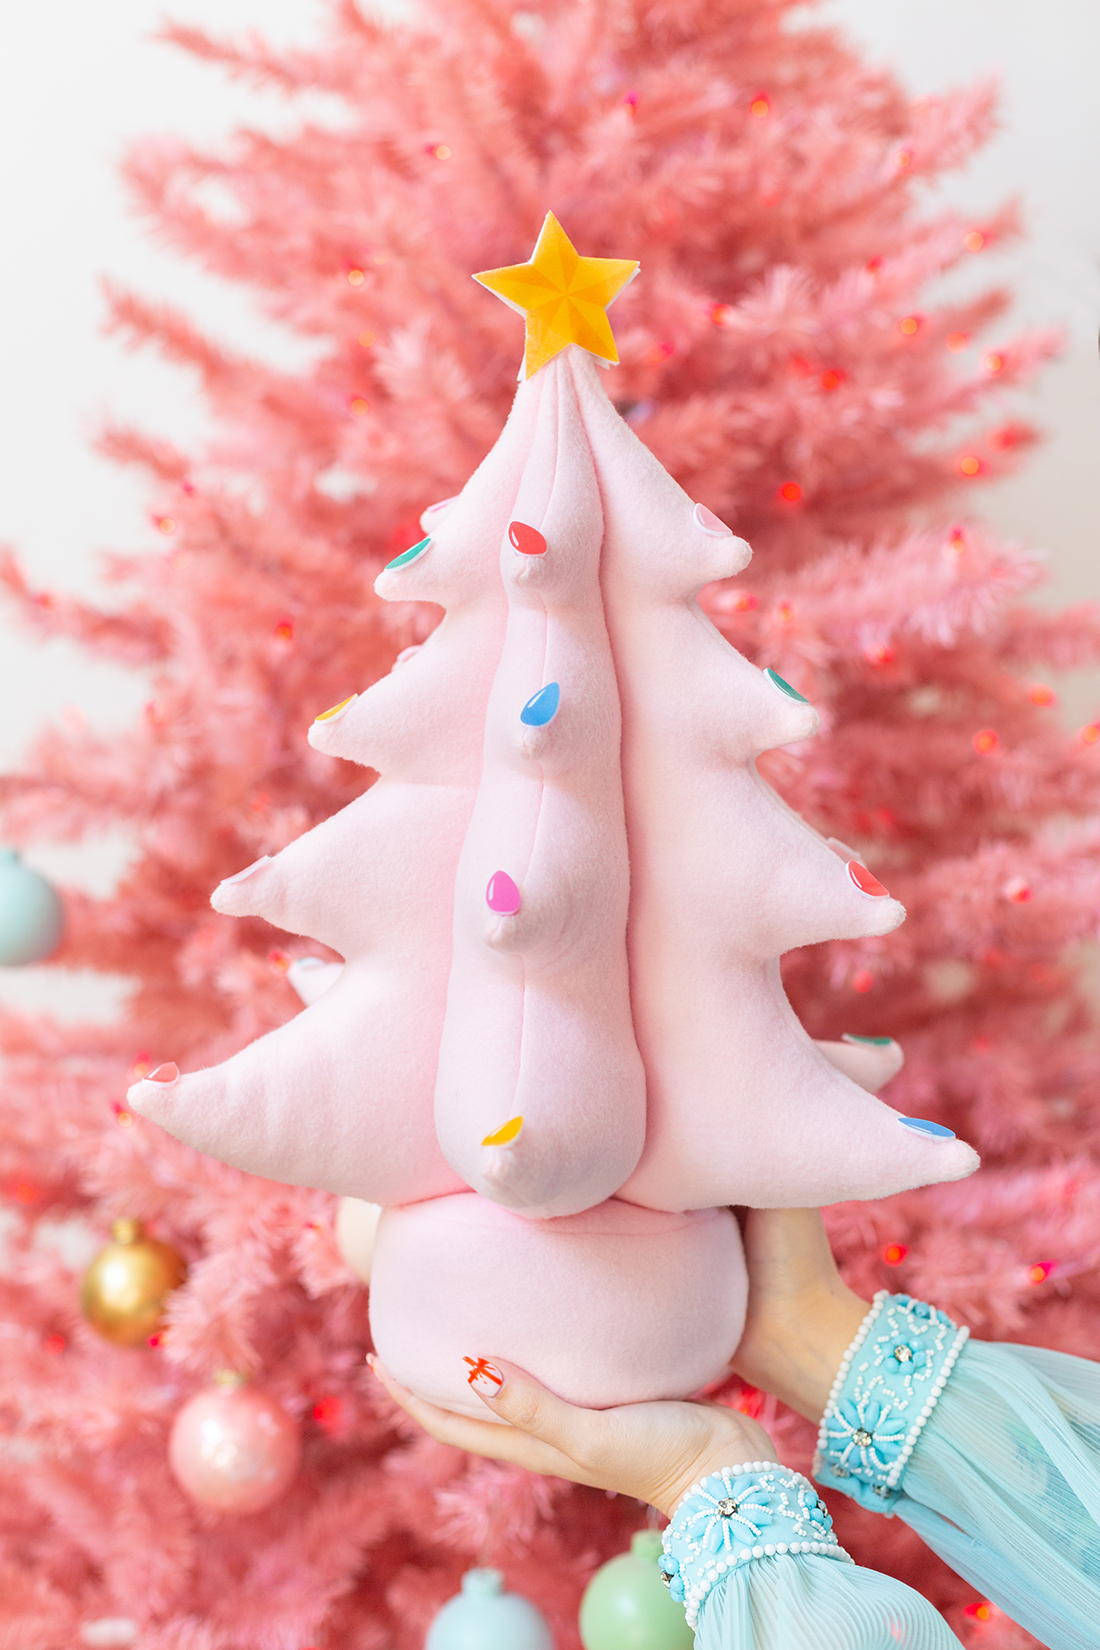
It has been too long since I had a sewing project on the blog, and I am so excited to share this one with you! The last time I did a holiday themed sewing project was my Holiday Light Pillows, and you all loved them! It’s been so much fun seeing all of you make them. This year I started collecting vintage inspired ceramic trees, so I decided what better way to add to my collection than to give a 3D tree pillow my own fun twist and make this super cute holiday tree themed pillow!
One of the biggest hassles of making pillows yourself is trying to make one without a pattern to base it off of, so I have a pattern for you all that I printed out on one of my Canon PIXMA printers. Not only is the PIXMA great for everyday printing projects like that, but it comes in handy for a ton of other things, like when you decide to add rainbow lights to your tree, you can use it’s high-quality color printing to print right onto Canon Light Fabric Iron On Transfers! They print out nice and smooth and look great on your finished project, I think they definitely were a finishing touch for my pillow. Plus, the PIXMA can copy and scan, and is wireless too, meaning you can print from your laptop or phone!

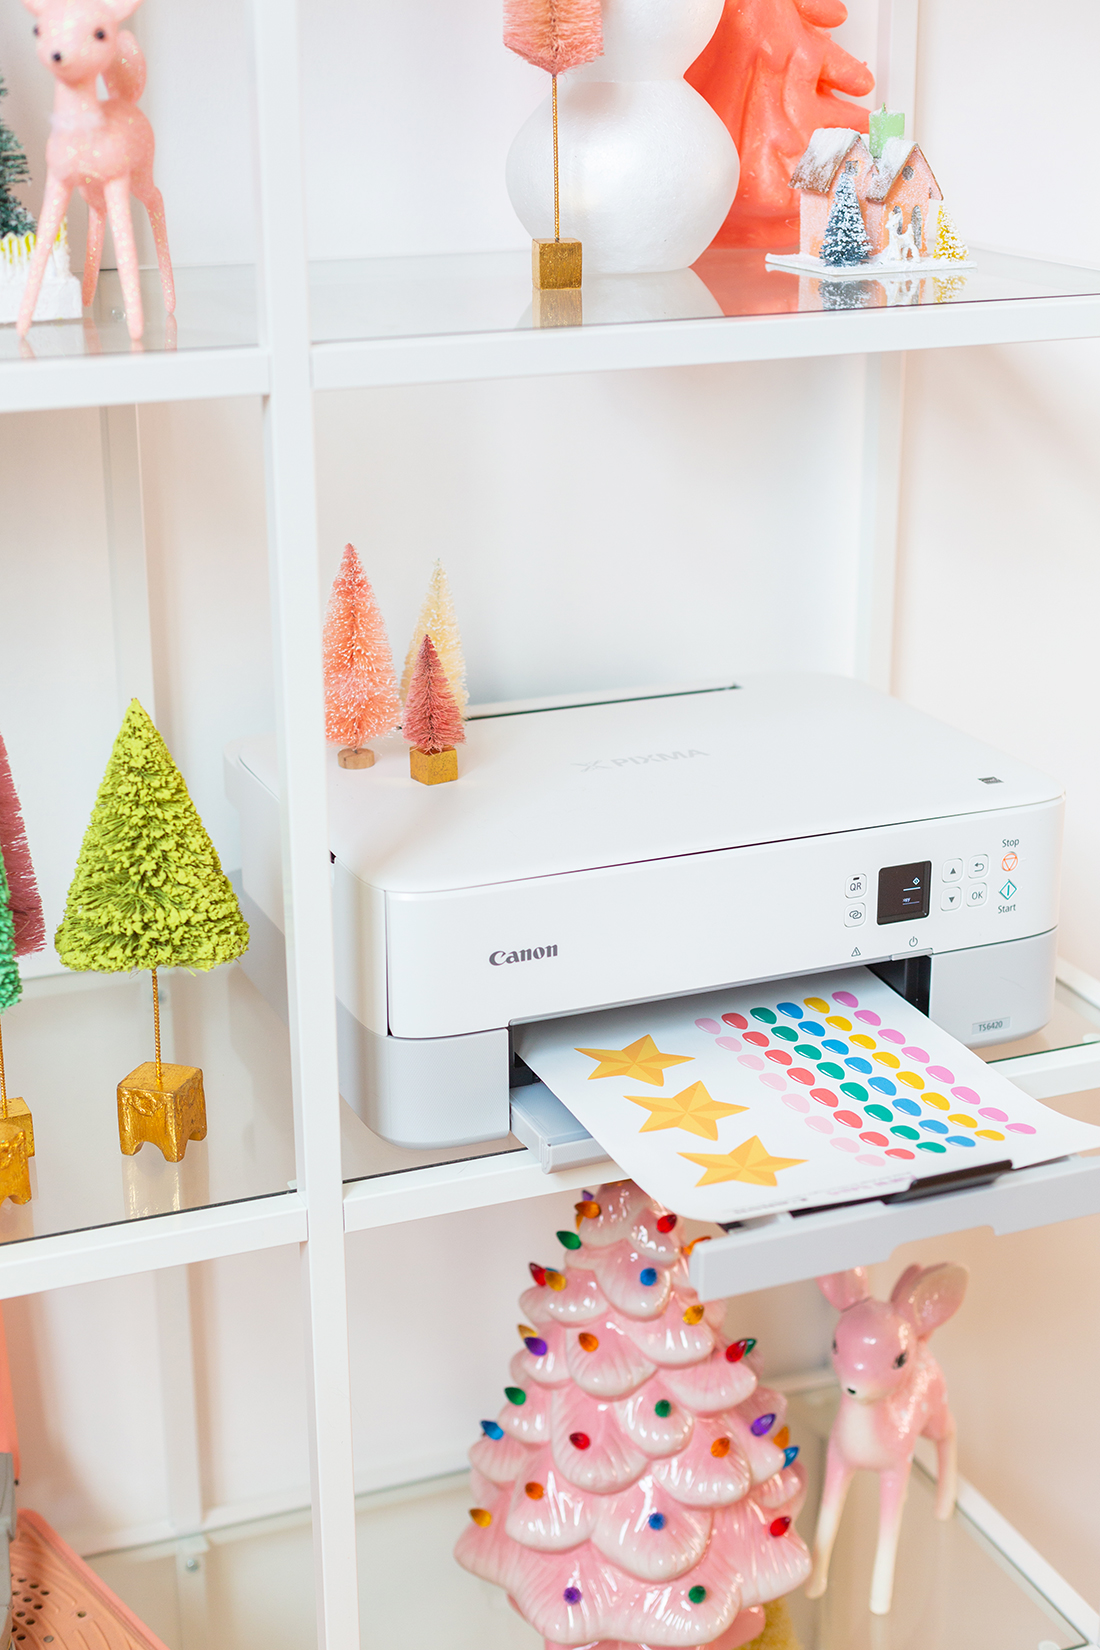
 Canon PIXMA TS6420 printer
2 yards of felt
Sewing pins
Fabric scissors
Sewing machine
White thread or thread to match the color of your pillow
Hand sewing needle
Polyester fiberfill
Paper pattern to make the pillow (here)
Fabric iron on transfer paper (here)
Pattern for the lights and star (here)
Hot glue gun and glue sticks
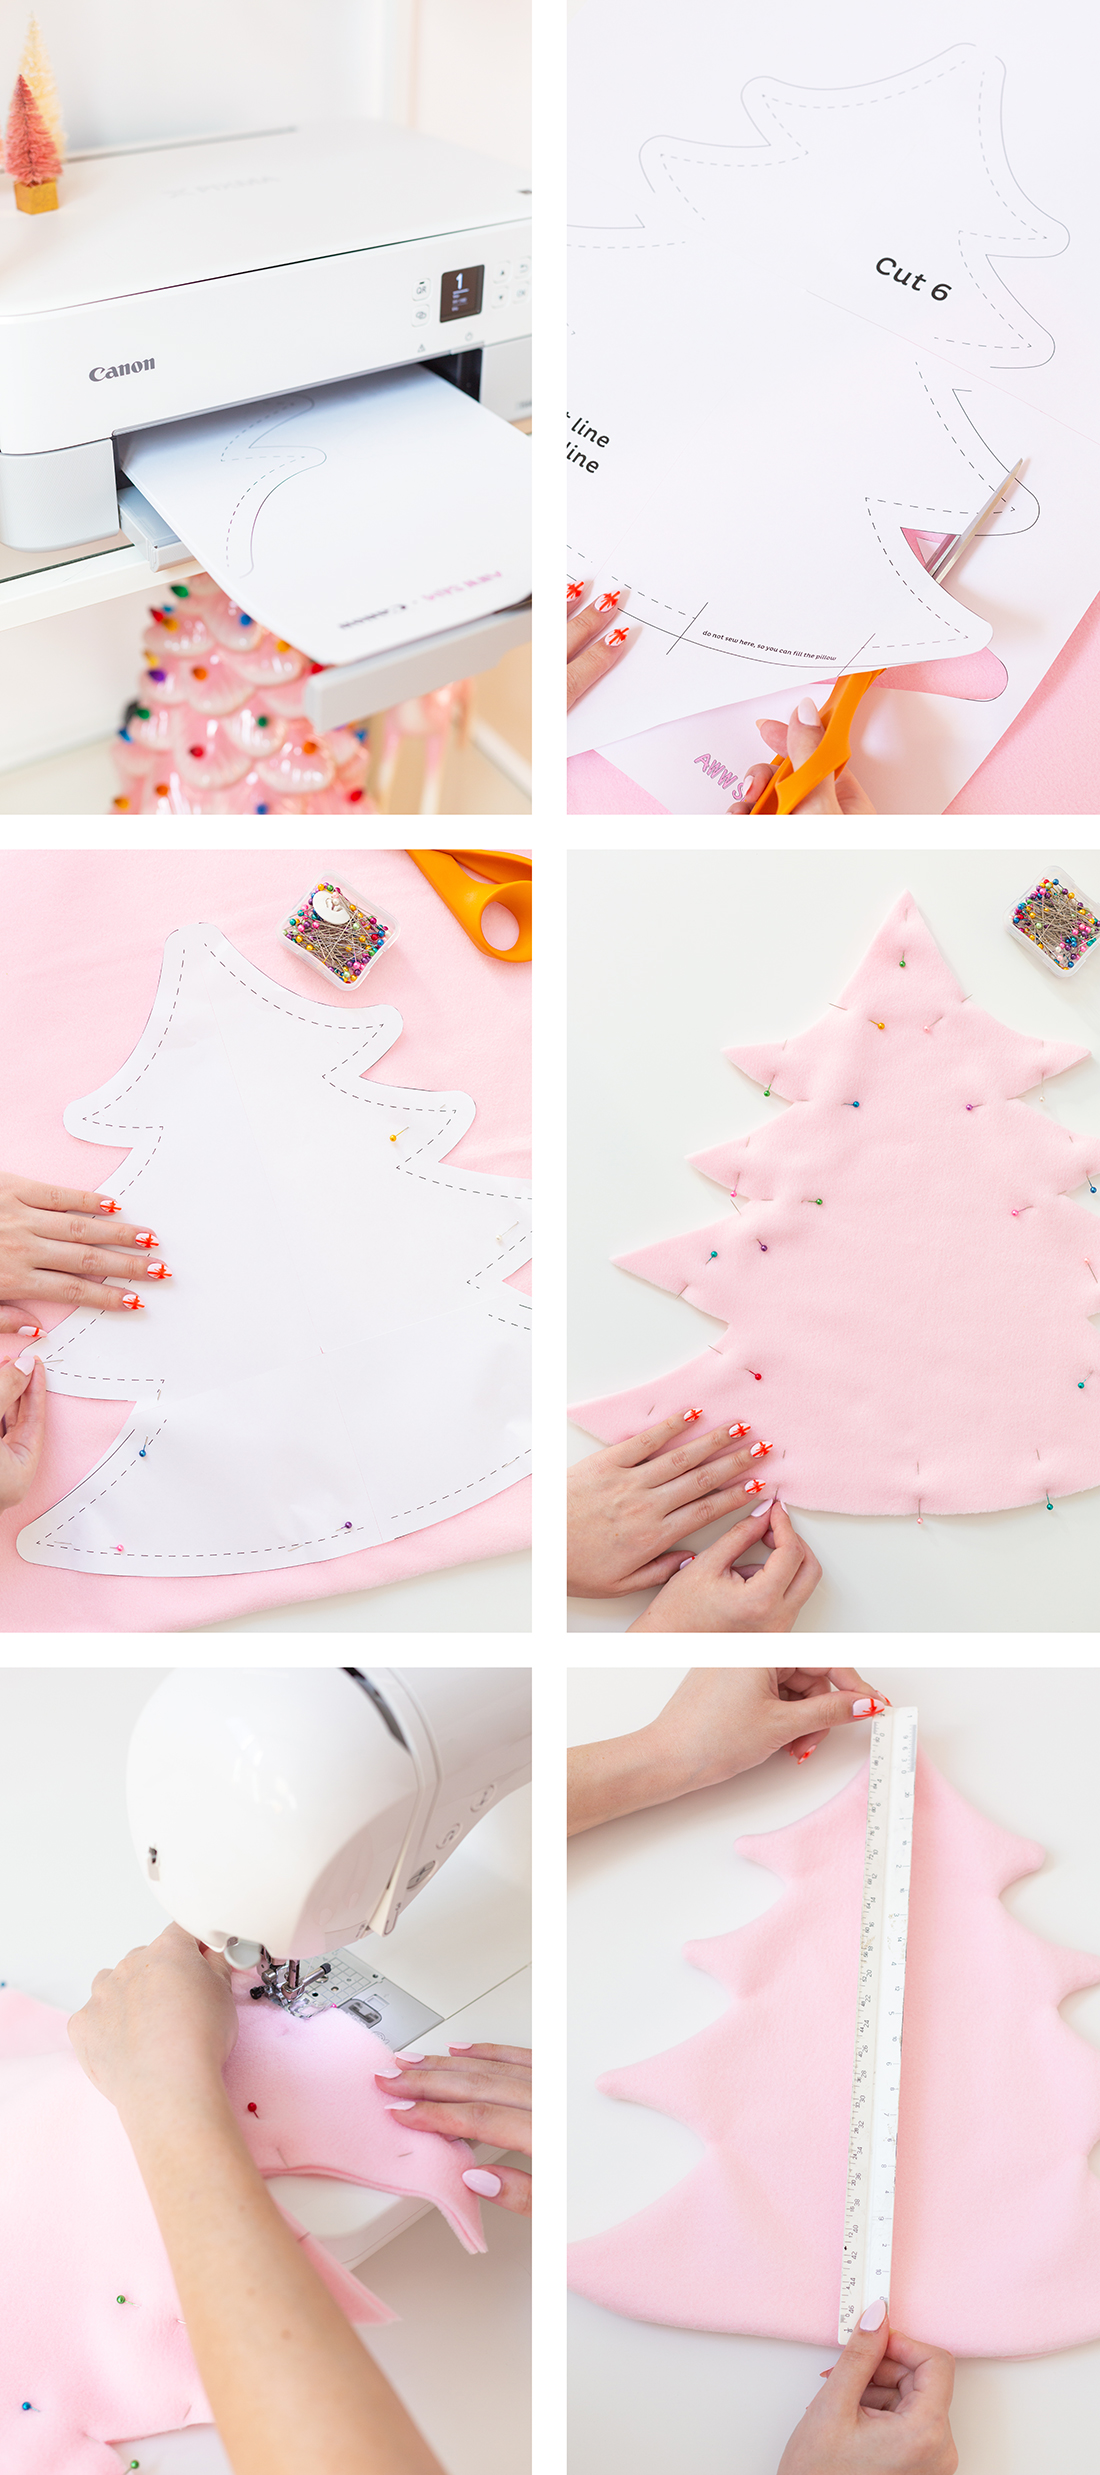
 1. Print out and assemble your paper pattern. Pin your fabric onto the pattern and cut it out. Repeat this step five more times to give you six tree shapes.
2. Sew two pieces together right sides together (the pattern has a 1/2″ seam allowance), and remember to leave an opening so you can turn your pillow right side out. Repeat these steps until you have 3 sewn tree pieces. Trim away the excess from the seam allowance and turn your trees right side out.
3. Next, you are going to sew all of the trees together by lining them up and sewing in a straight line down the middle of three trees. This gives us the 6 sides of our tree.
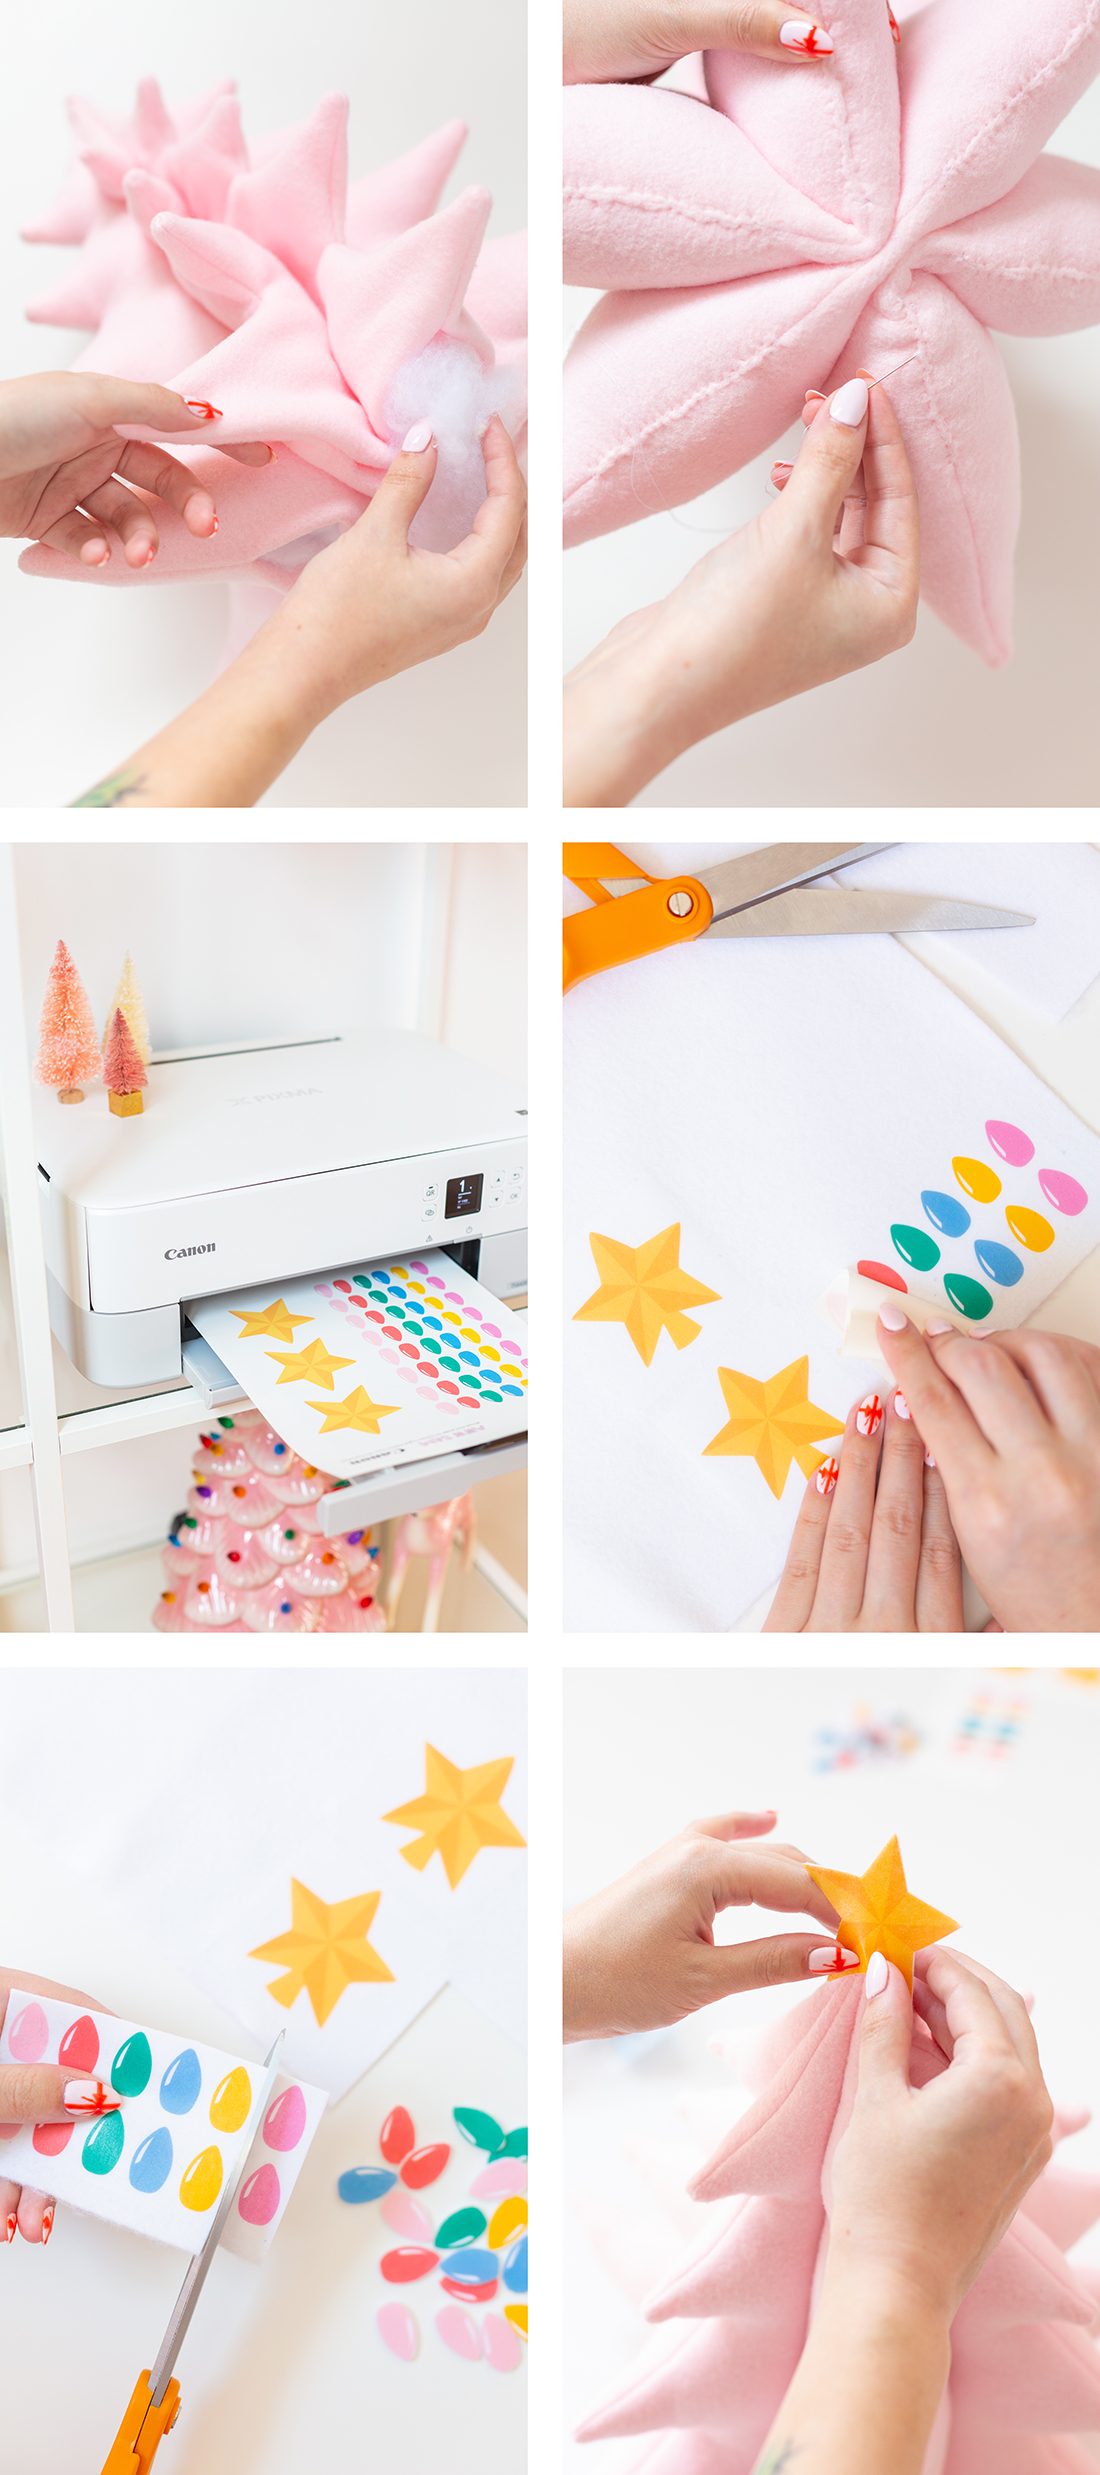
4. Begin filling your tree’s sections, adding stuffing to all of the openings. Once the pillow is stuffed to your liking, hand sew the openings shut.
5. Grab your iron on transfer paper and place it into your printer following the instructions on the paper. Print out your lights and star topper, and cut them out.
6. Place the iron-on paper design face down, and on its highest setting, take your iron over the transfer paper in a circular motion with even pressure for approximately 30 seconds.
7. Allow the iron-ons to cool for about a minute and a half, then peel up the backing and cut away excess felt. once they are all cut out into individual lights and two parts of your star you’re ready to move to the next step.
8. Grab your hot glue gun and glue the star topper on, then place the lights where you want, gluing each one on. You can also use fabric glue or tack your pieces on with a hand sewing needle. Once you have on enough lights to your liking, you’re finished!
9. Optional step: I added a base to mine by making a stuffed cylinder to help it match my pink ceramic tree better!
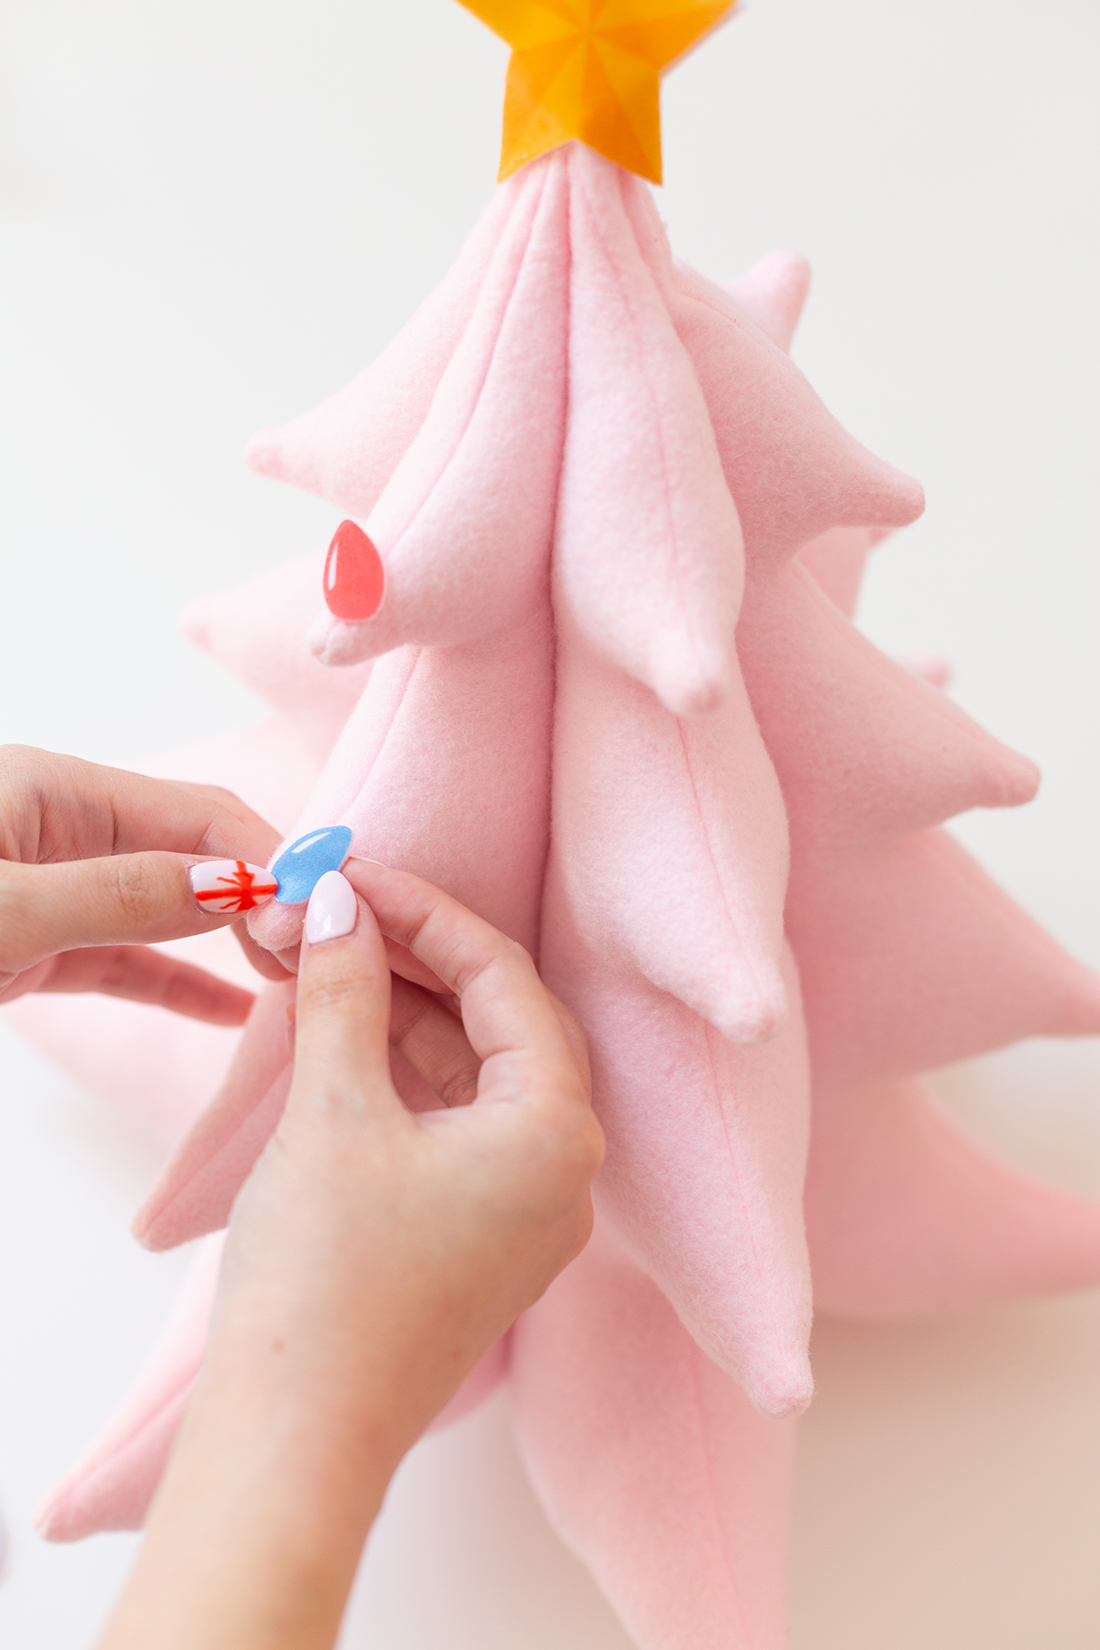

I hope you all love this project as much as I do, and maybe we will even see some of you recreating your own versions! If you do make sure to tag us so we can share them! Now to start making my next tree, what color should it be, mint, green or a darker pink? Haha!
This is a sponsored post written by me on behalf of Canon. All opinions are 100% mine. Thank you for continuing to support sponsors that make this blog a lot more Aww Sam! You can find more about our sponsorship opportunities here. PIXMA printers PIXMA crafting printers






2 Responses
Amazing!
I’ll be making some of these this week-love everything pink!
Love love love This project! I cant WAIT to make them! For myself and for gift giving!! Going to do the HOLIDAY lights pillow string as well!!