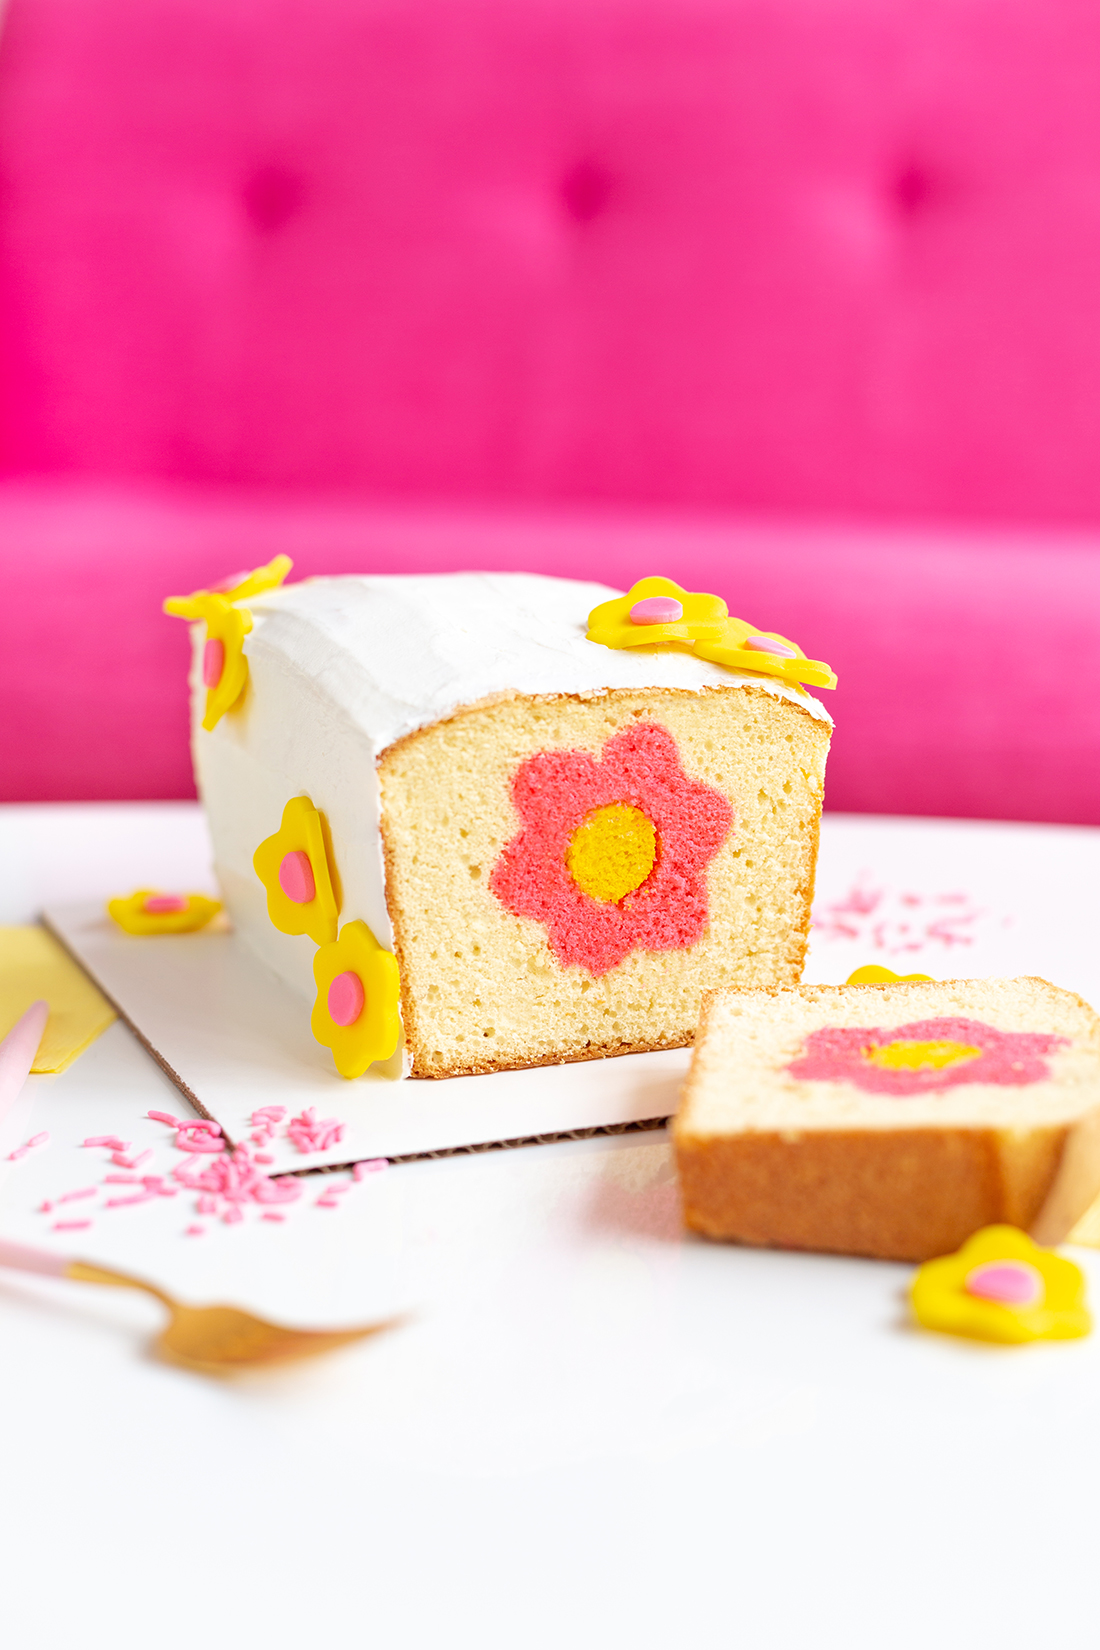
I’m back with a new recipe!!! I know it’s felt like forever, and honestly, I was so burnt out after Holiday season that I couldn’t even begin thinking about working on new recipes or DIYs. I’m definitely feeling recharged and more inspired than ever to get making, and I think you’re all going to LOVE this cake just as much as I do!
If you follow along on stories, you’ll know this was a very difficult project for me. Especially after coming off of not baking for a while, I was not prepared for this to “fail” one time, let alone TWO! I always put the word fail in quotes because there’s always room for improvement and I learned something new about this process each time I “failed.” You all were so encouraging after I shared how I bummed I was about this recipe not working, so I waited a few days and got back up and tried it again! And although you probably already guessed since I’m writing this post, it worked!!!
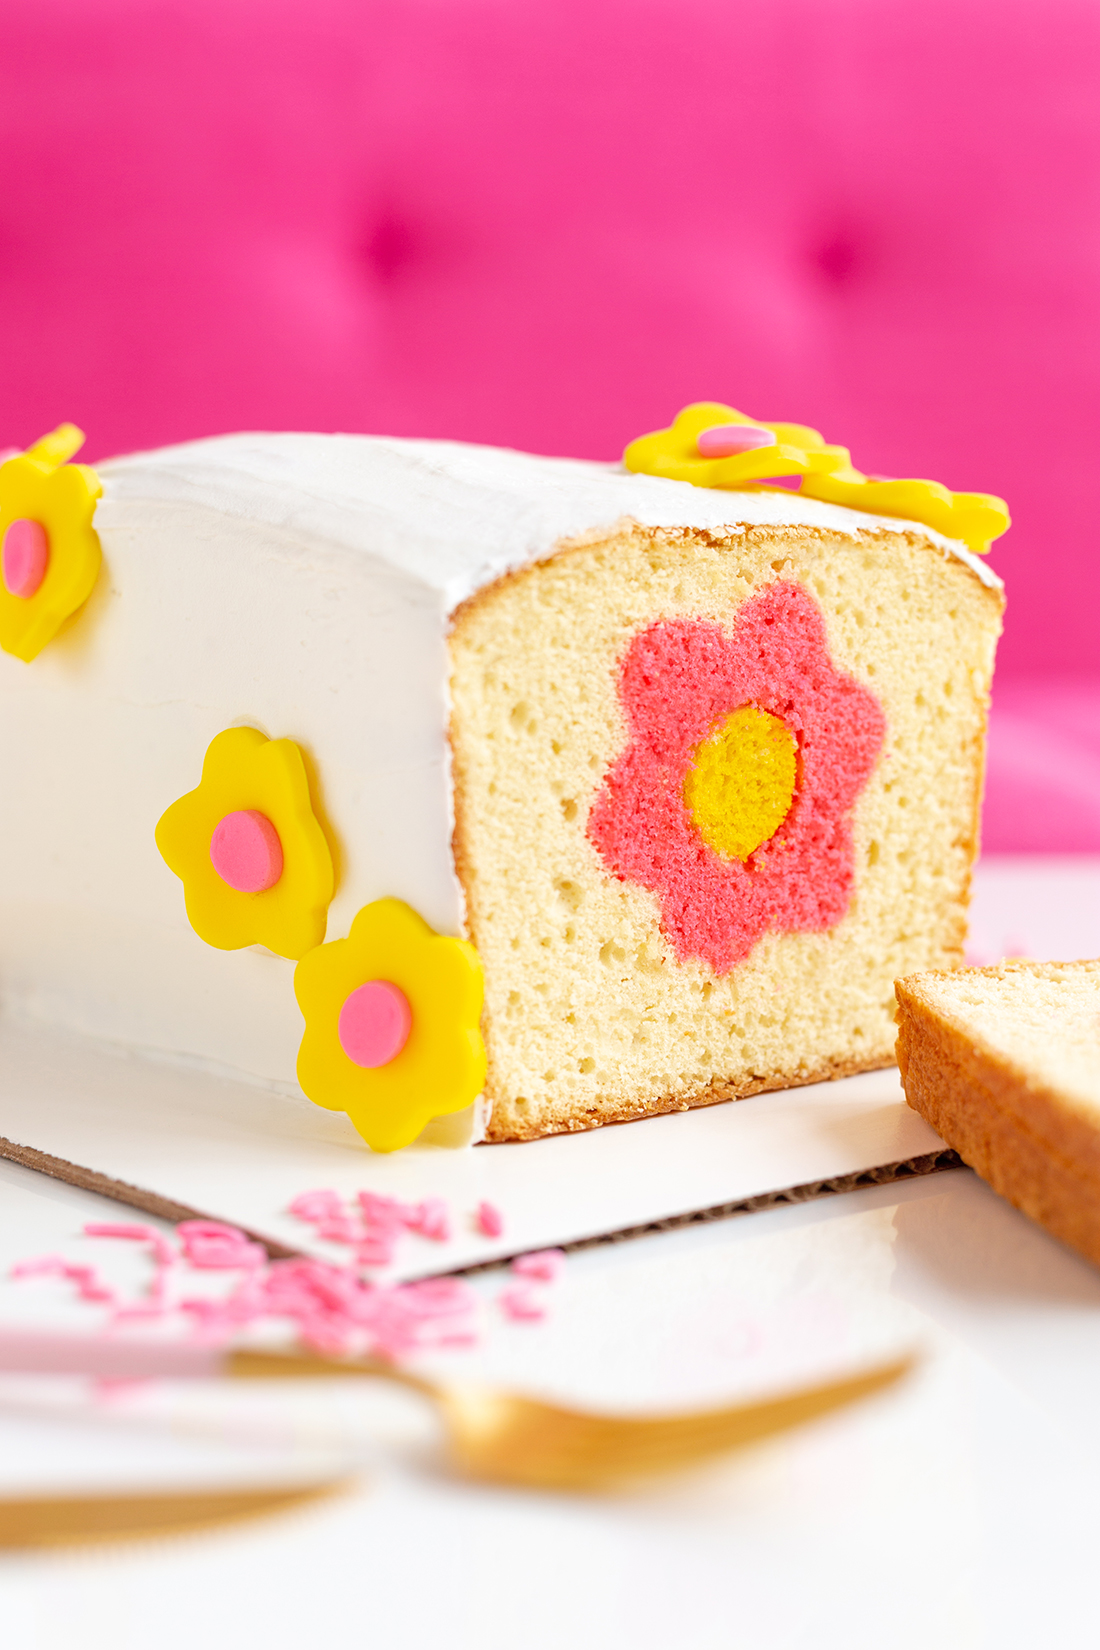
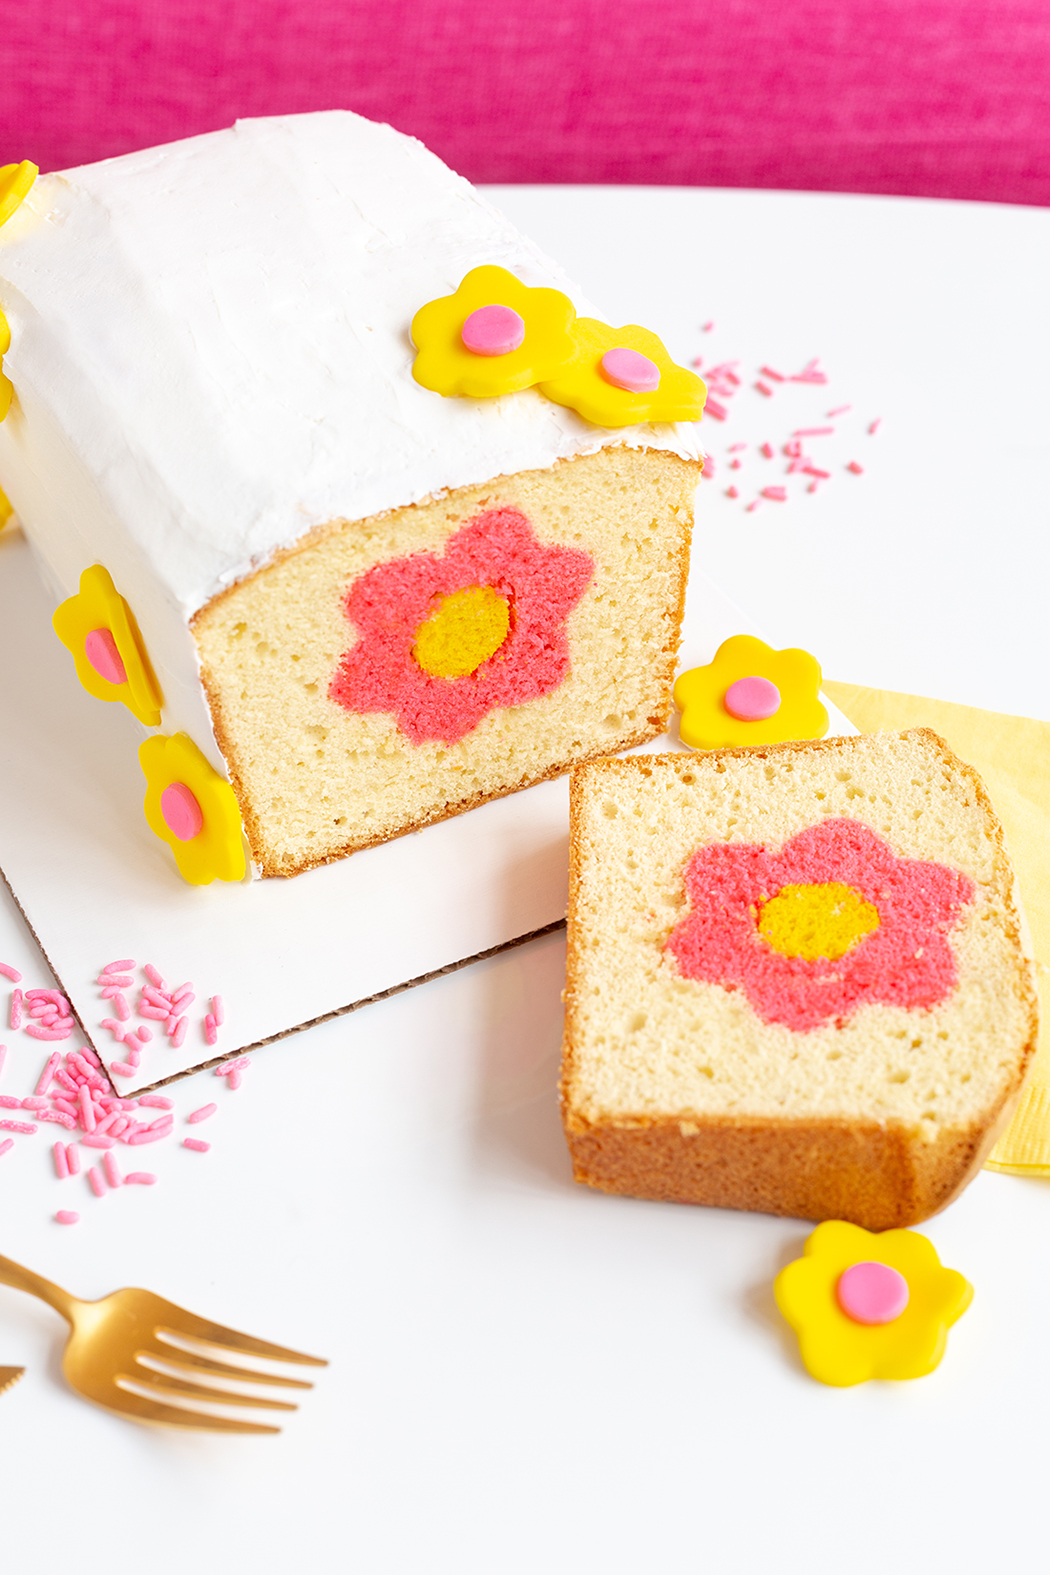
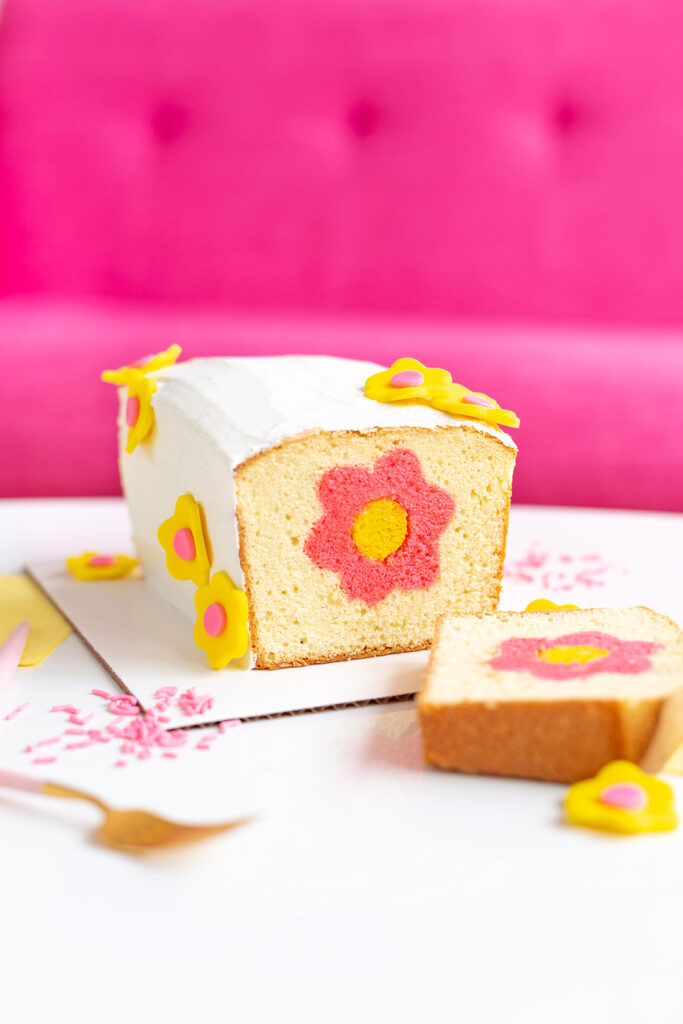
Ever since I saw an episode of Great British Bake Off where they made hidden design cakes, I’ve been wanting to try my own! I think Paul Hollywood would be proud of this one but say it’s on the simple side. Ha! Anyways, to celebrate the start of Spring, I’m showing you how to make a flower hidden design cake today! Yes, there’s a design in EACH slice, AND you can use this method to put whatever shape you want on the inside! I’m so happy I got this to work, and now I pretty much exclusively want a flower inside of every slice of cake I eat now.

9″ x 5″ loaf pan
3 boxes of pound cake mix + ingredients on the box
(Or enough of your favorite pound cake recipe for 3 cakes)
Pink and yellow food coloring
Piping bag
Small flower cookie cutter (the height of the cutter has to be less than the height of the pan)
Small round cookie cutter to go in the center of the flower
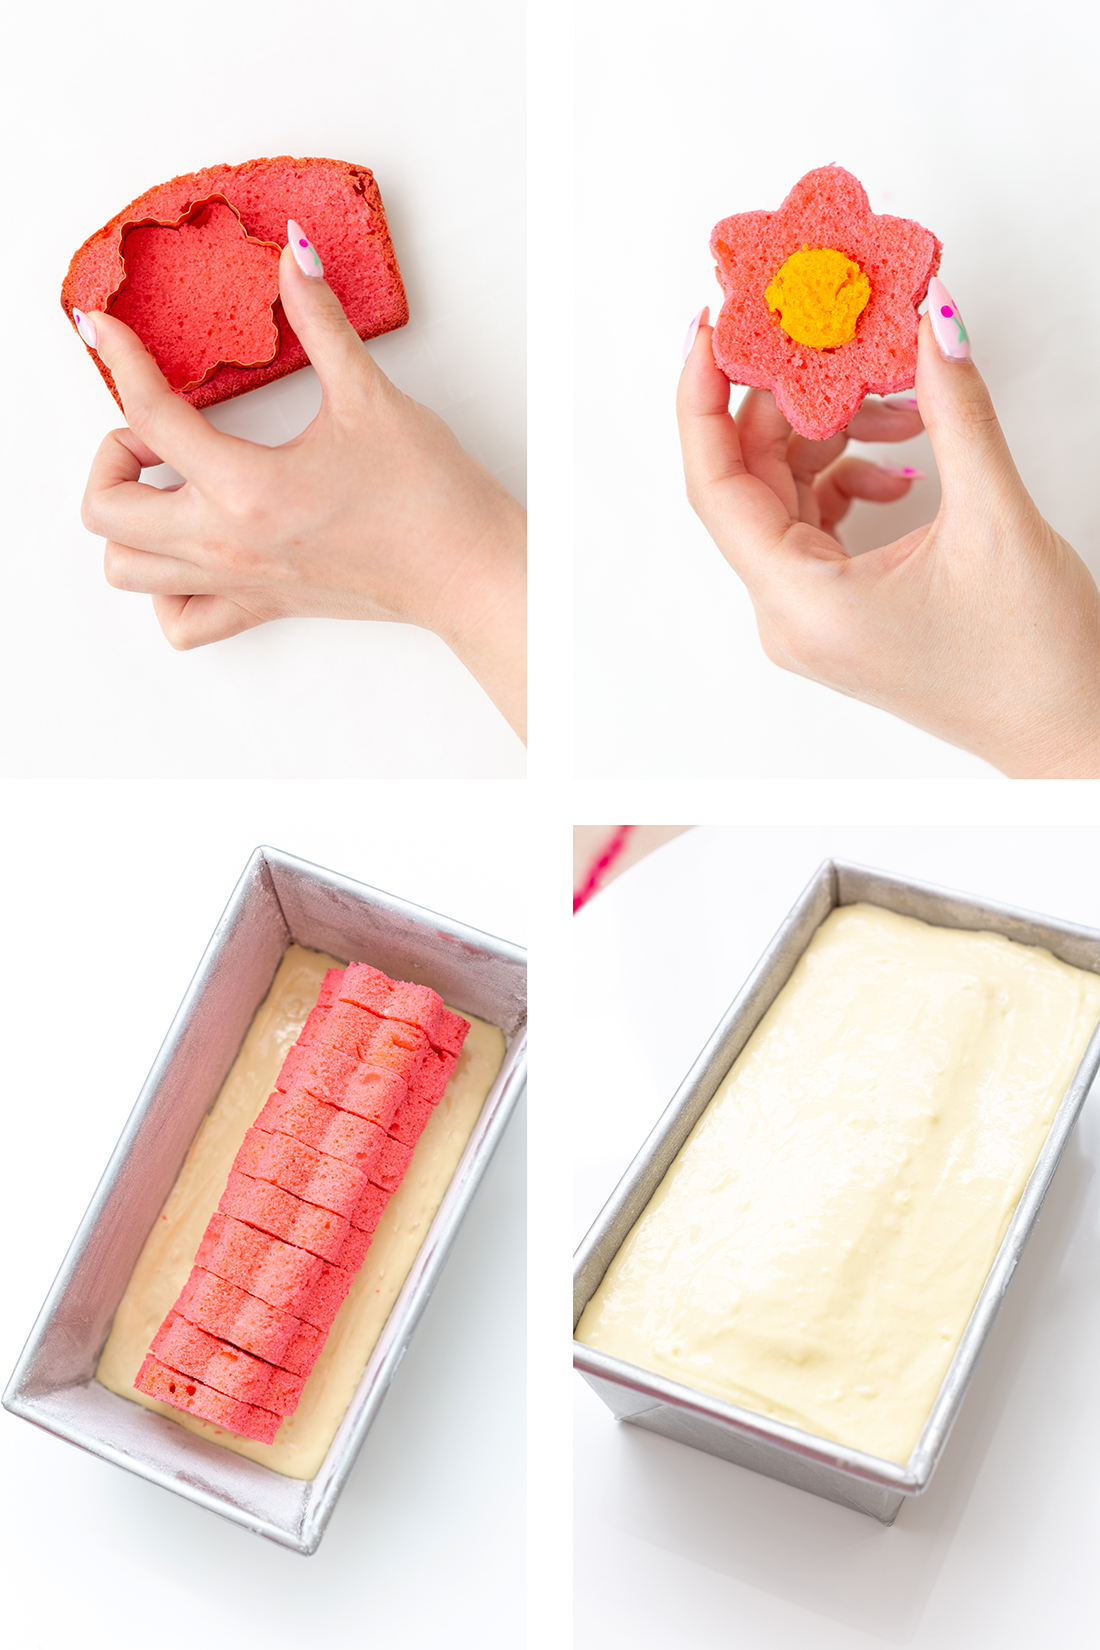

1. Set your oven to 350 degrees fahrenheit. Grease your loaf pan and lightly dust flour around the inside of the whole pan. Dump out any access flour before putting in your cake batter.
2. Follow the instructions on your box cake mix or favorite pound cake recipe. The batter you use will need to be thick and fluffy so it comes out denser and easier to cut with a cookie cutter later. Color your cake batter pink and pour it into the loaf pan. Make sure the color is very saturated, the first time I tried this, I did it with pastel colors and it was very hard to distinguish the flower design from the rest of the cake! Even out the top of the batter and bake for 40-50 minutes or until a knife comes out clean from the center.
3. Allow the cake to cool completely before removing from the pan. Once the cake has cooled, slice the whole cake into 1″ slices, you should have about 8-9 slices of cake.
4. Using your flower cookie cutter, cut flowers out of the middle of each slice. You’ll want your flowers to be frozen, so place them on a sheet of parchment paper in the freezer.
5. Repeat steps 1, 2, and 3 to make a yellow pound cake. When you have sliced your cake, cut small circles out of the cake. Using the same size cutter that you just used, cut circles out of the middle of each flower. Place the yellow cake in the middle of the flowers and place the flowers back into the freezer for 1-2 hours.
6. Repeat steps 1, 2, and 3 again without coloring your cake batter this time. Place the cake batter into a piping bag and cut off the tip. Pipe a very thin layer of batter along the bottom of your pan (this will help the flowers to stay standing upright inside of the pan). Remove your flowers from the freezer and place them next to each other until the whole pan is filled.
7. Pipe the remaining batter around and on top of the flowers, evening out of the top of the batter. Gently tap the pan on a hard surface to remove any air bubbles. Make sure your cake batter covers the tops of the flowers so they don’t burn.
8. Bake your cake for 40-50 minutes and allow to cool completely before icing. Decorate your cake to your desire, and slice into it to see the design inside every slice!
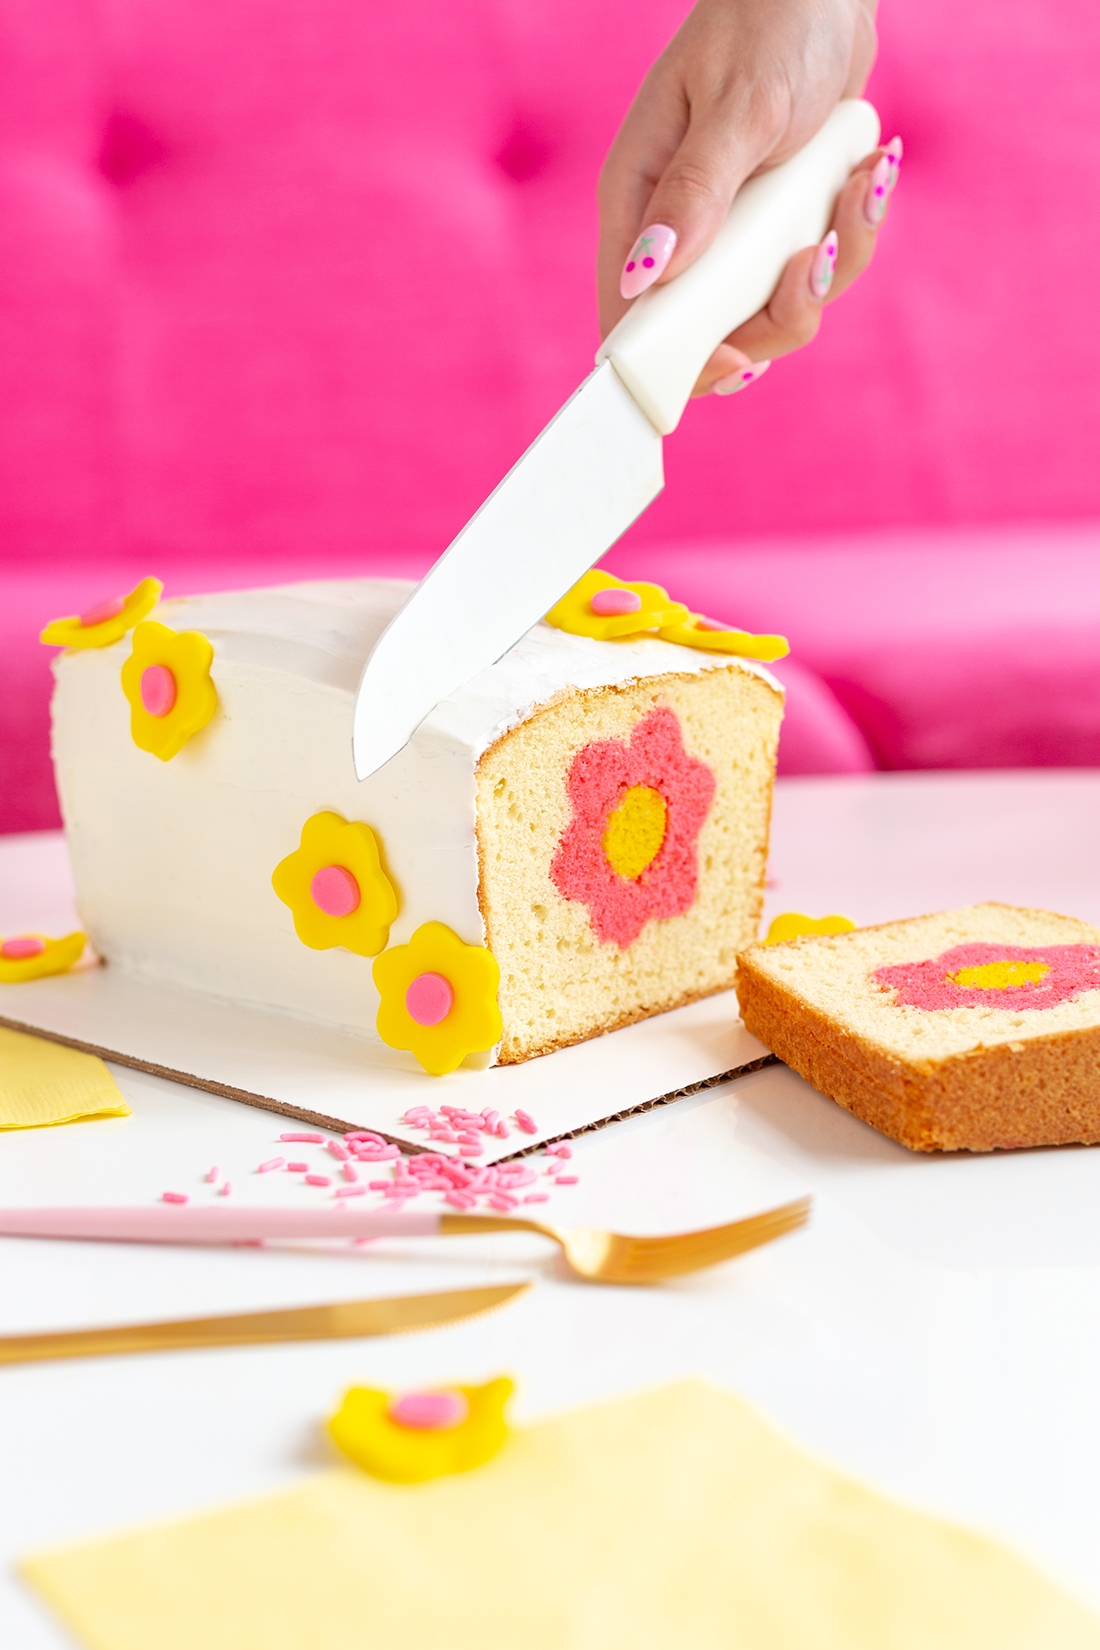
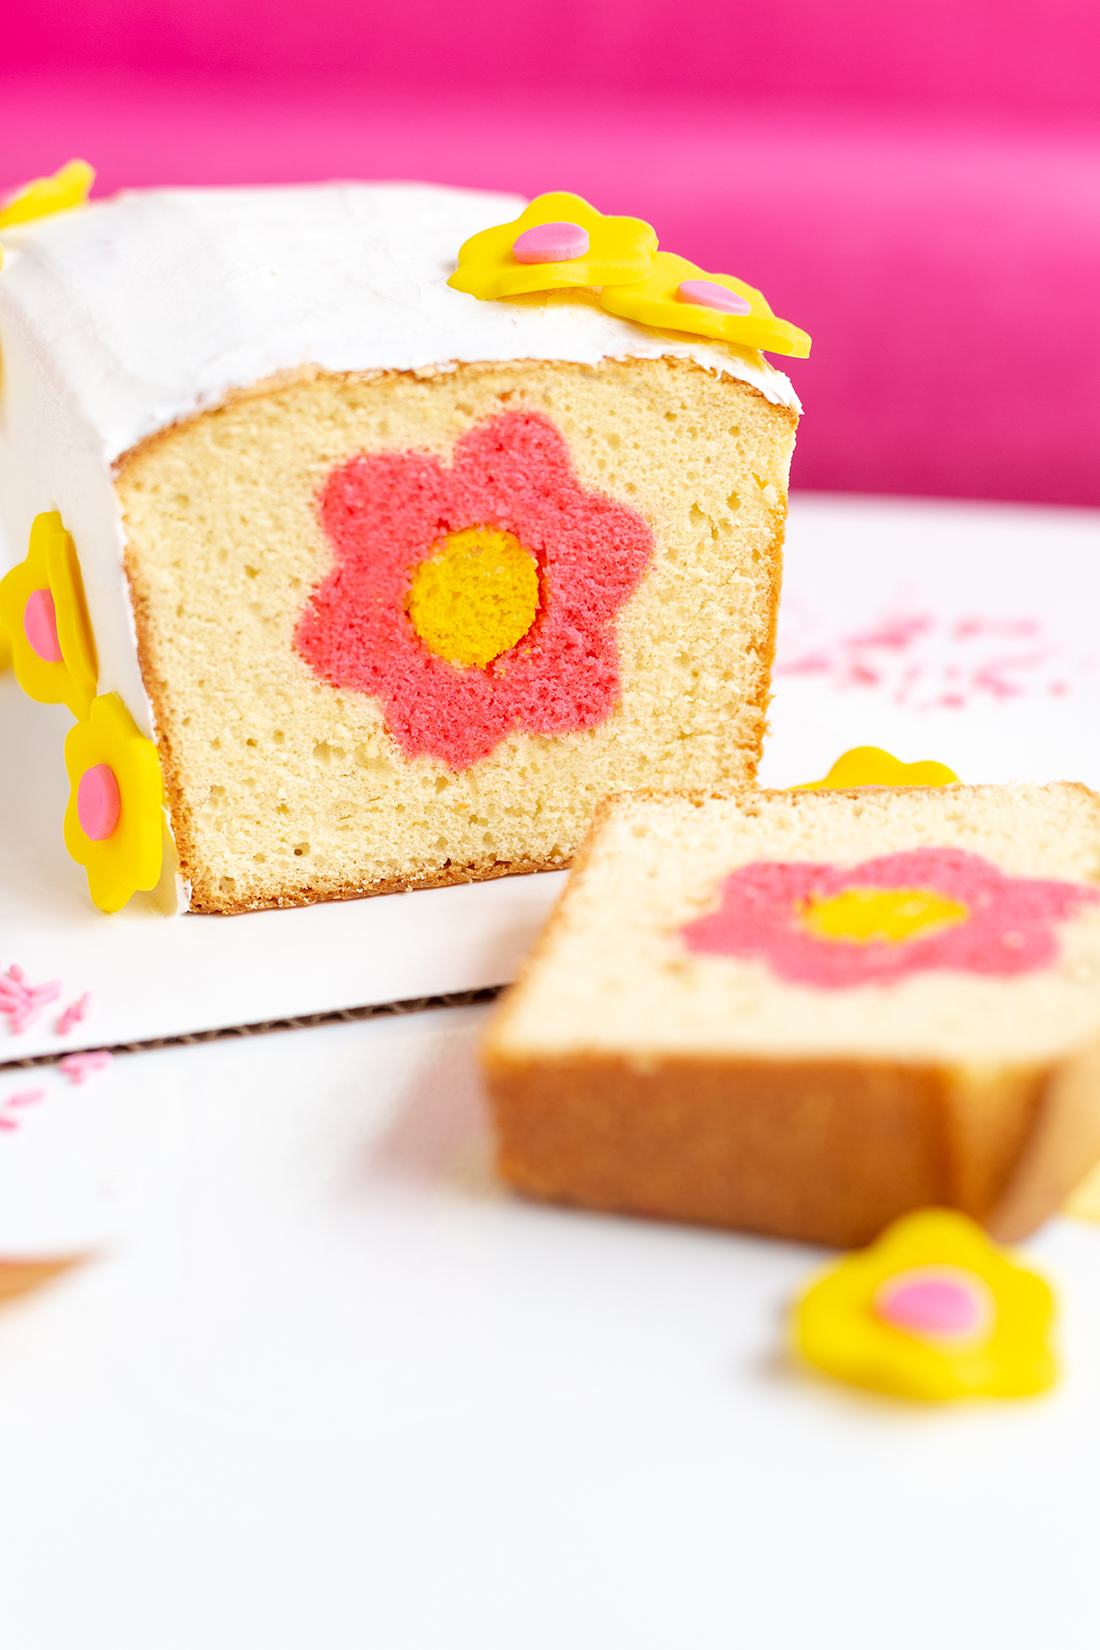
I’m so excited to try more complex designs now that I’ve mastered the technique of a hidden design cake! I’m totally thinking I should try to put words inside of a cake next, what are your thoughts? And these would be so cute for Holidays too, with a tree on the inside for Christmas or a pumpkin for Halloween; the possibilities are endless!



One Response
This is super cute!
Thanks for showing us how to make this.
I’ve been wanting to try this kind of cake design for a long time. You make it look so easy, I can’t wait to GIve it a go.