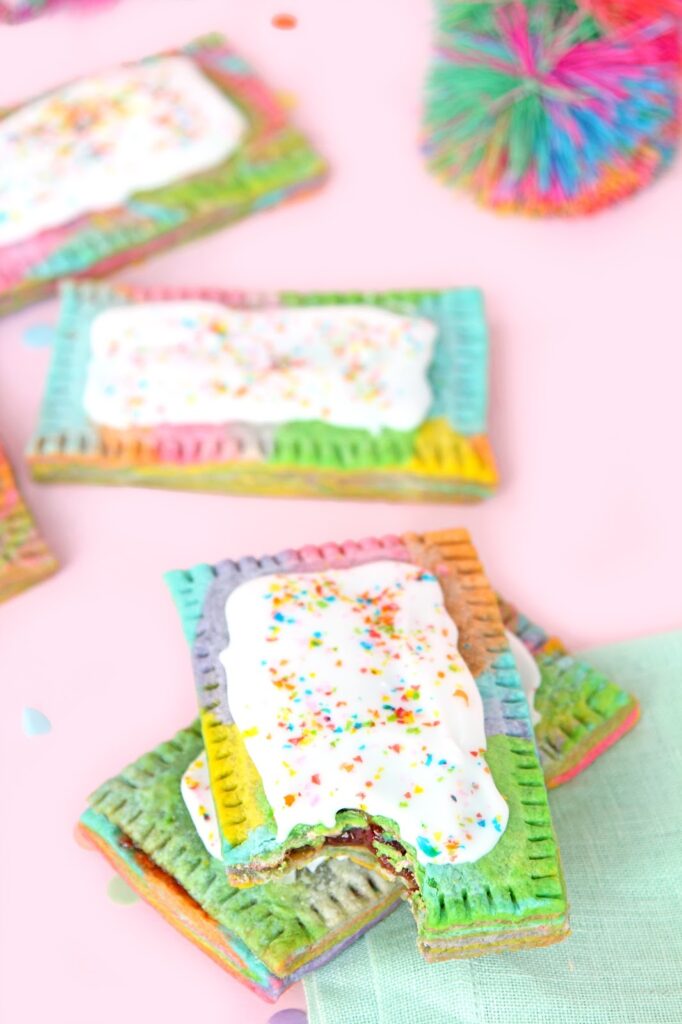
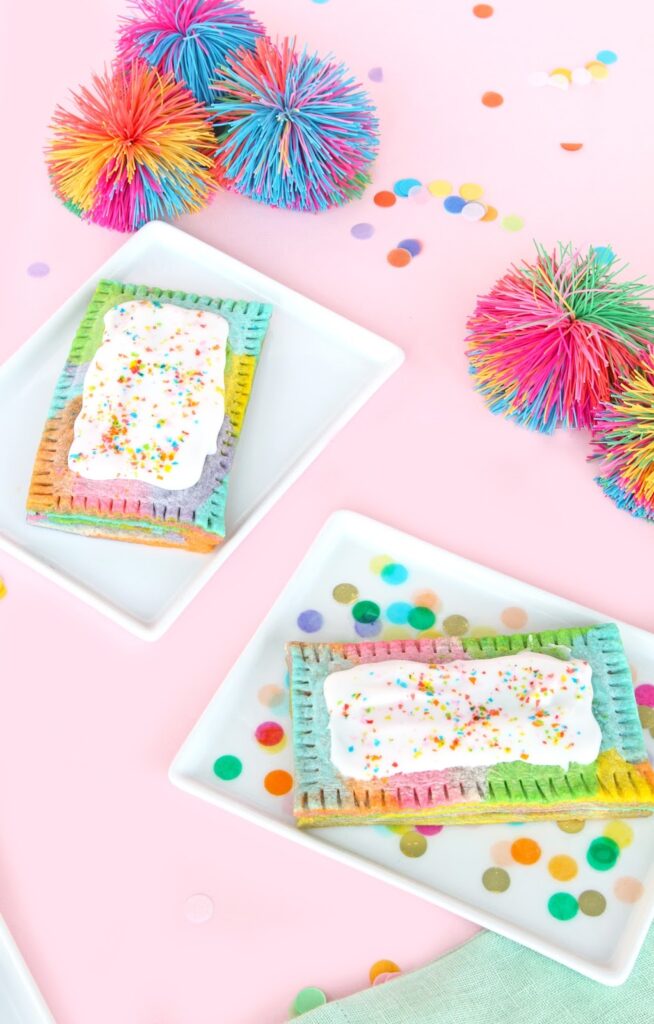
Ever since getting rainbow unicorn hair (see here), I’ve found it only necessary to eat rainbow foods. I mean, it only makes sense to match your food to your look, right?! Ha! When I was doing research on the coolest rainbow foods, I couldn’t find any colored pop tarts, so we’re showing you how to make your own RAINBOW MARBLED POP TARTS!! This project is not only good for showing you how to make rainbow pop tarts, but you could also use it to make pink pop tarts, which are definitely next on my agenda! Imagine a pink pop tart with pink icing and pink sprinkles. Adorable!


For the pop tarts:
4 rolls of pie crust
Gel food coloring in colors of your choosing
Strawberry preserves
Rectangle template that’s 3″ x 5″
Knife
Fork
For the icing:
1 cup powdered sugar
2 tablespoons half and half
1/4 teaspoon vanilla extract

For the pop tarts:
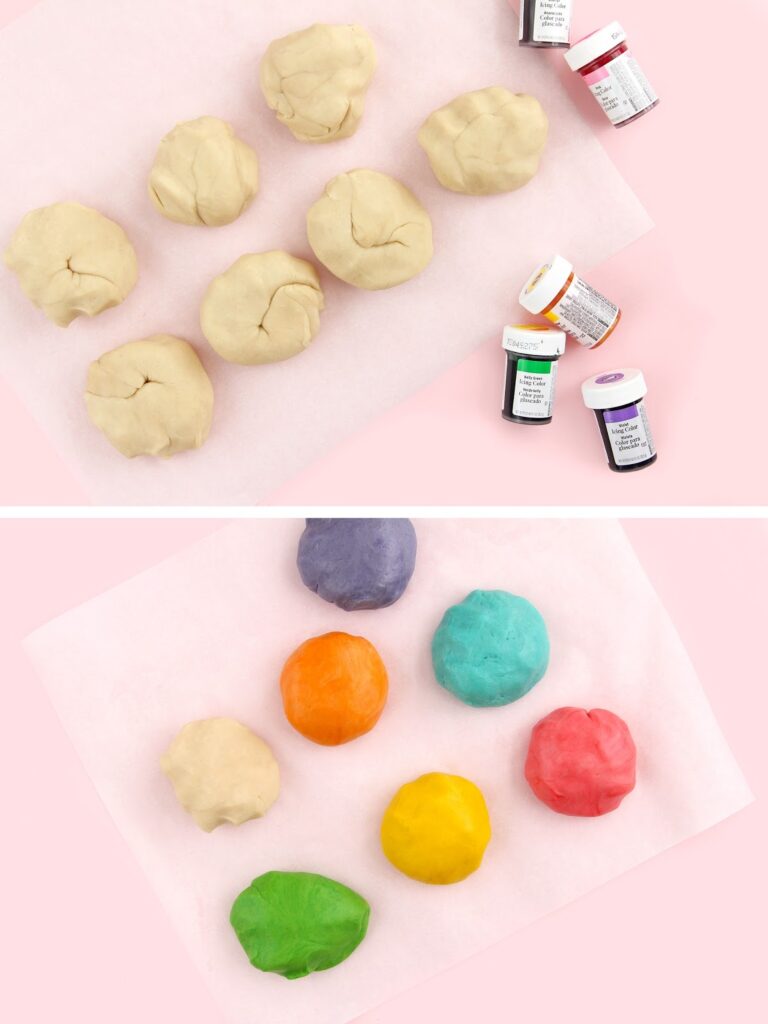
1. Split up the pie crust into 7 equal parts. Dye them each a different color, leaving one the normal pie crust color.
2. Roll them into snake shapes and place them next to each other. Twist all of the rolls together and then roll into a ball to marble the colors. Form into a disk and chill for 30 minutes.
3. Once the crust has chilled, roll out on a floured surface to 1/4″ thick. Using the rectangle template, cut out as many rectangles out of the dough as possible. Gathering the scrap dough and re-rolling it will cause the colors to muddy, so you want to avoid having to re-roll it.
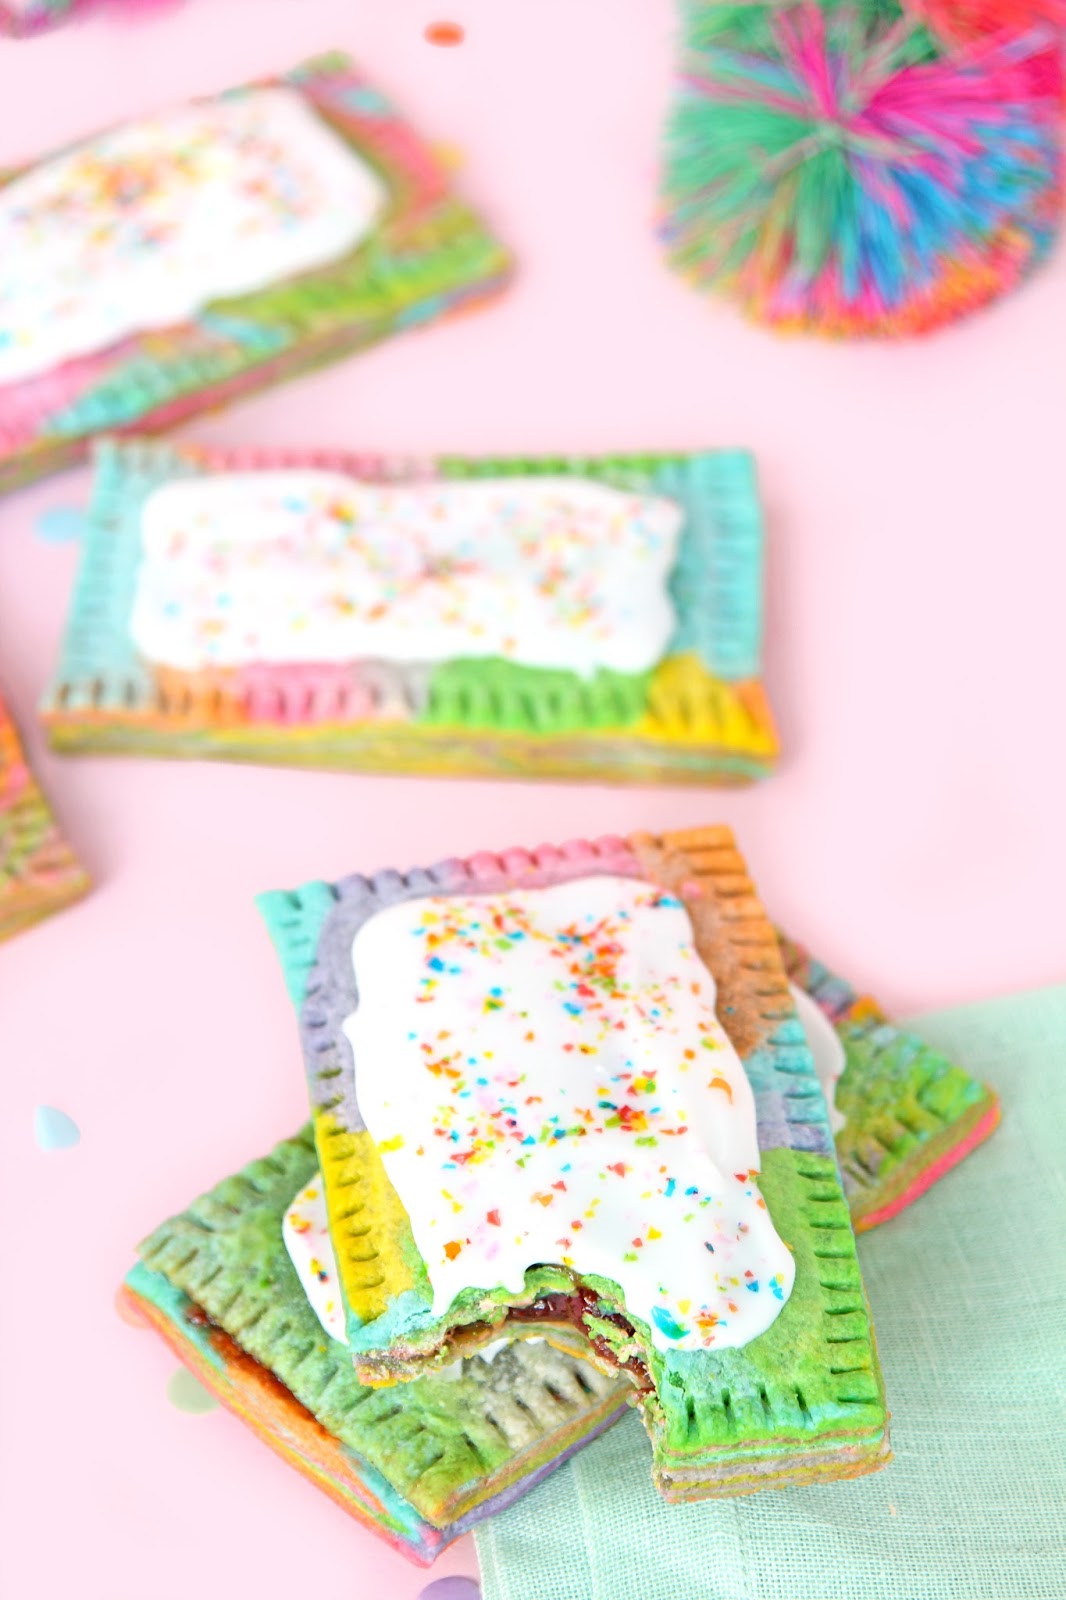
4. Preheat the oven to 400 degrees. Place about 1 tablespoon of strawberry preserves on each pop tart. Put water around the edges, seal it off with the other side, and put fork marks around the outer edges. Place in the refrigerator for another 30 minutes before baking.
5. Bake for 10 minutes or until the edges start to brown. Allow to cool completely on a drying rack.
For the icing:
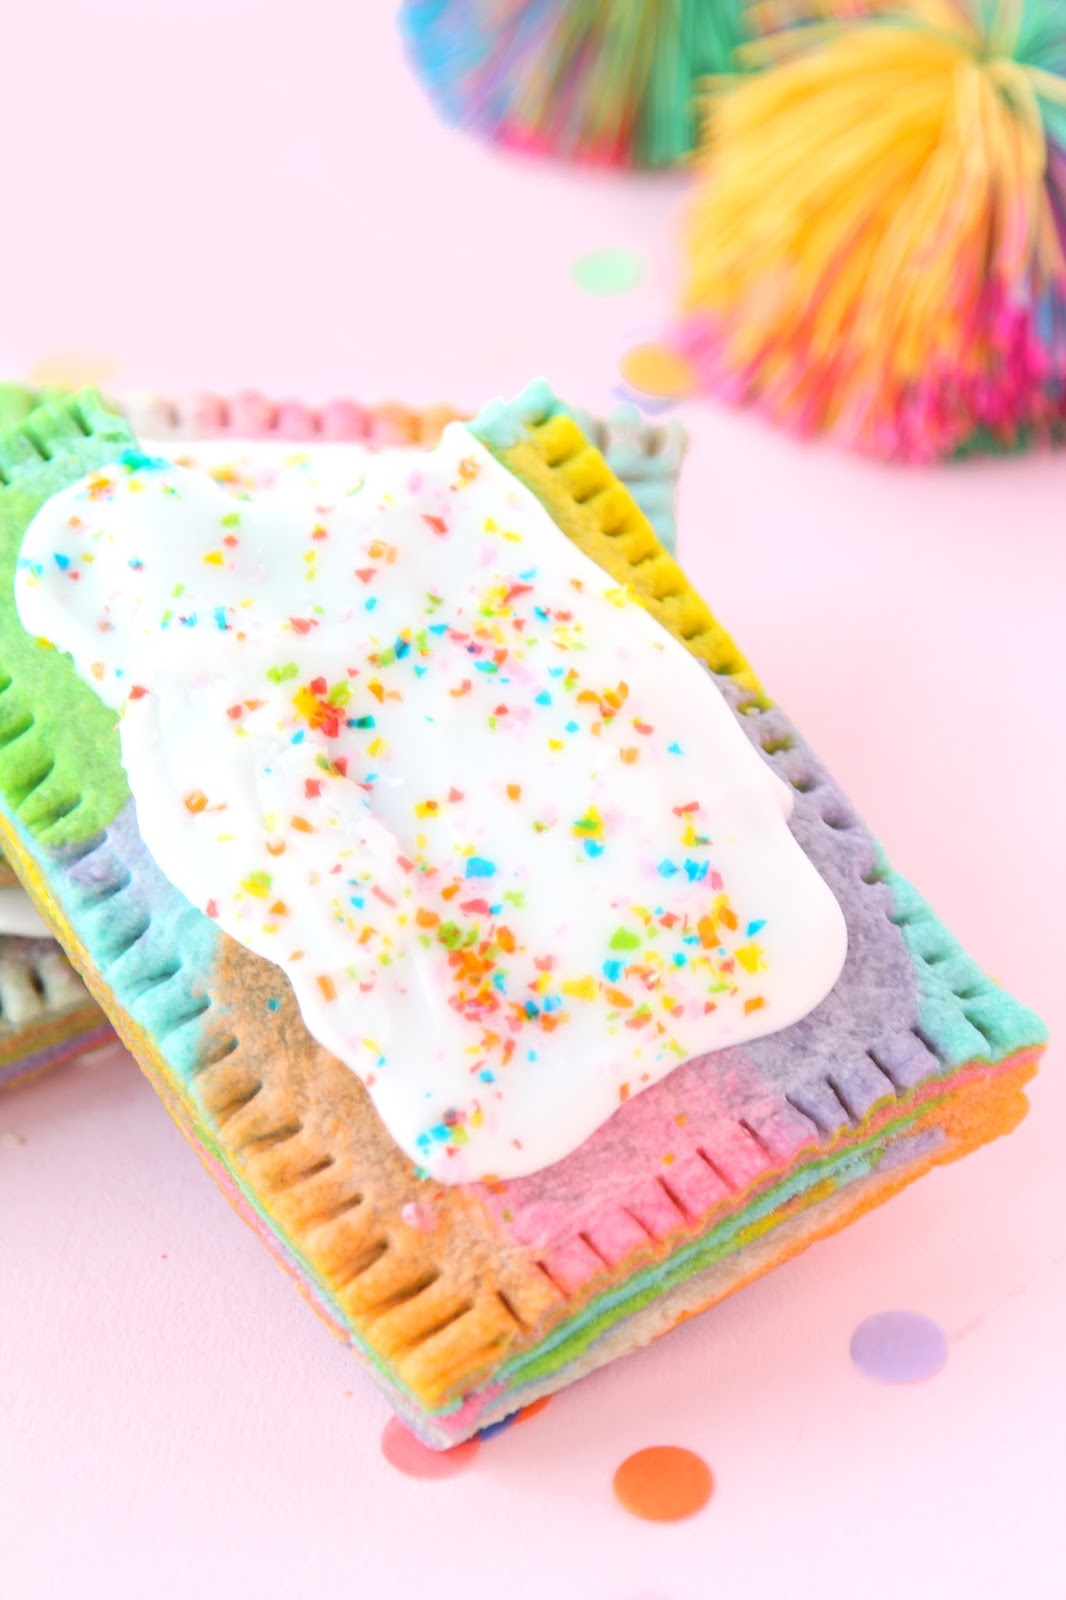
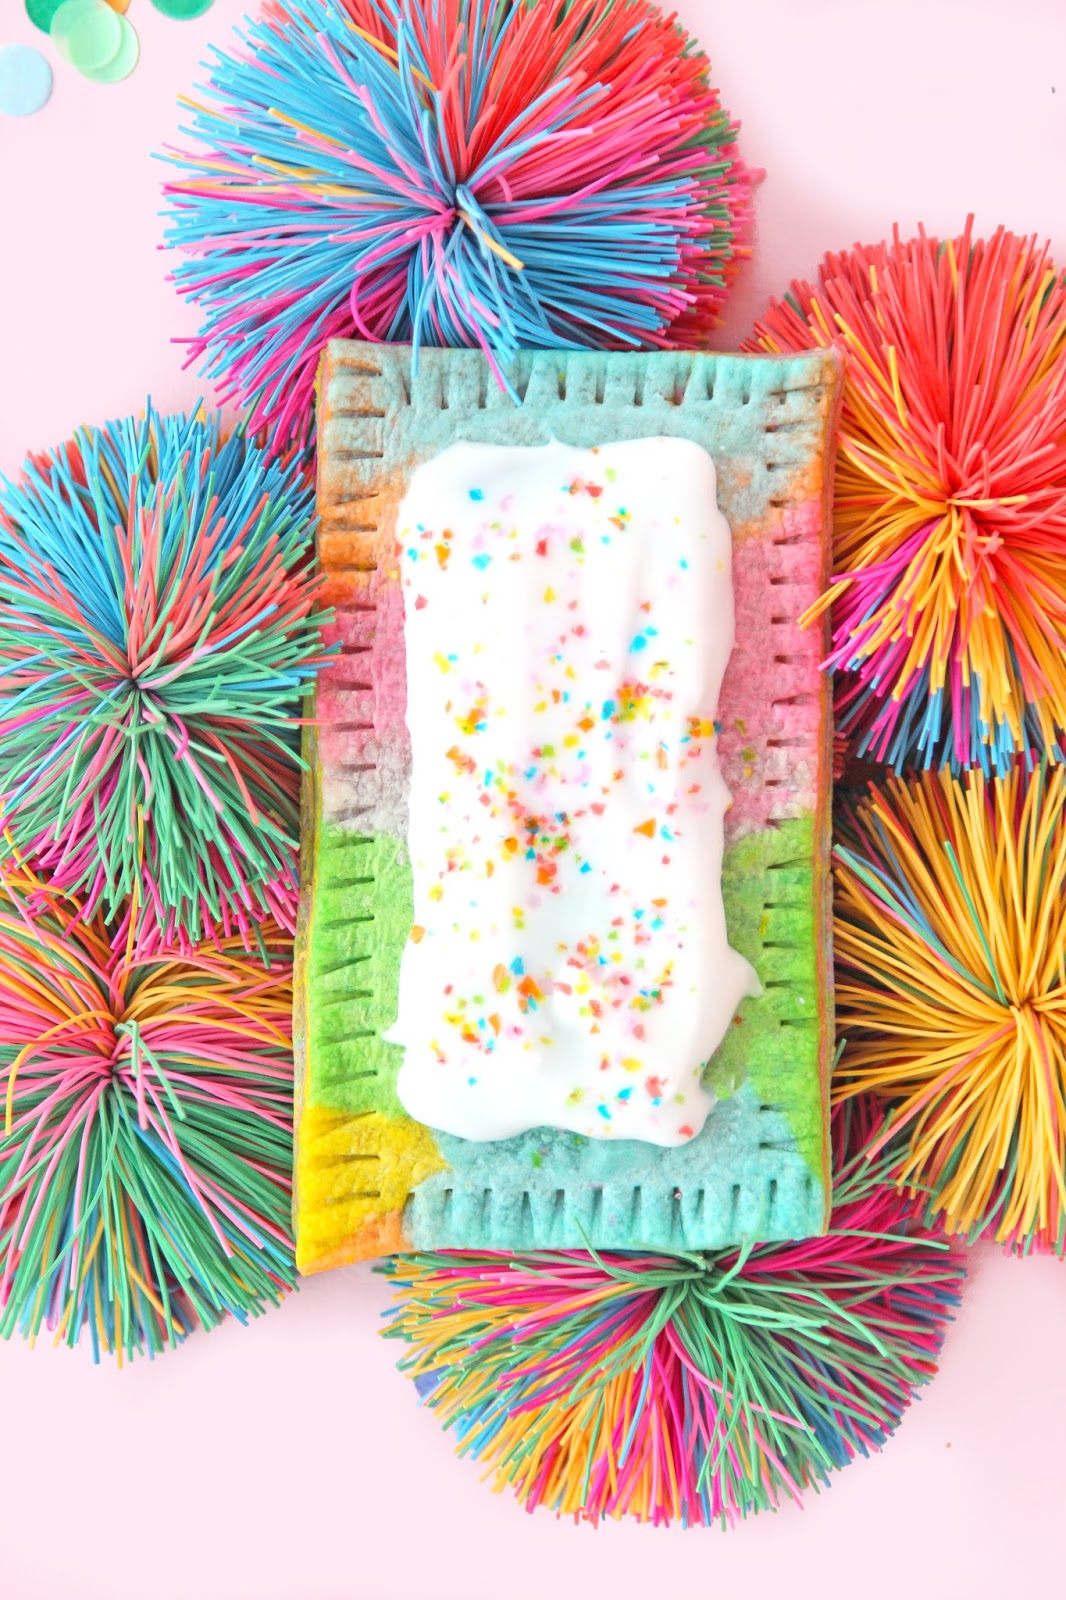
1. Combine powdered sugar, half and half, and vanilla extract into a large bowl. Once the pop tarts have cooled, spread the icing on the top, leaving room around the edges un-iced.
2. Top with sprinkles and allow the icing to harden.


12 Responses
Tried my hand at these tonight: relatively easy to make, turned out pretty cute, TASTES GREAT! Thank you so much for posting this recipe. <3
Make mermaid poptarts